Maingear’s Shroud gaming PC is trying something different in the pre-built space, but they need to execute it better
The Highlights
- Our Maingear Shroud PC comes with an AMD 9800X3D CPU and RTX 5090 GPU
- The PC tries to set itself apart with liquid metal and a pre-applied overclock on the memory, the latter of which is unstable and the former of which isn't the best application
- The PC is a far better value than the Origin PC and Alienware Area-51 PCs we recently reviewed, but is still for more expensive by percent cost than other pre-built systems
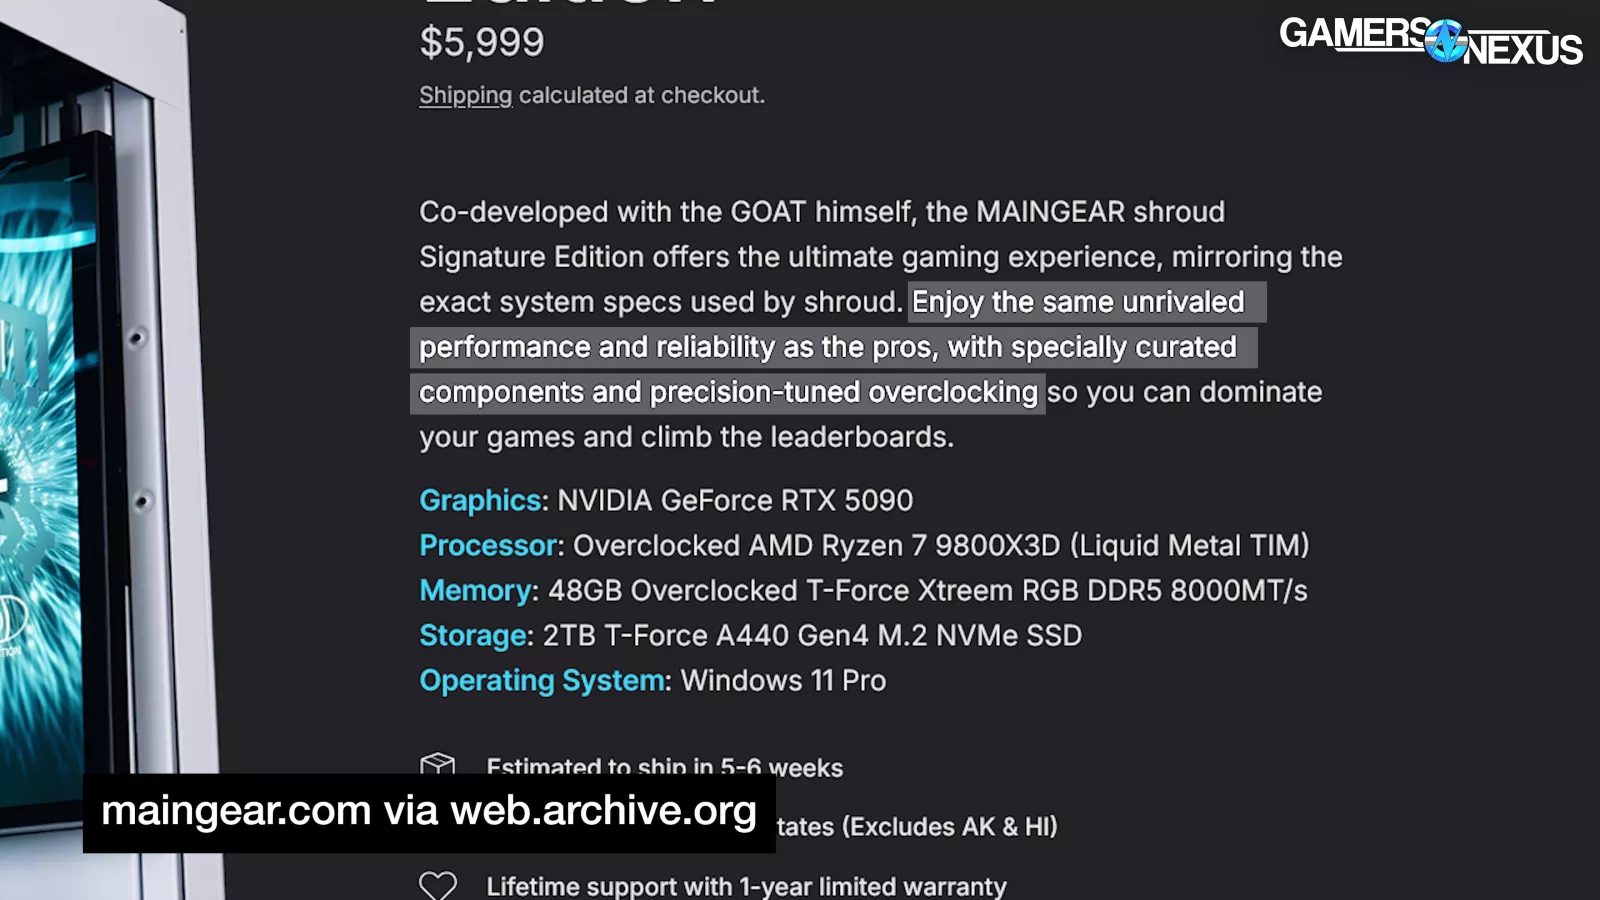
- Original MSRP: $6,000
Table of Contents
- AutoTOC

Intro
Today we’re reviewing a $6,000 pre-built gaming PC from Maingear. It’s cross-branded with a streamer named shroud and even includes its own unstable memory overclock, which is a feature you normally have to invest hours of your own time into giving up on, but now you can outsource the memory overclocking failures to a third-party. It also claims to have a CPU OC and claims to have liquid metal for the TIM, which is more in-line with true enthusiast building than we typically see in pre-builts. Maingear gets credit for taking more risks.
They do some things amazingly, like one of the best Windows installs we’ve seen on a pre-built, and some things poorly. It’s ups and downs, but overall, we saw a lot that we liked.
Editor's note: This was originally published on June 30, 2025 as a video. This content has been adapted to written format for this article and is unchanged from the original publication.
Credits
Test Lead, Host, Writing
Steve Burke
Testing, Writing
Jeremy Clayton
Camera, Video Editing
Vitalii Makhnovets
Camera
Tim Phetdara
Tannen Williams
Writing, Web Editing
Jimmy Thang
The price increase over DIY parts cost was not one of them: It’s 21-40% higher than DIY parts at retail, depending on which GPU you use in comparison. That’s significantly better than Alienware’s 50% increase, but still high. But there’s good reason it’s this high: Shroud’s name is on the case. This guy, apparently called “shroud” with a lower case S, we’re told, used to be good at CS:GO and is currently a streamer, and that means this computer costs more because it makes you good at Counter-Strike…
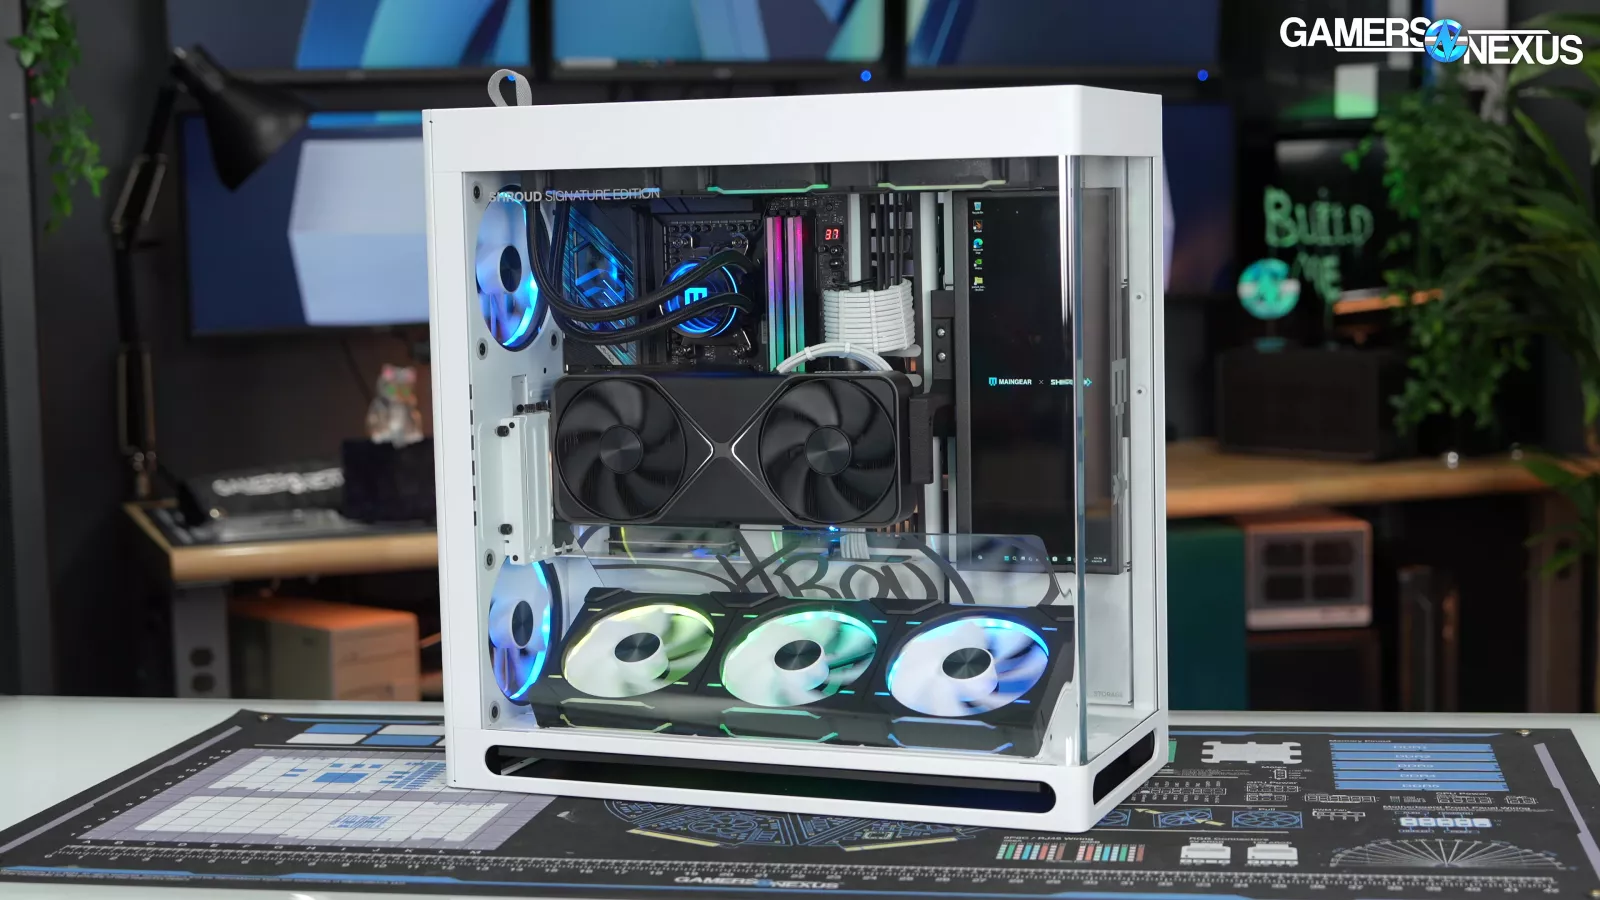
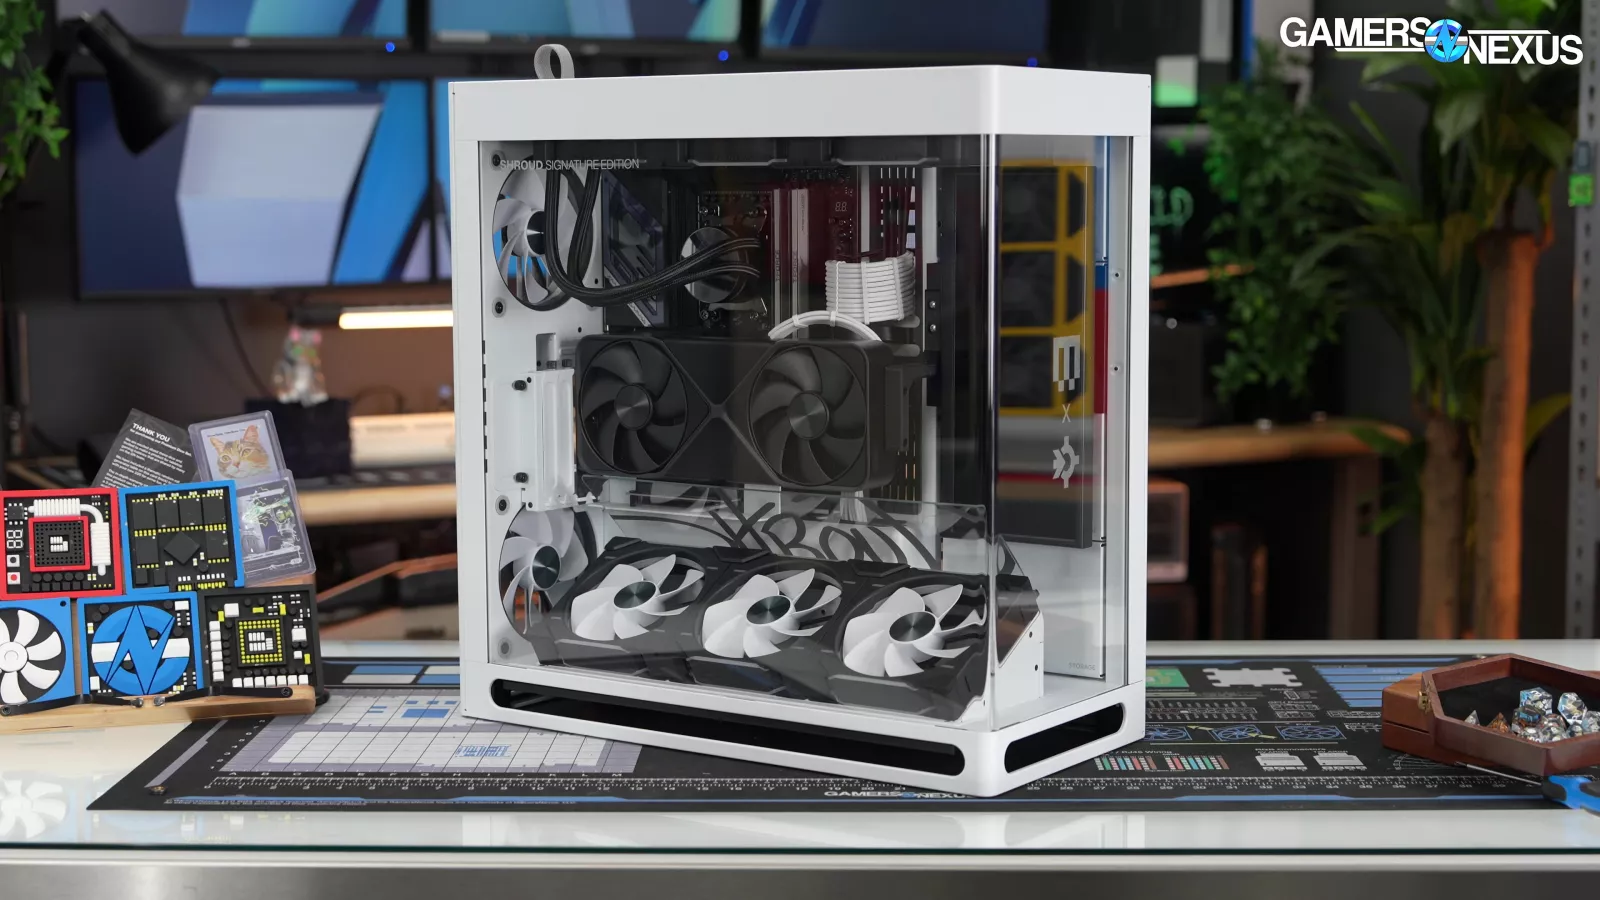
What’s more interesting to us is that Maingear is the first system integrator we’ve seen to use the new HAVN HS420 case (read our review), which was an excellent first showing from Maingear in our benchmarks. They also shoved a screen into the side. We found that Maingear had the cleanest operating system install that we’ve seen in recent pre-built history and they actually did some BIOS tuning, which are great positives. The choice of a 9800X3D (read our review) is also a welcomed change of pace from Intel’s weird dominance in the pre-built space, but again, it is expensive and they do need to deliver on all of those things.
Let’s get into the review.
We bought this computer for a few reasons. One of them is that it has the HAVN HS420, which is one of the first pre-builts we’ve seen with the case. That alone made it interesting because it’s really particular with how it’s configured. We’d thought it would be a good test to see if Maingear was paying attention to how it should be configured. We also bought it because it was one of their first builds with a 50-series card in it. It also happens to be cross-branded with shroud.
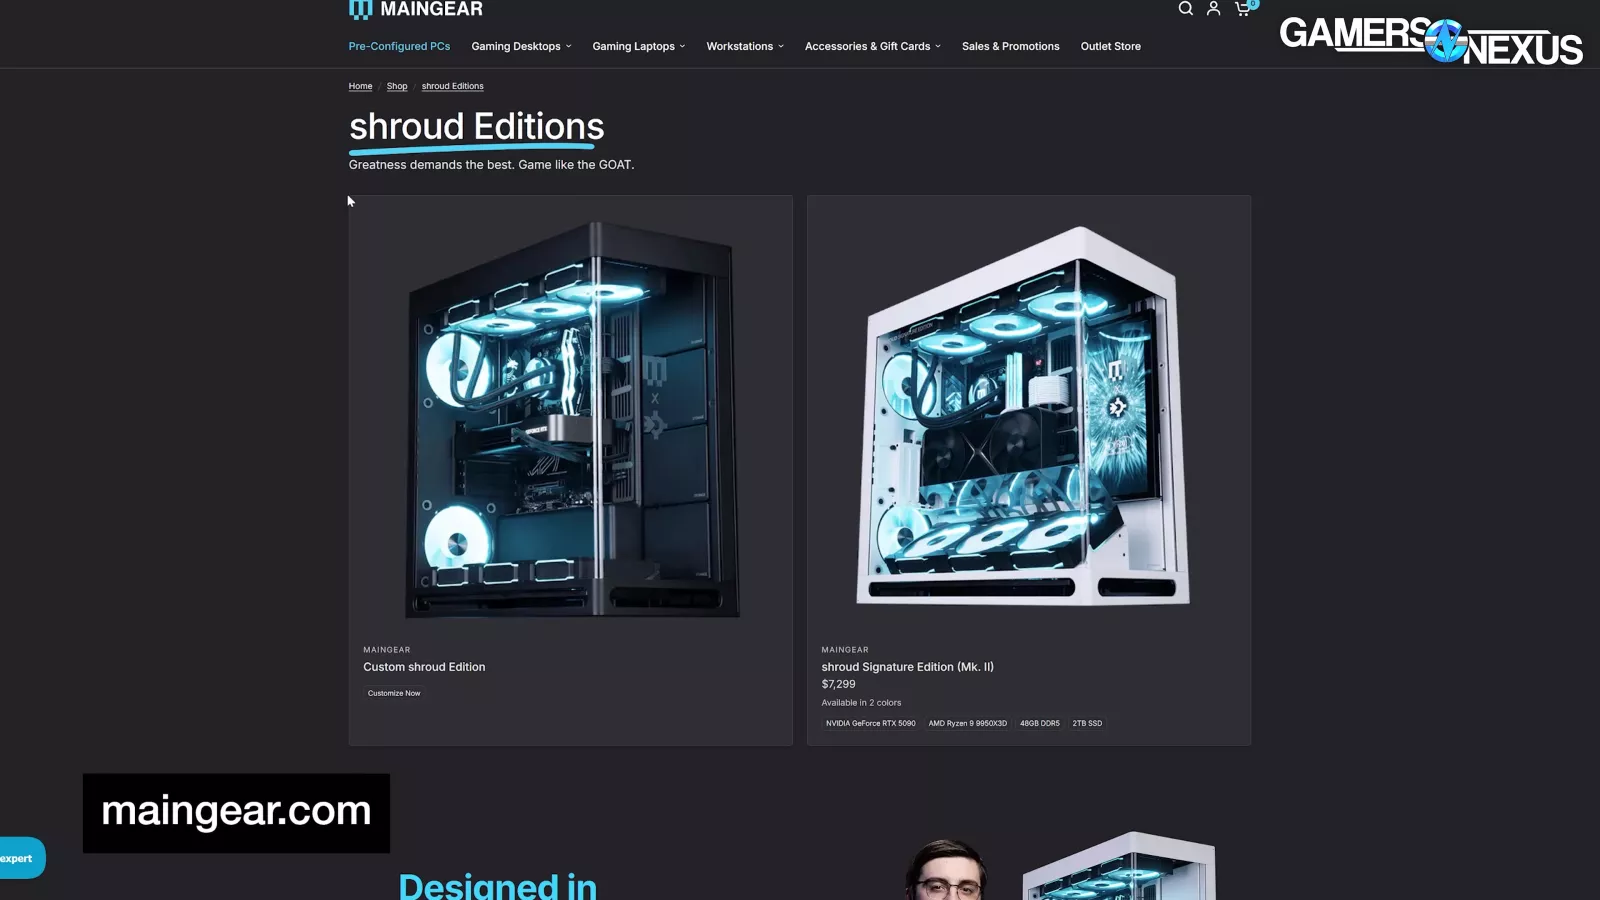

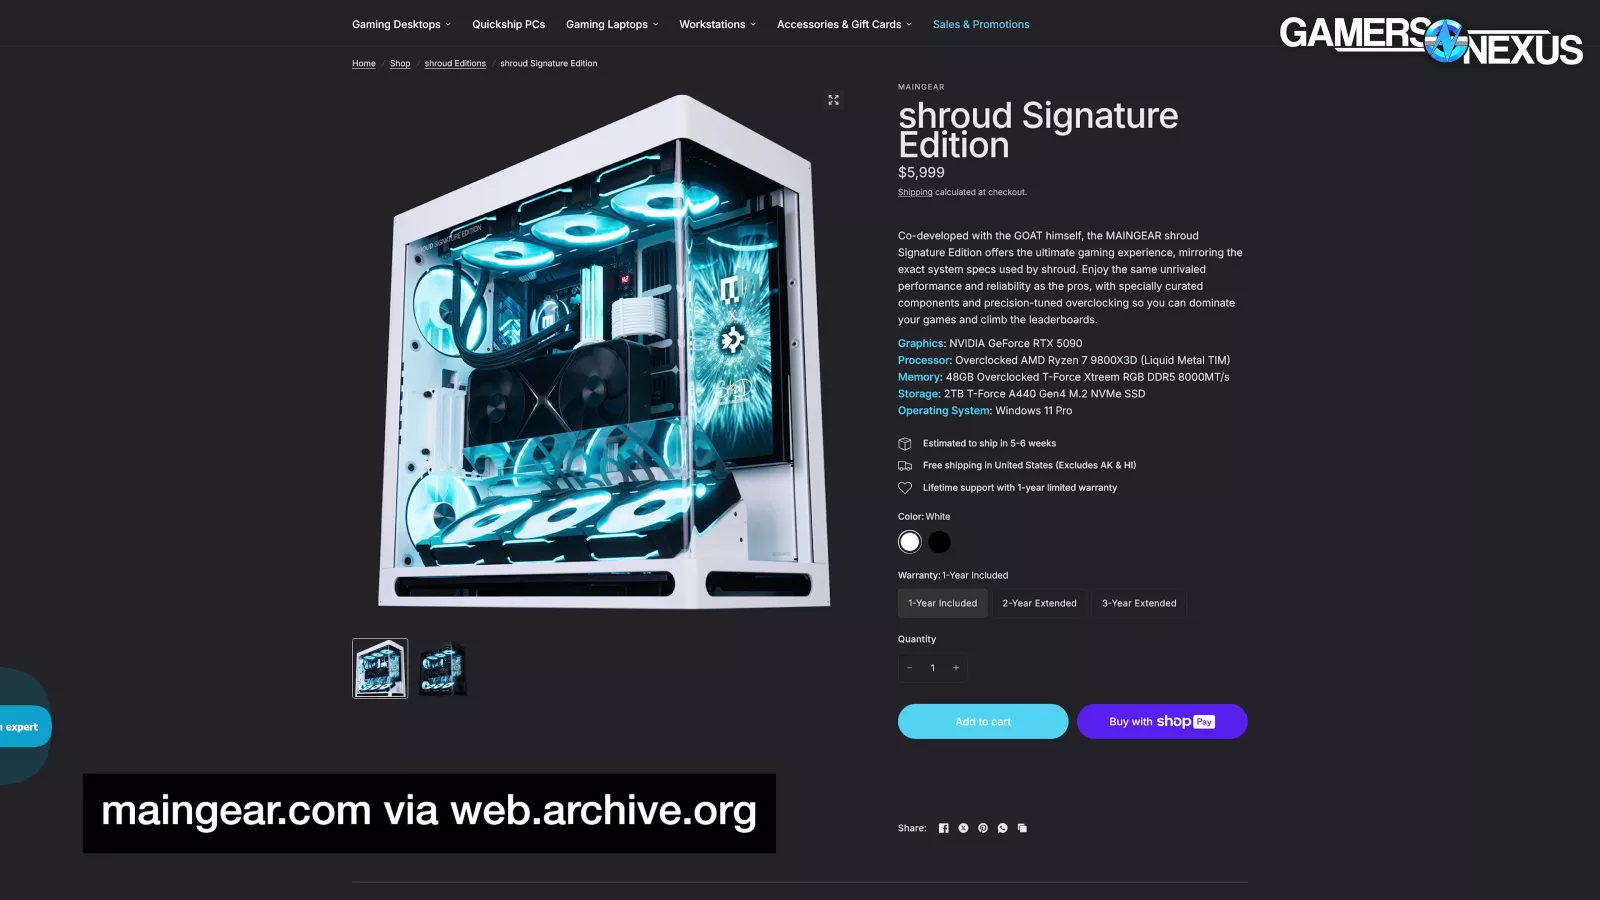
We can see that Maingear likes Shroud so much that it made an entire line of pre-built gaming PCs named after him. There’s the “Custom shroud Edition,” the $7,300 “shroud Signature Edition (Mk. II)” that launched more recently, and the absent middle child that we have for review today.
This is the original shroud Signature Edition from the 5090 (read our review) launch. We’re calling it the Mk. I.
It can only be found via Archive.org’s WaybackMachine despite only being only a few months old and costing $6,000.
The system has a 9800X3D, RTX 5090, and 48GB of custom-tuned DDR5-8000 that apparently increases your chance at hitting headshots.
We wonder if that’s worth the chance of system crashes.
Price Comparison vs. DIY
Maingear shroud Signature Pre-built | Part and Price Breakdown | GamersNexus
| Part Name | DIY Equivalent Part | DIY Part Price | |
| CPU | AMD Ryzen 9800X3D | Identical | $472 |
| CPU Cooler | MAINGEAR Epic 420 AiO Liquid Cooler | Arctic Liquid Freezer III 420 A-RGB | $130 |
| Motherboard | ASRock Phantom Gaming X870E Nova WiFi | Identical | $350 |
| Memory | 48GB (2x24GB) Teamgroup T-Force Xtreem ARGB DDR5-8000 | Identical | $250 |
| Storage | 2TB Teamgroup T-Force A440 Gen4 M.2 NVMe SSD | Identical | $134 |
| GPU | NVIDIA RTX 5090 Founders Edition | NVIDIA RTX 5090 Founders EditionorGigabyte Windforce RTX 5090 | $2000 or $2653 |
| Case | "MAINGEAR shroud Signature Editon"(HAVN HS 420 VGPU) | HAVN HS 420 VGPU | $300 |
| Power Supply | 1200W FSP PTM Pro Gen5 80+/Cybenetics Platinum | Identical | $220 |
| Fans | 8x Phanteks PH-F140D30(R) | Identical | $317 |
| Internal Screen | 12.3" 1920x720 LCD Screen | Identical / Generic | $90 |
| Cable Extensions | White Cable Extensions | Identical / Generic | $30 |
| Pre-built Price: $6,000 | DIY Total With 5090 FE: $4,293 DIY Total With Gigabyte Windforce 5090: $4,946 | ||
| Pre-built Premium Over DIY: $1,707 / $1,054 |
Here’s the breakdown of parts and price comparison versus DIY. The good news is that almost all of the parts are available at retail. The exception is Maingear’s self-branded 420mm so-called “Epic” liquid cooler, but we can sub-in another liquid cooler.
Overall, the parts list mostly has parts that make sense together, with the potential exception of the ASRock motherboard due to ASRock’s issues with killing some X3D CPUs. We interviewed ASRock at Computex this year, in case you want to learn more about that -- they think it’s fixed, but Reddit shows it may be ongoing.
We calculated two different DIY totals for this, since the $2,000 RTX 5090 FE is basically unobtainable. With the FE, DIY is just under $4,300. With the cheapest partner 5090 we could find at the time of writing (the ~$2,650 Gigabyte Windforce), the total comes to about $4,950.
We paid $6,000 for the system, so that puts the difference at $1,700 with the FE, which is in absolute crazy territory for the delta -- but that’s if you can get a 5090 at that price. The Gigabyte Windforce puts it at $1,050 on top of DIY parts cost – still high, but not quite as insane when viewed as a 21% increase. The Alienware Area-51 we just reviewed was at 50%, and the Origin Genesis was at 34% depending on if you compared against the original price or the later $8,400 price.
Overview and Marketing
To try and understand why Maingear thinks it’s worth demanding that kind of price, we turned to the lifeblood of any industry: Marketing.

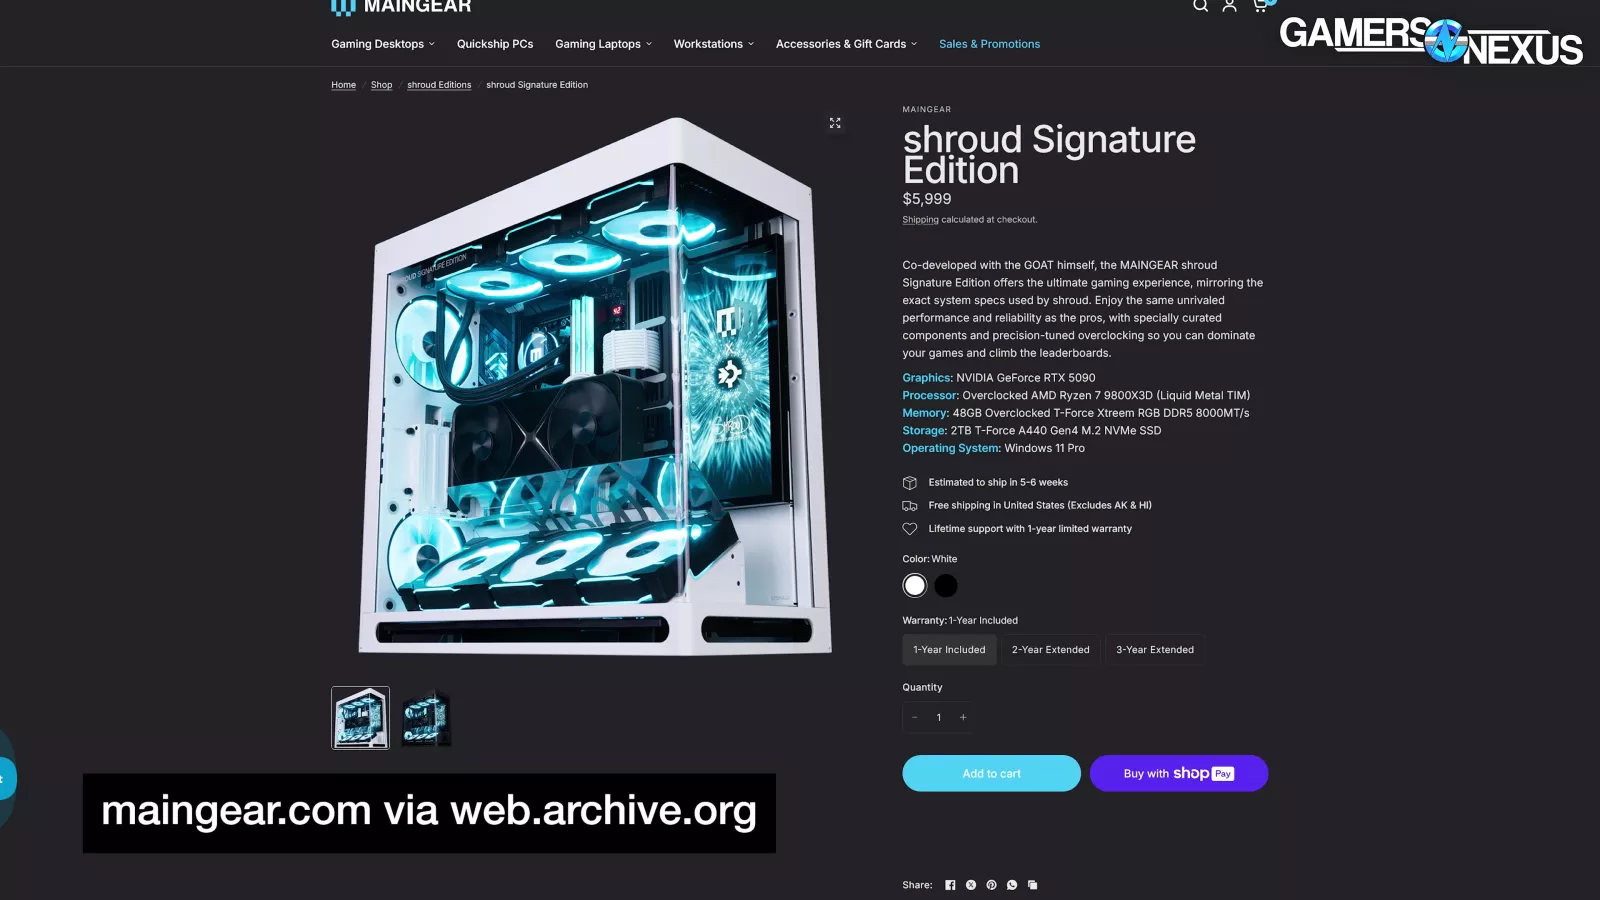
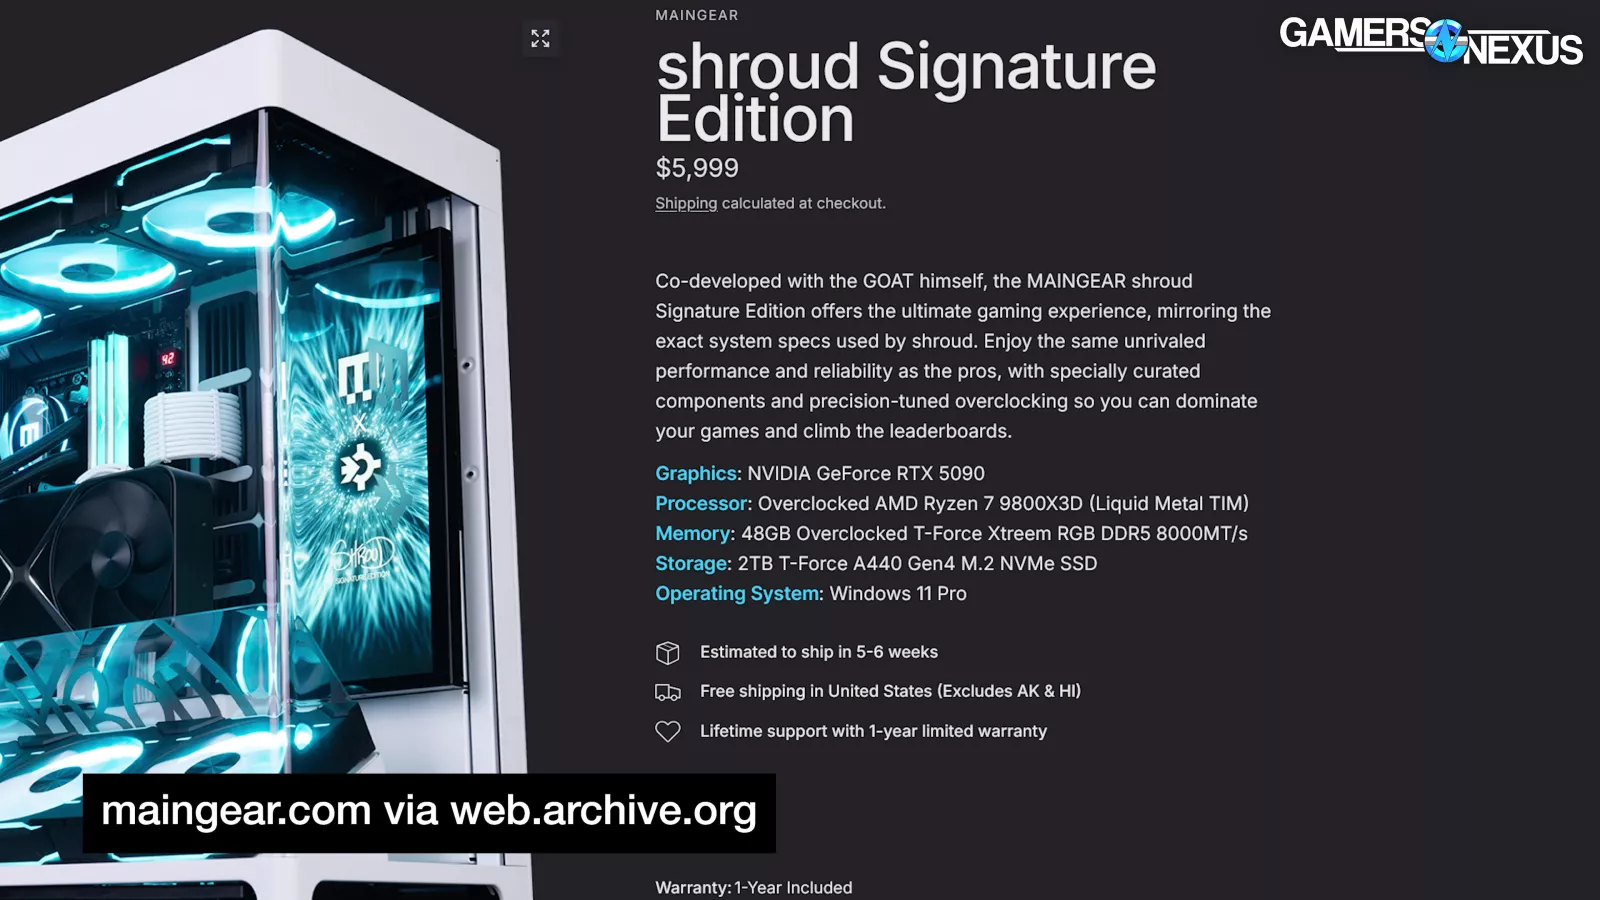
The Signature Edition is “co-developed” by shroud and Maingear and is pitched as the exact hardware and settings used in his main PC.

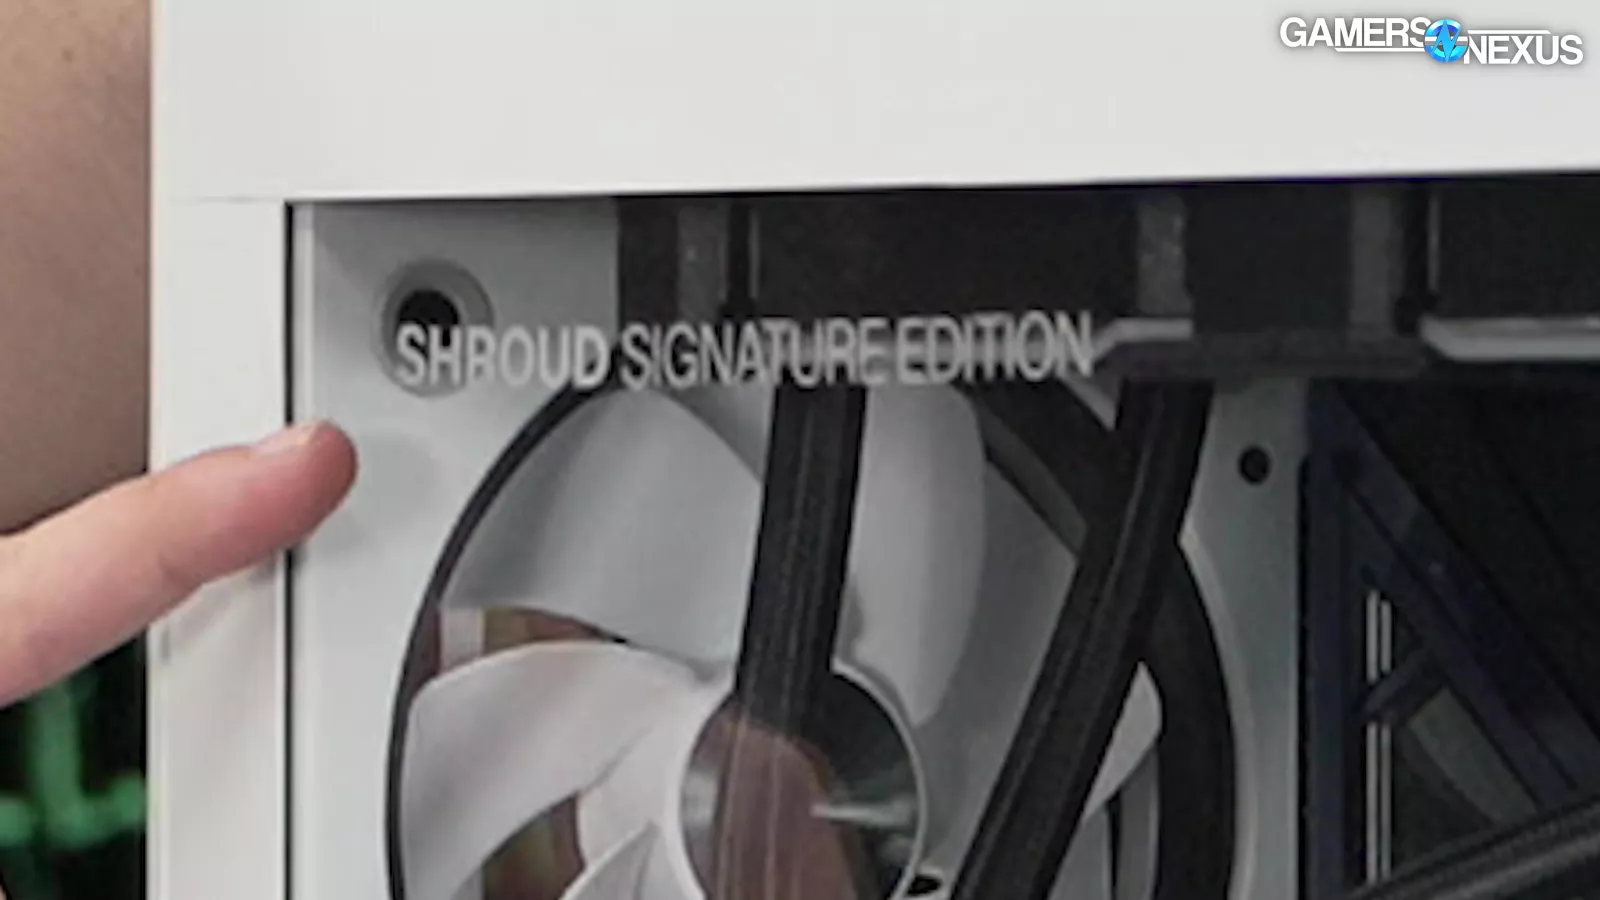
It’s got custom decals in various places around the HAVN HS 420 VGPU case and a riveted badge that’s “Inspired by shroud’s personal pinball machine collection.”

Weirdly, Maingear neglects to mention HAVN anywhere on the page, listing the case as “MAINGEAR shroud Signature Edition.” That’s unfortunate for HAVN, especially seeing as its HS420 really deserves the recognition.
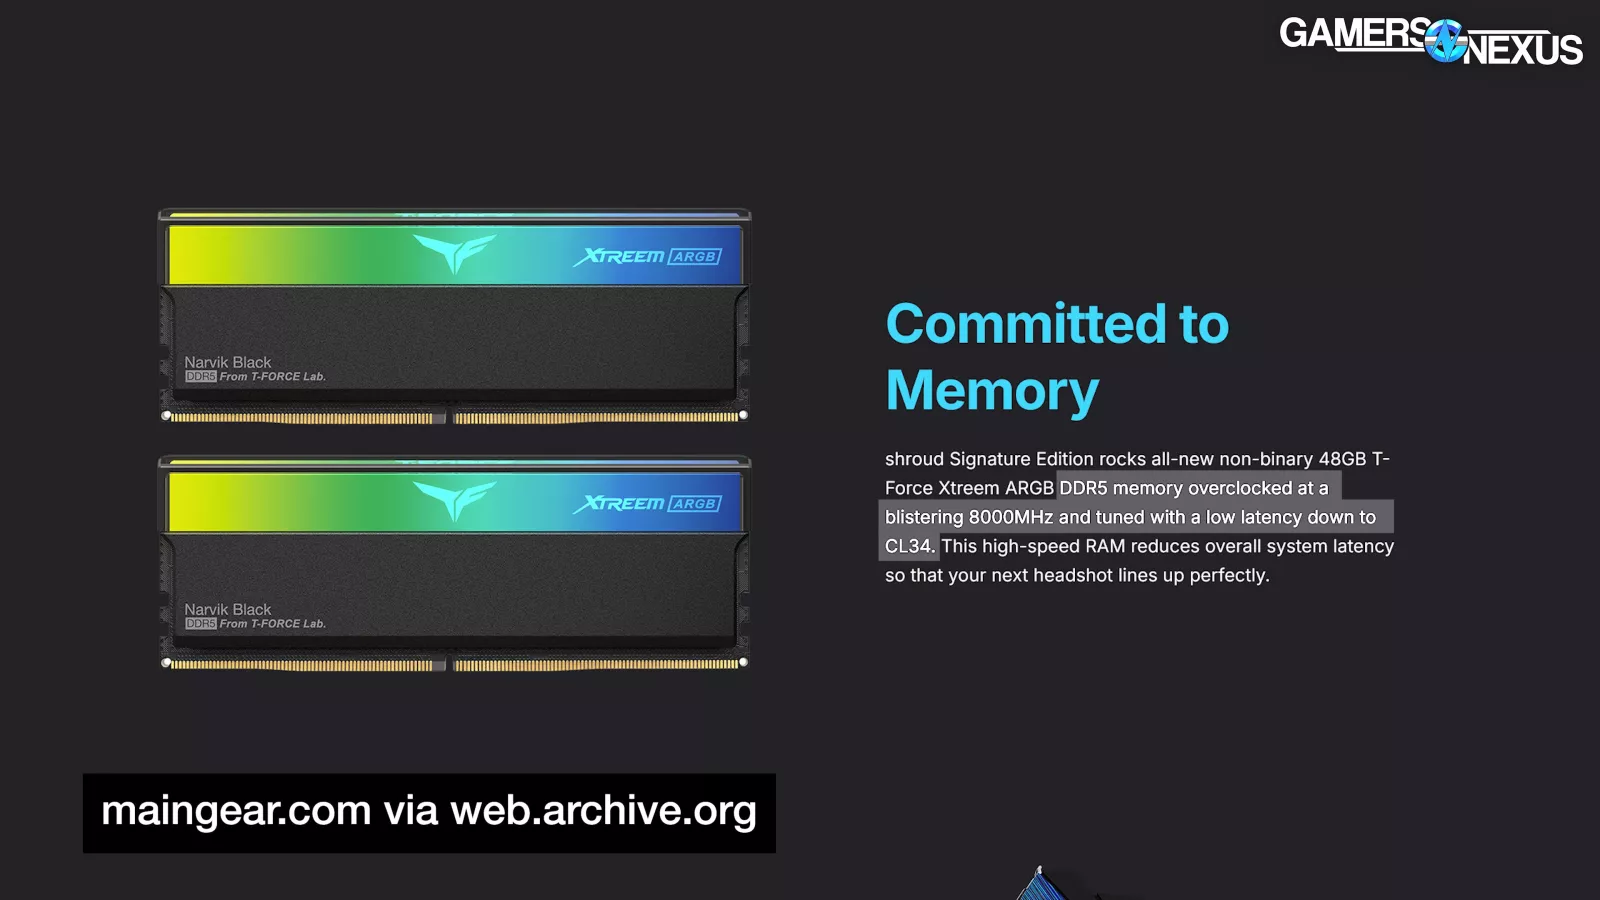
The system is advertised as overclocked right out of the box, both on the 9800X3D CPU and the aforementioned headshot-boosting DDR5-8000 RAM.
Factory OC is rare for a pre-built and essentially unheard of on RAM, so we’ll validate those claims later. It’s a cool idea. Maingear directly advertises reliability and the OC in the same sentence, which is bold, and also incorrect.
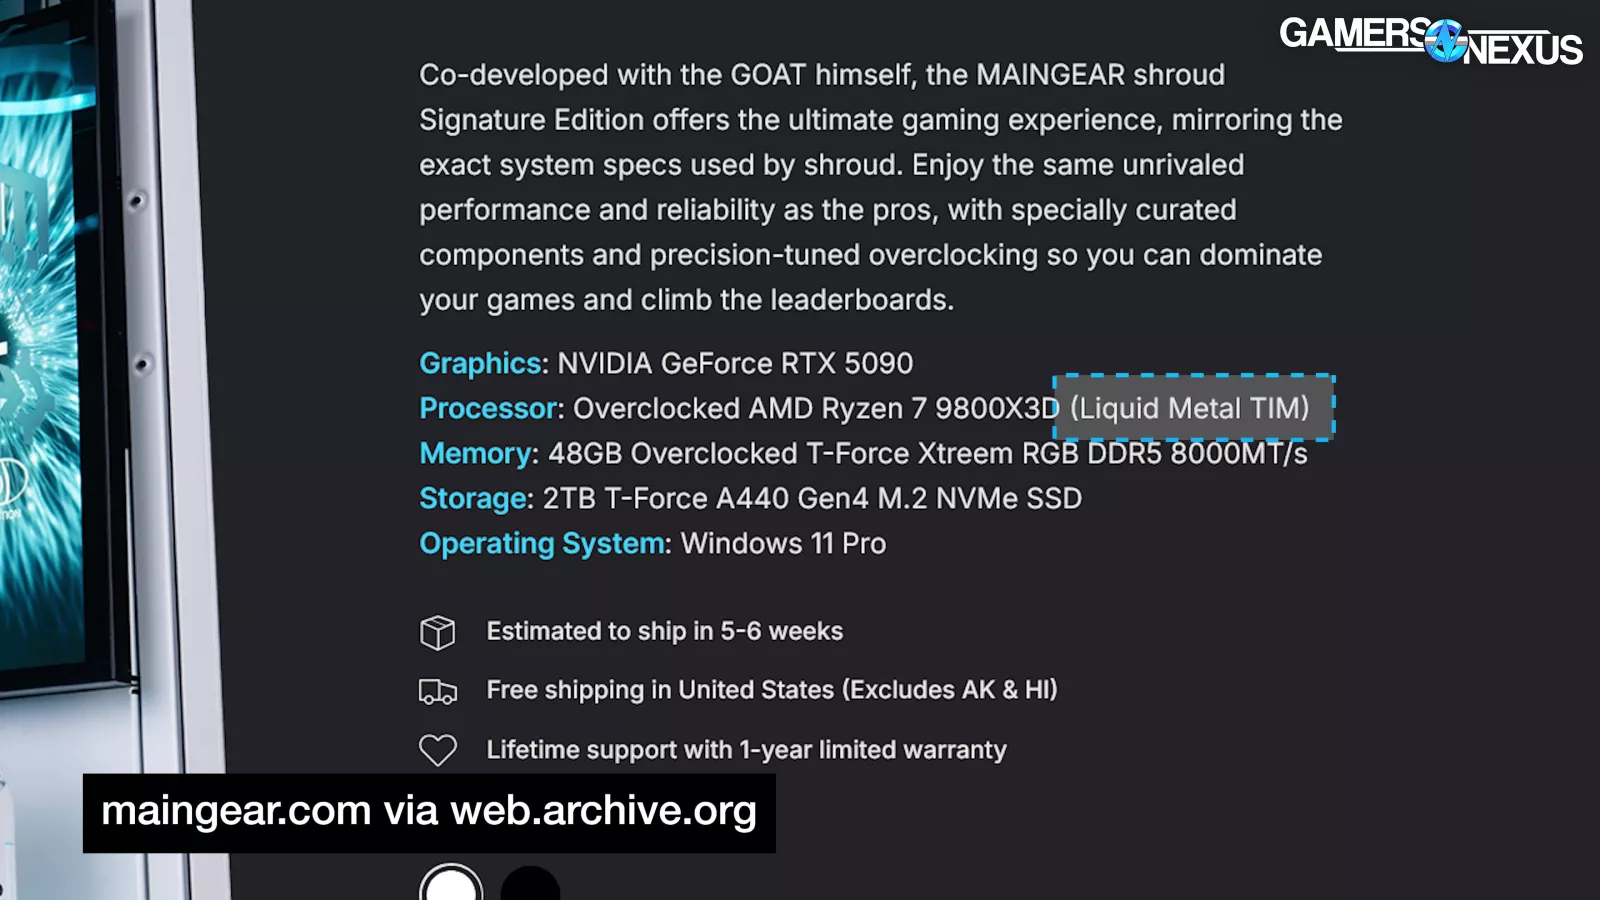
Also interesting is the claimed use of liquid metal TIM on the CPU.
That’s interesting, and we’ll take a look at that, but using liquid metal on a lidded CPU has significantly less impact than using it with a delidded CPU, where it would really excel. It also introduces risk if not done carefully by Maingear.
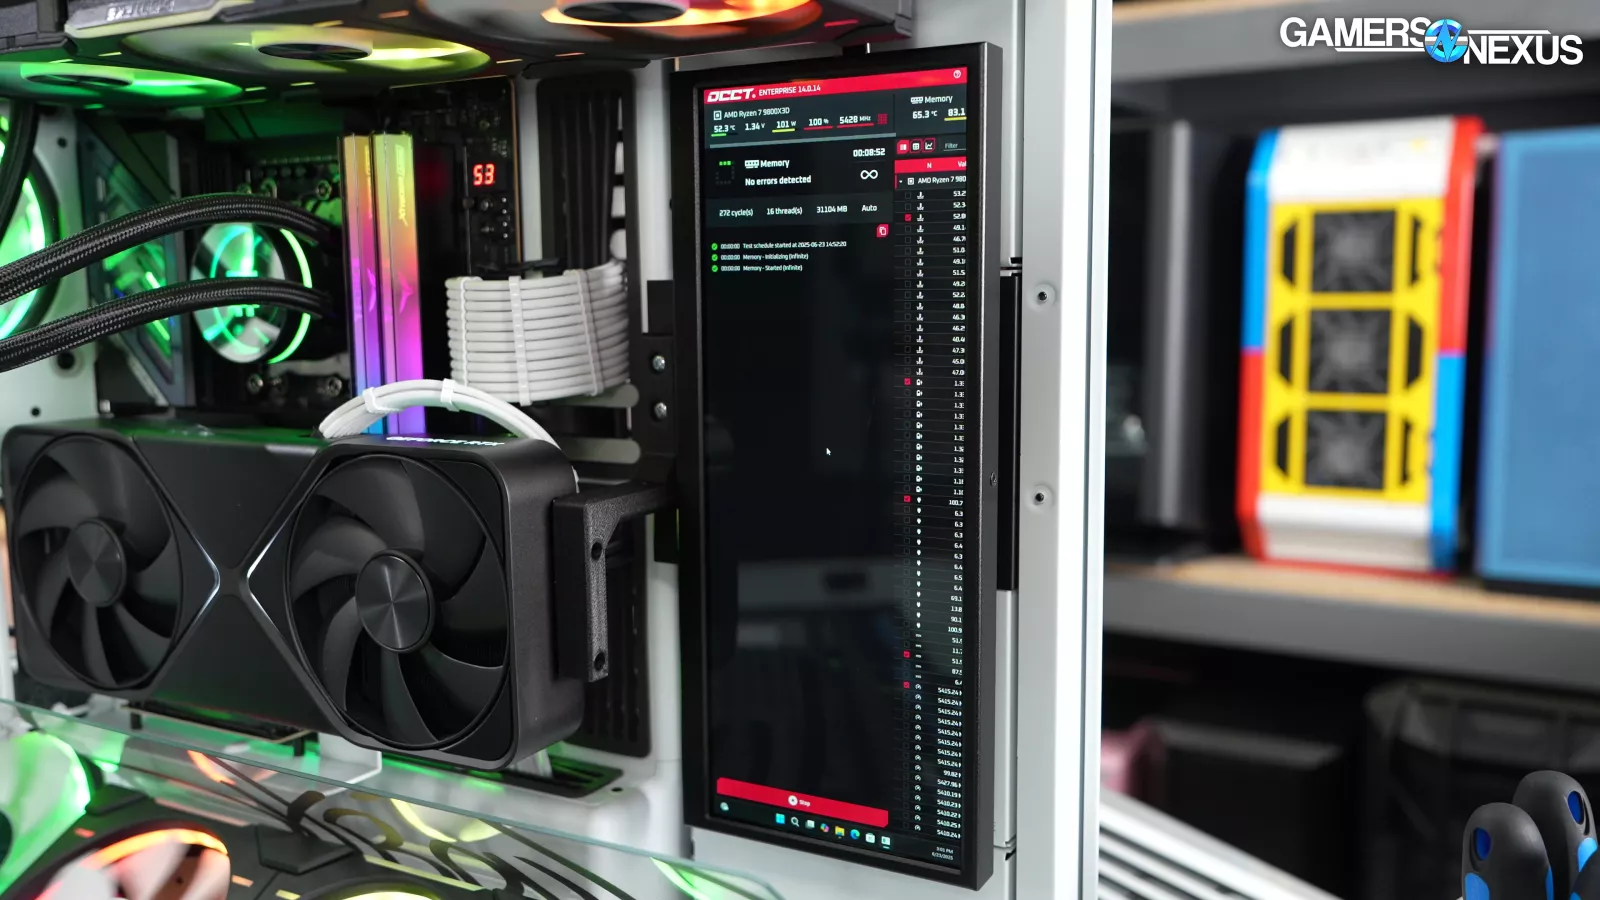
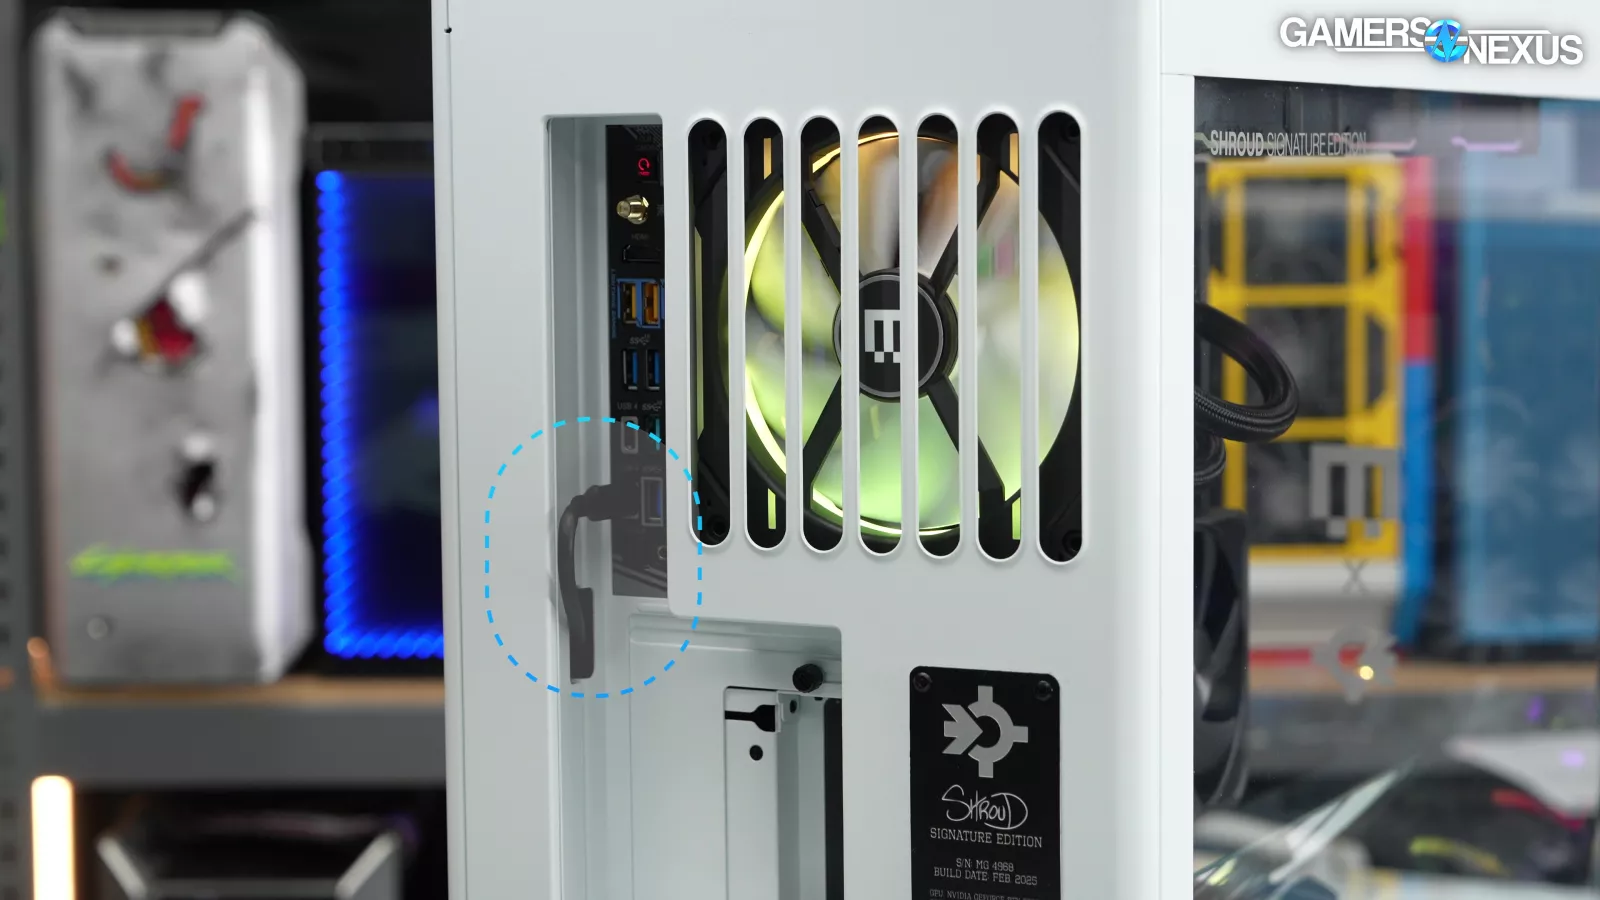
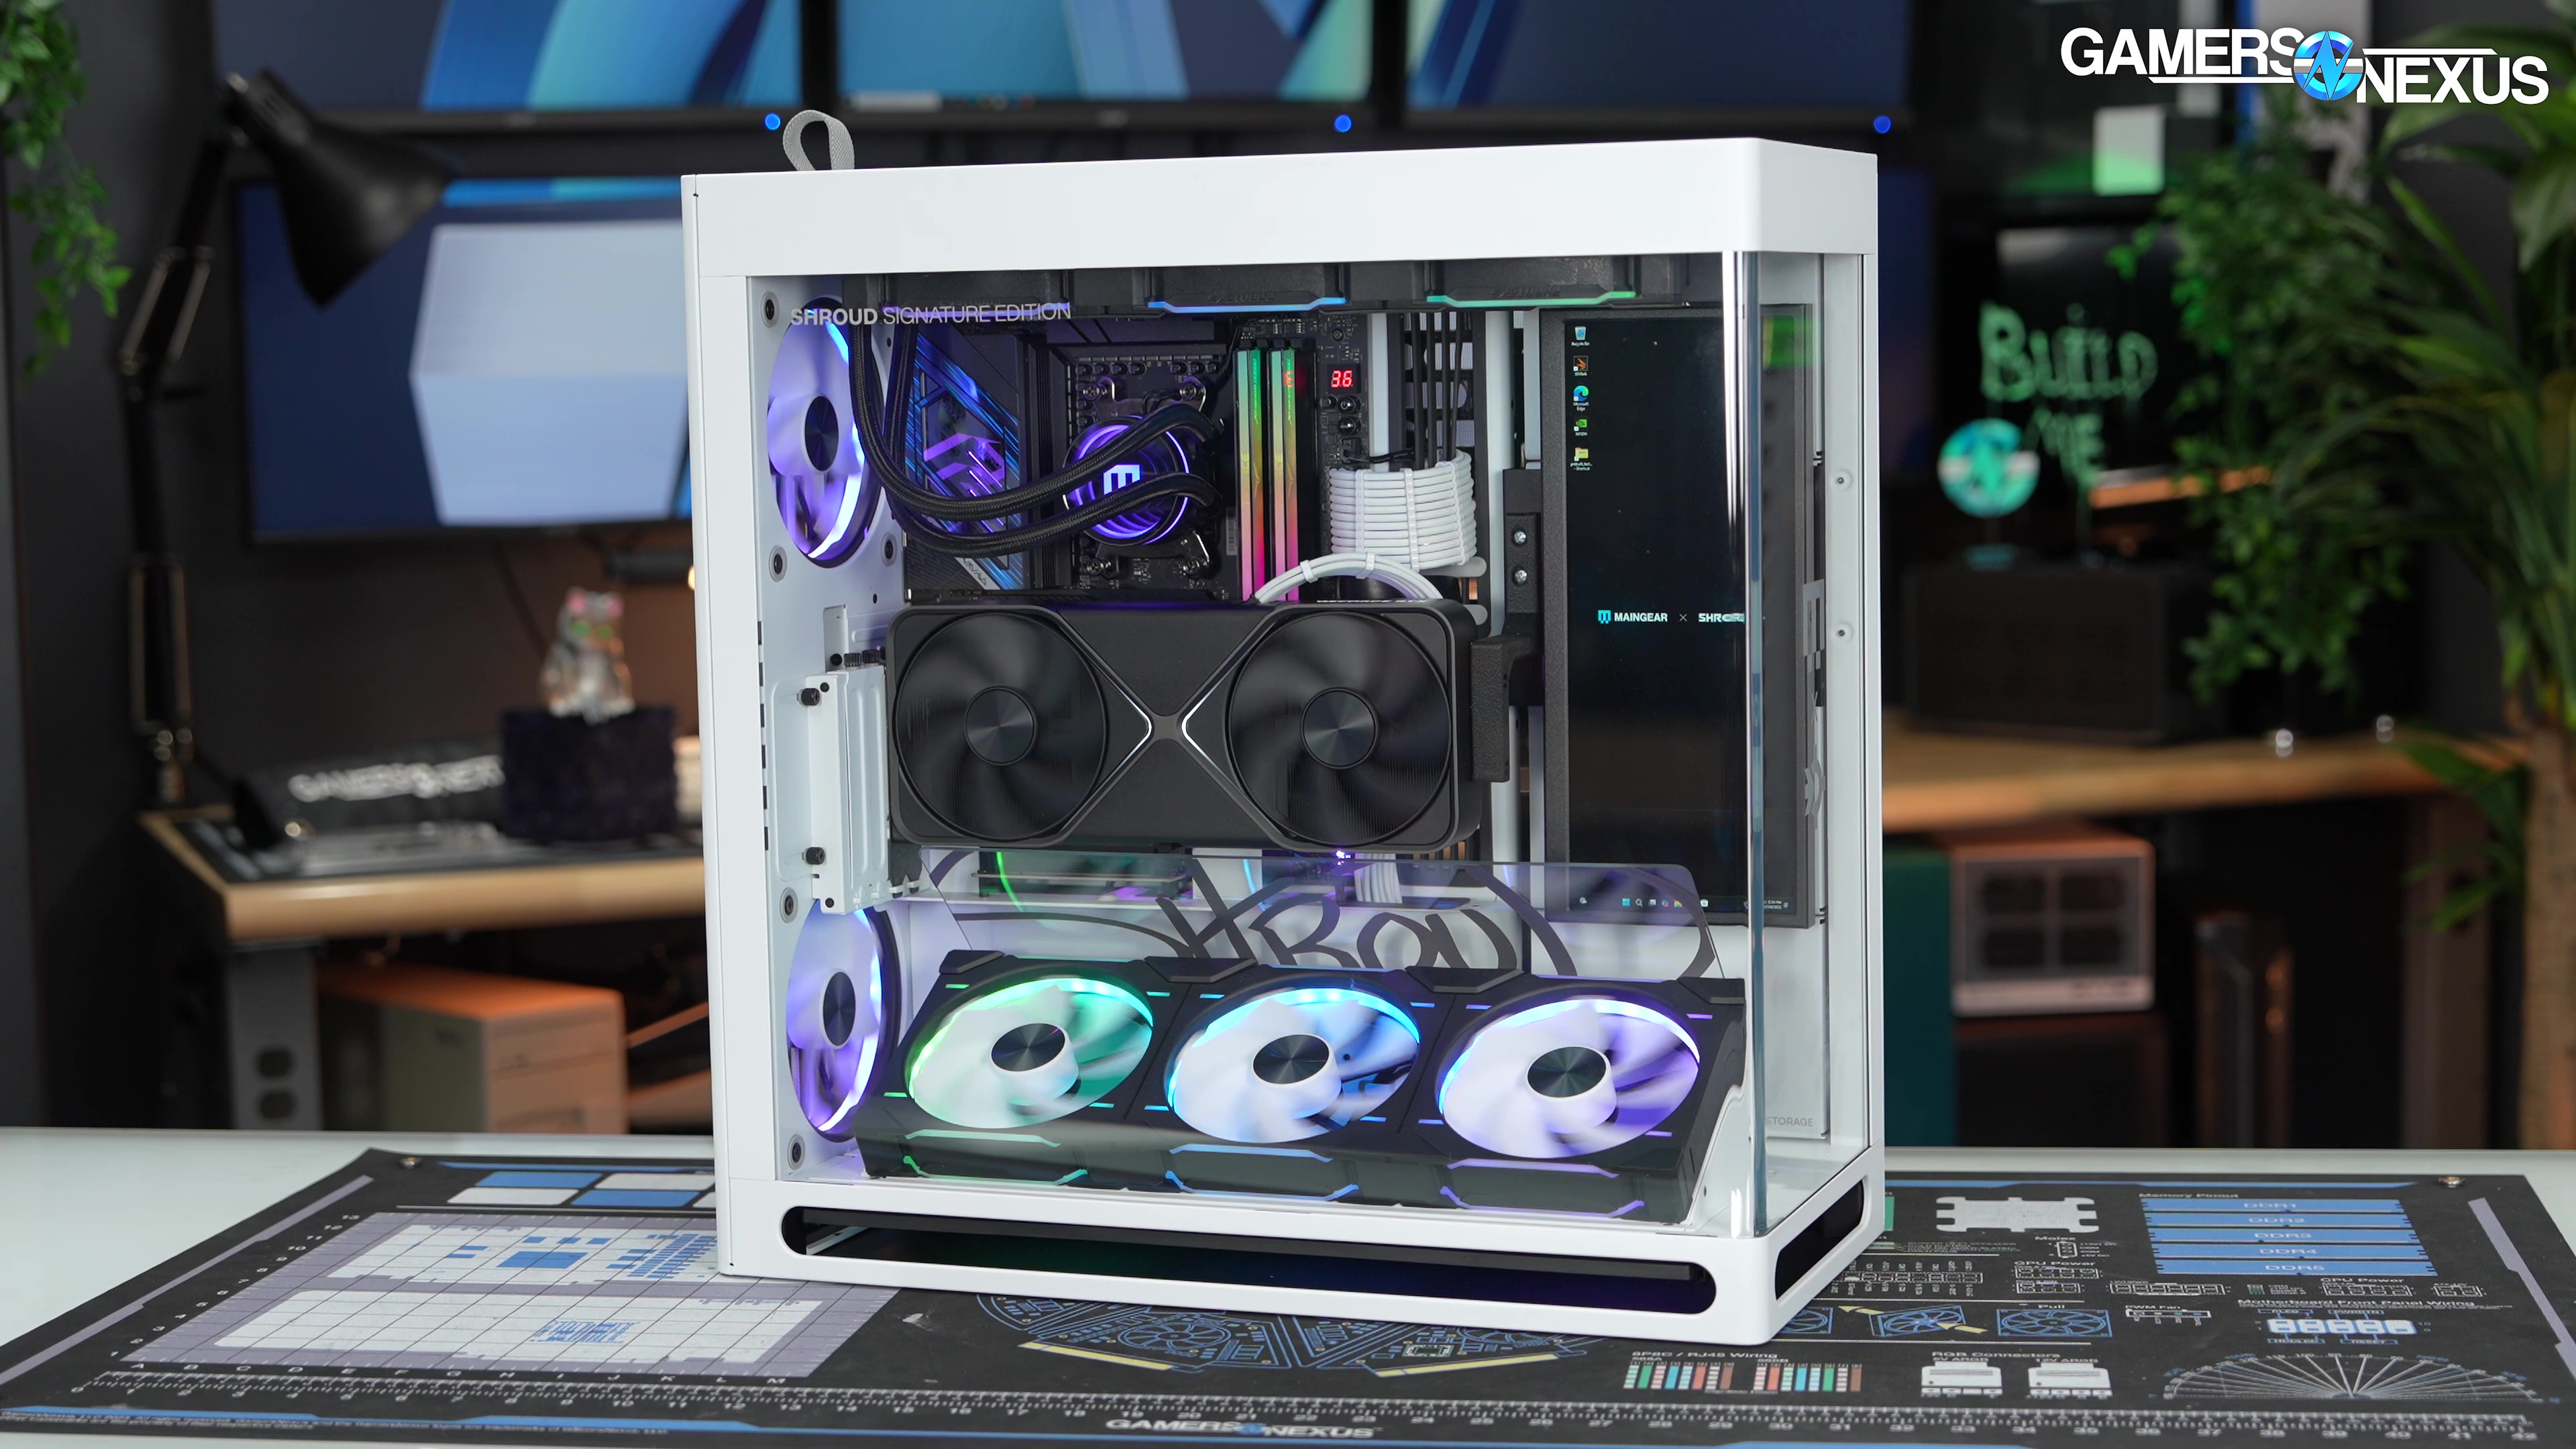
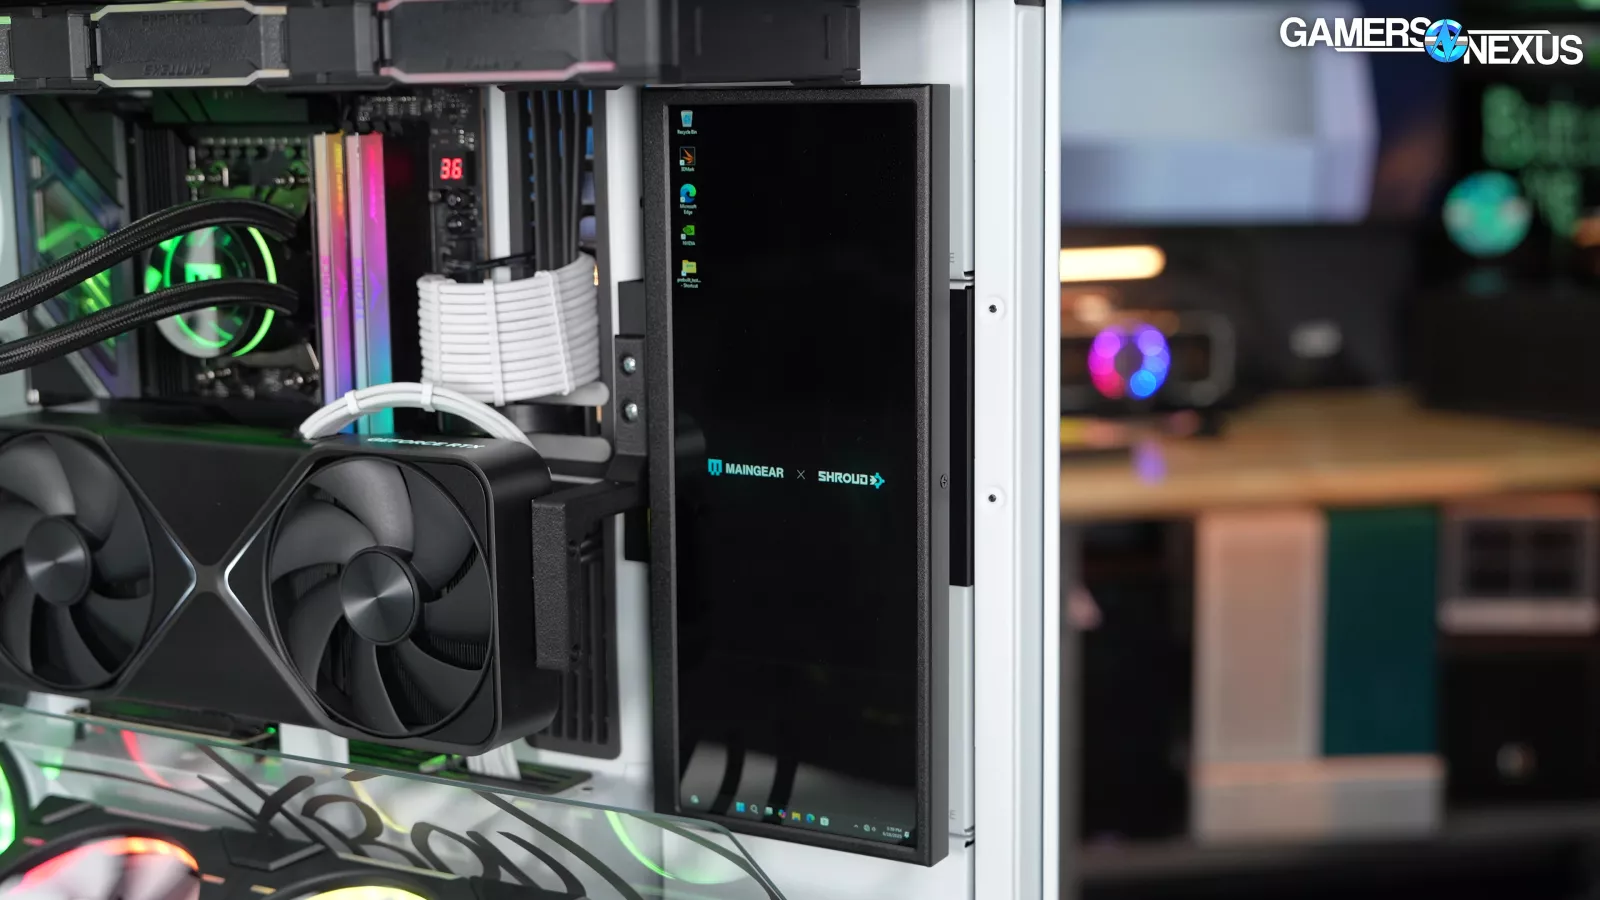
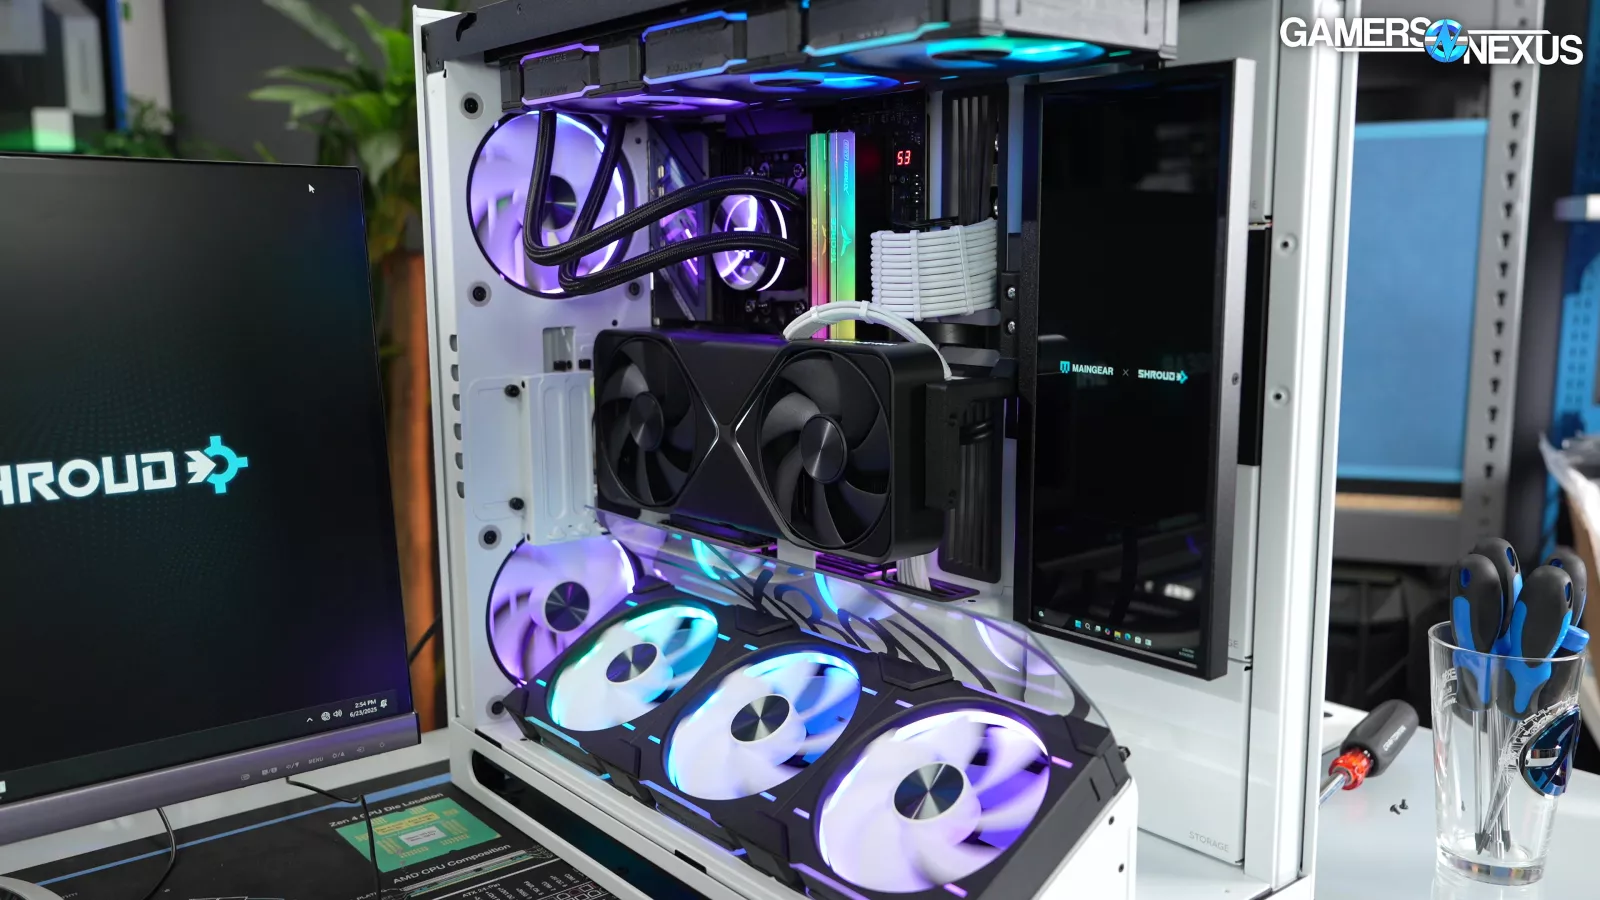
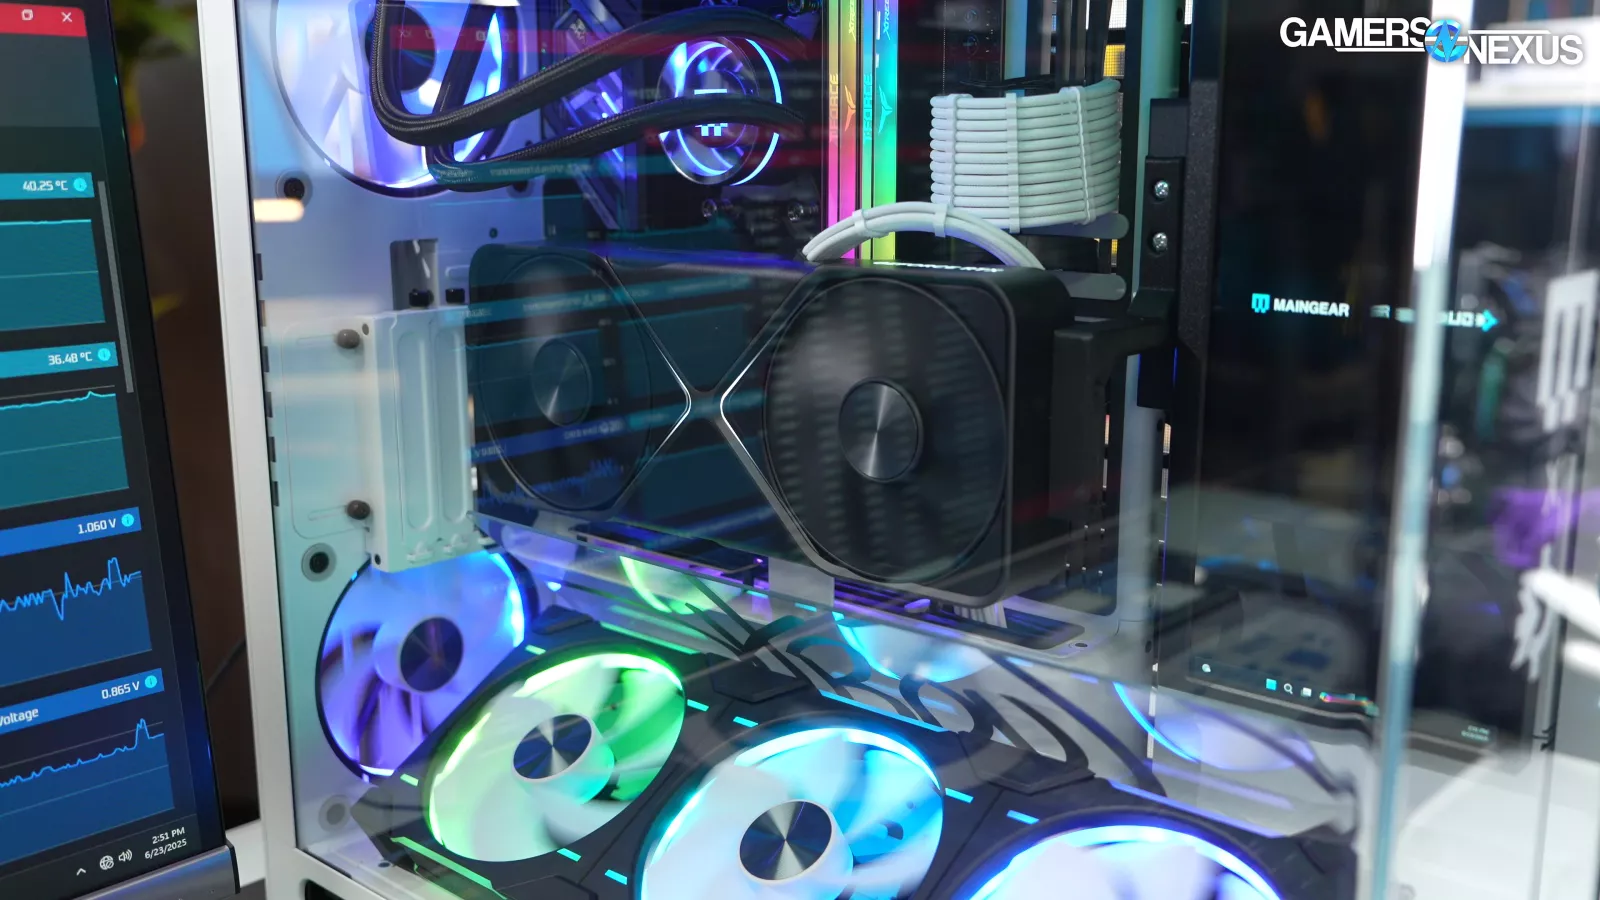
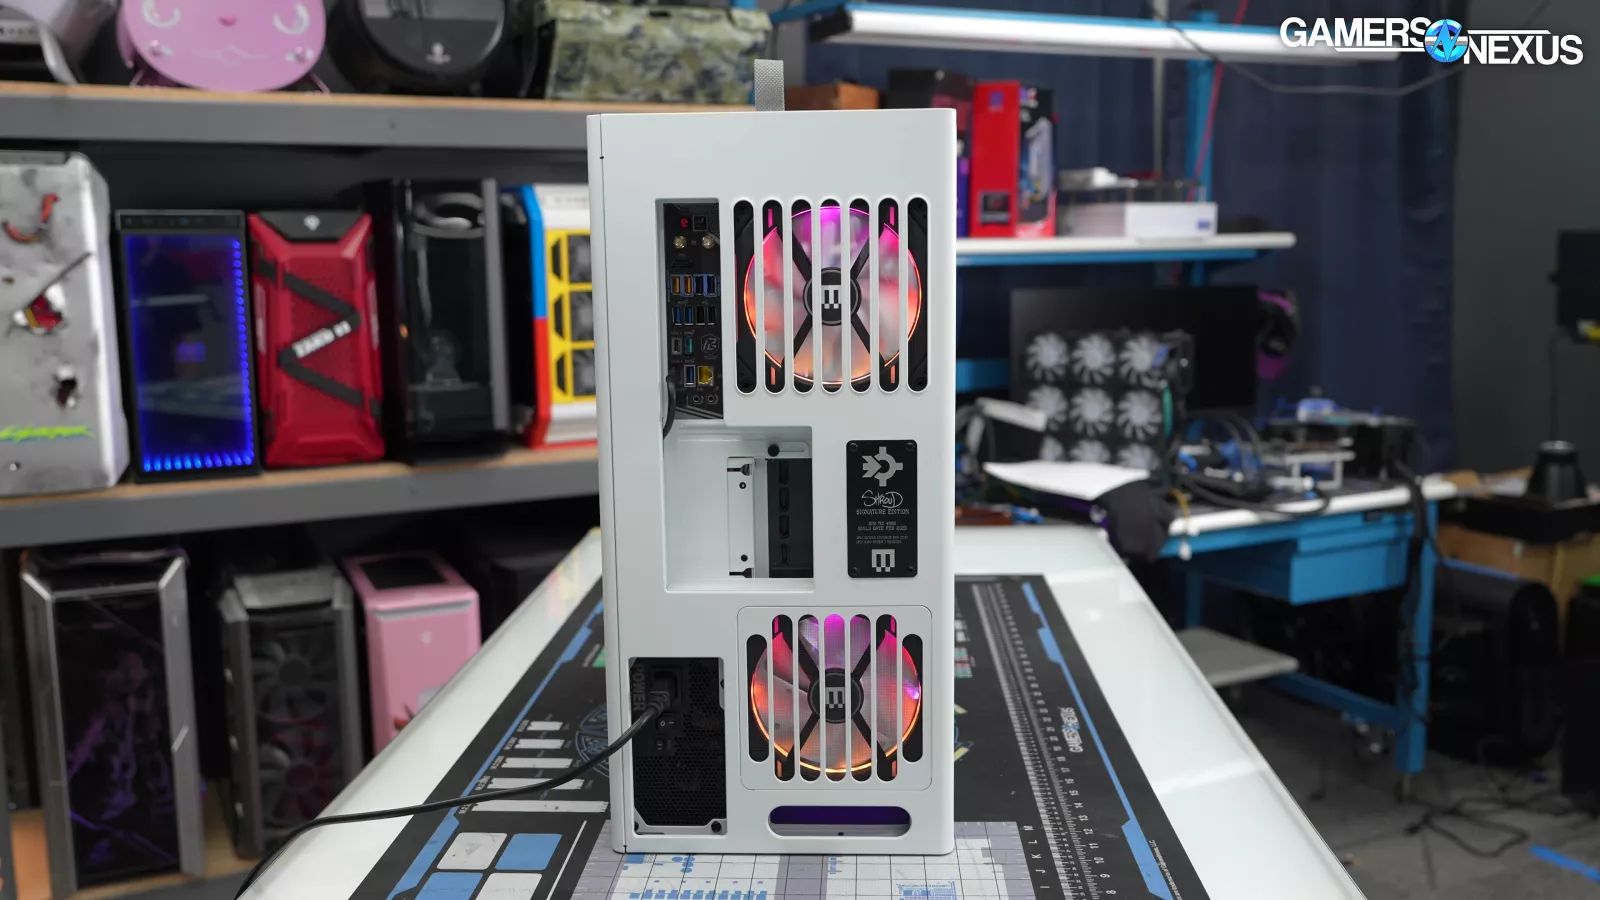
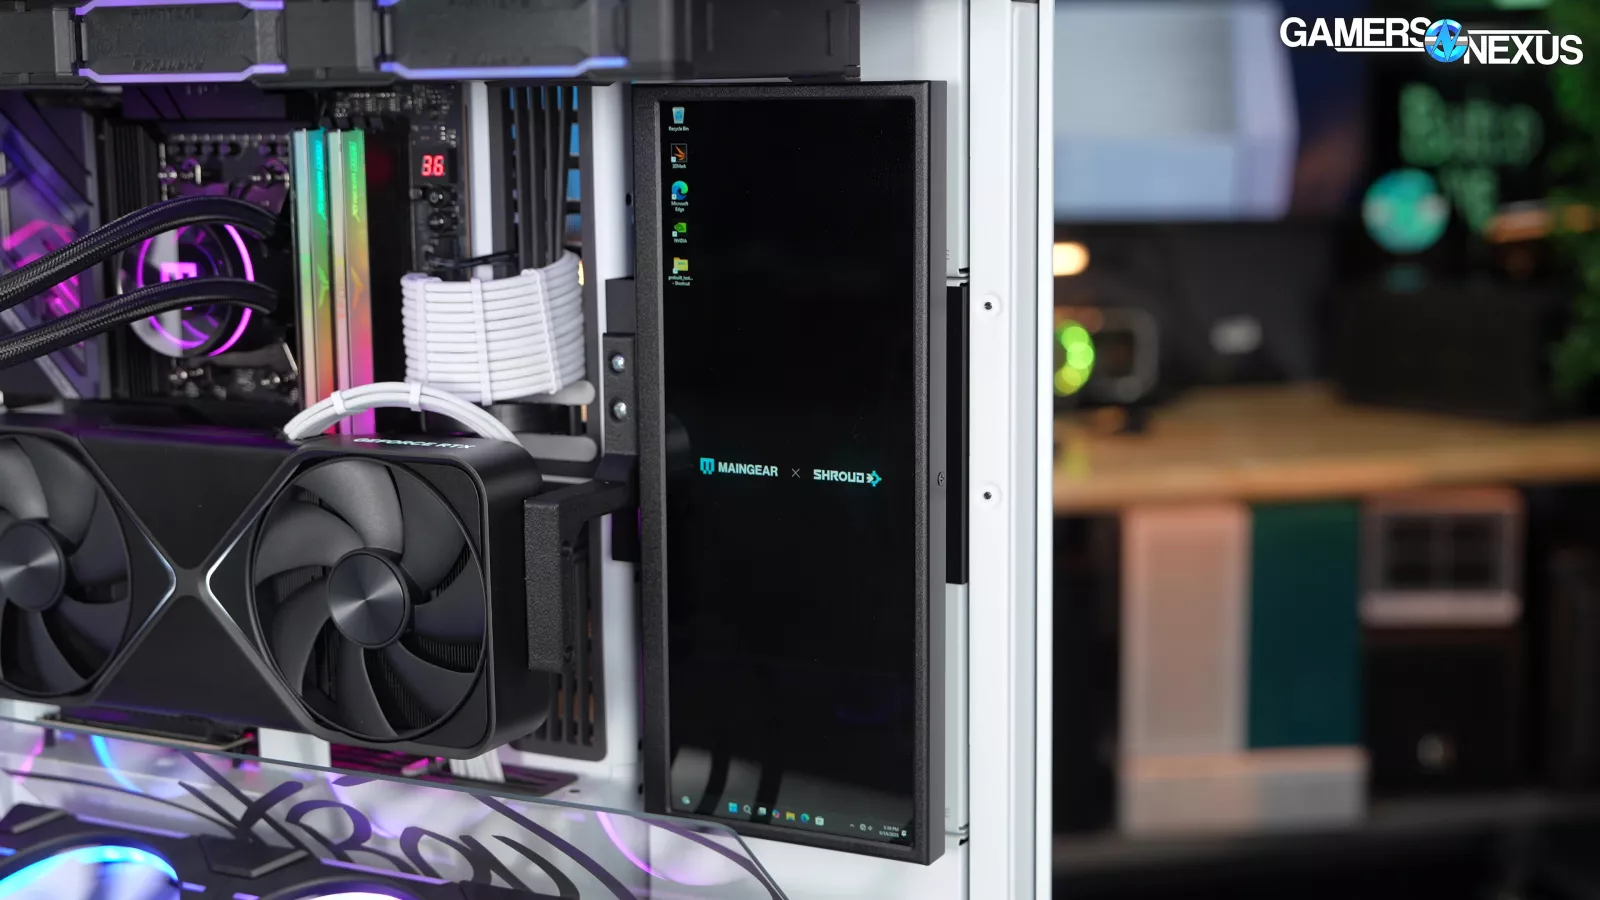
There’s a 1920x720 display inside, covering the drive bay area in the HS 420. It’s connected to the 9800X3D’s integrated graphics via a USB-C cable that routes out to the rear I/O.


Maingear suggests that it’s perfect for chat, but the curve in the glass sits directly between the screen and the user in the normal desk position.
That’s fine though, everyone knows these screens are actually for waifus.

As part of the “MAINGEAR Difference,” it boasts “100% Zero Bloatware. It’s a confusing concept grammatically, but easy to check in practice. We value a clean OS, so having 100% of zero would be an ideal percent share of zero bloatware to have.
Tear-Down
Let’s get into the tear-down.
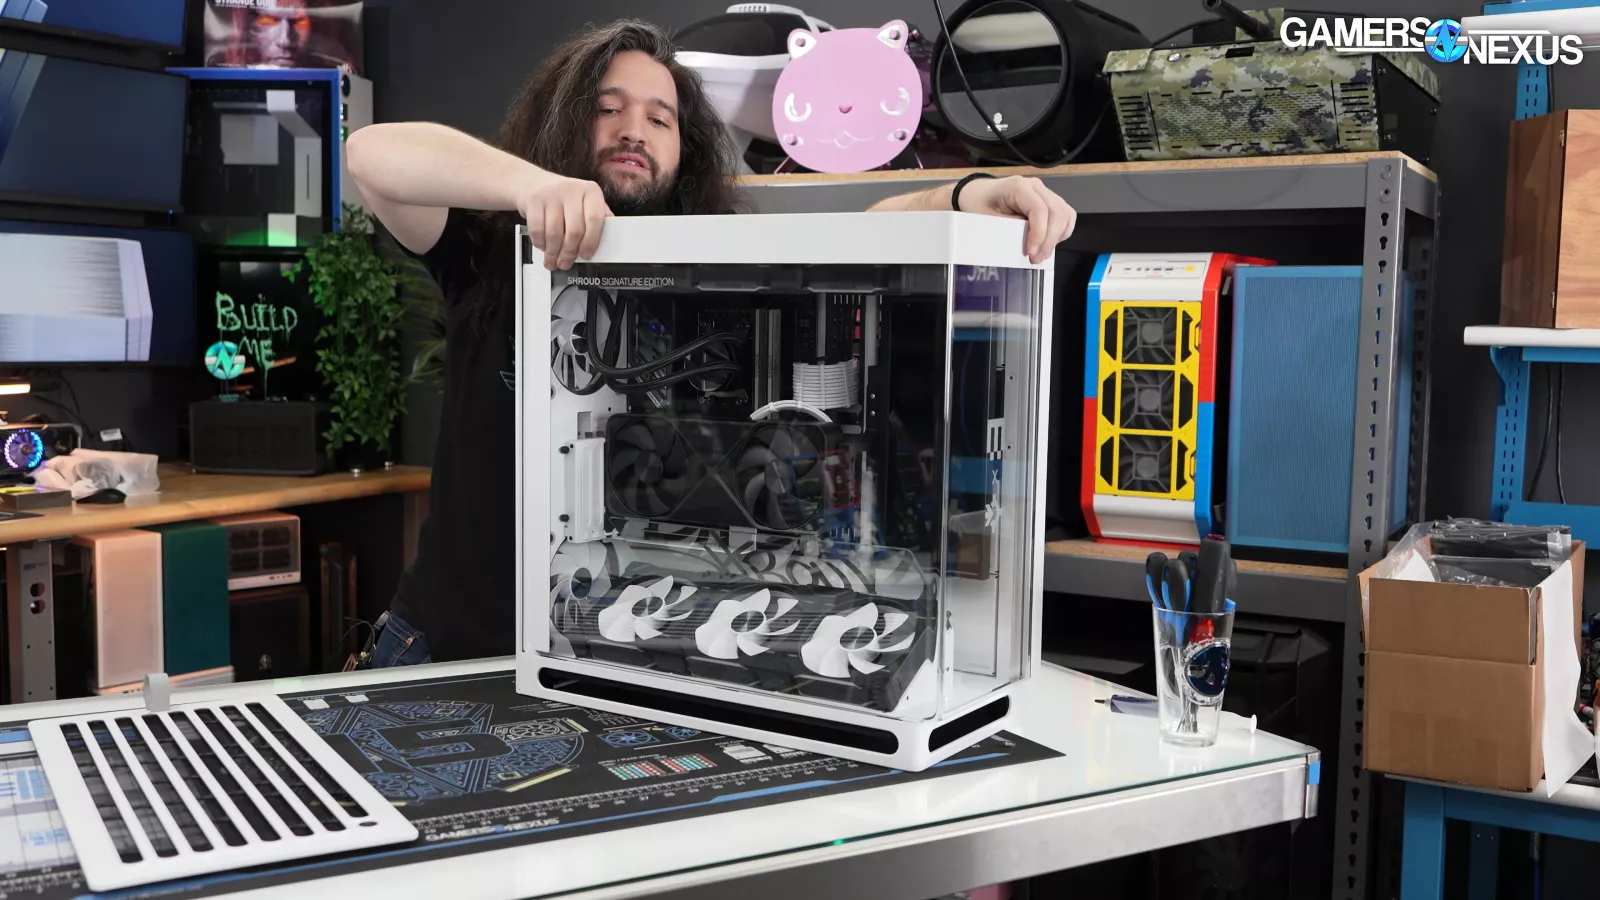
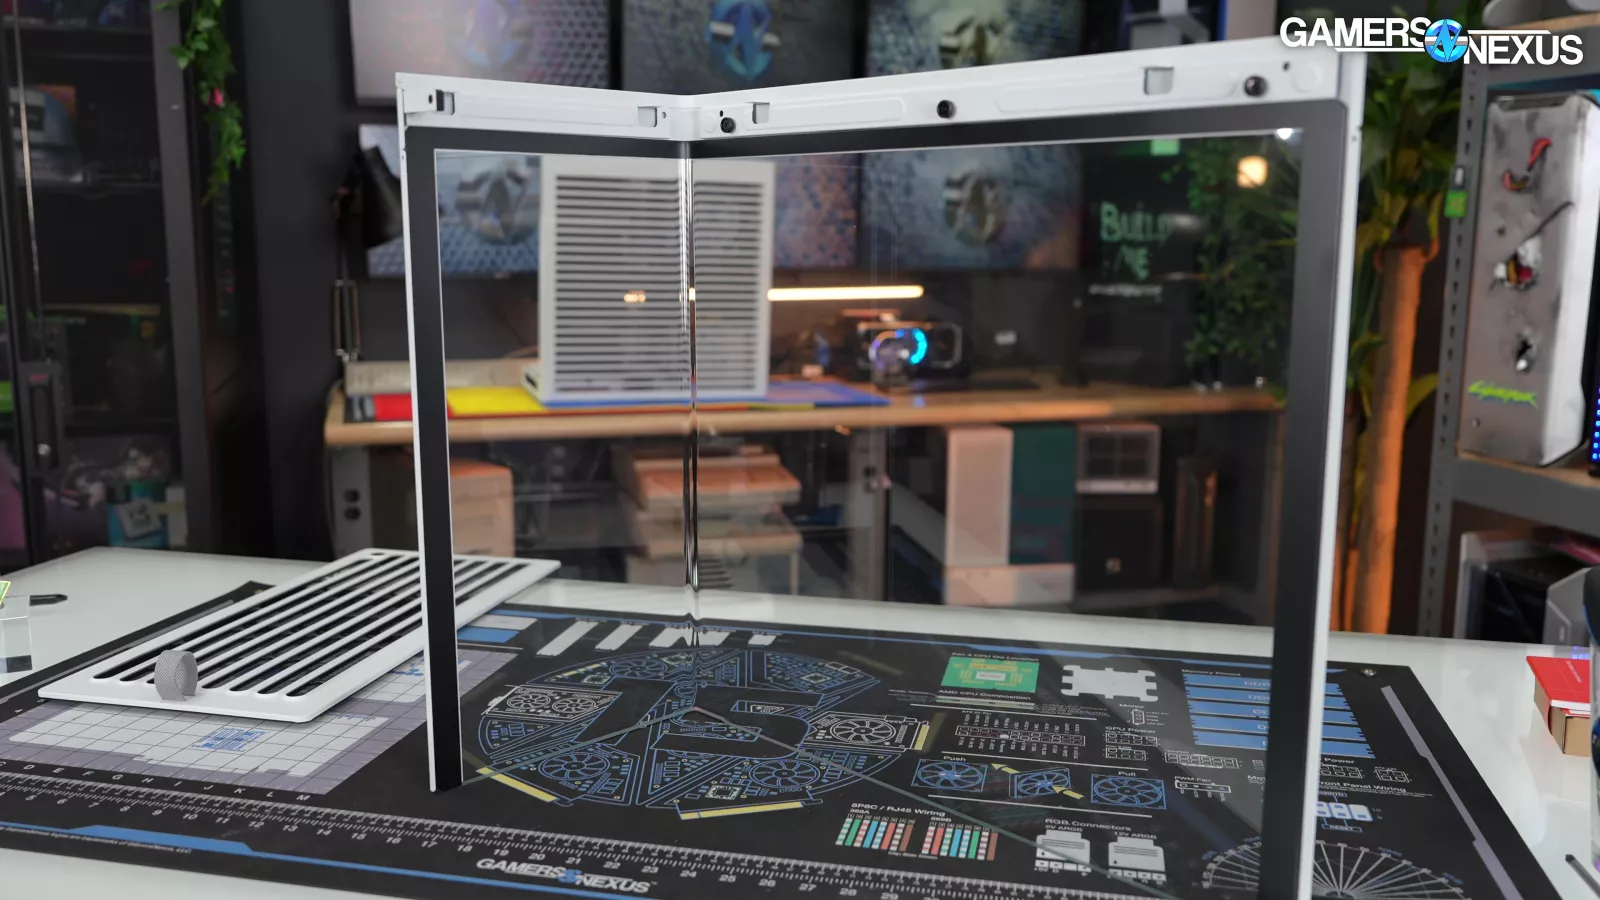
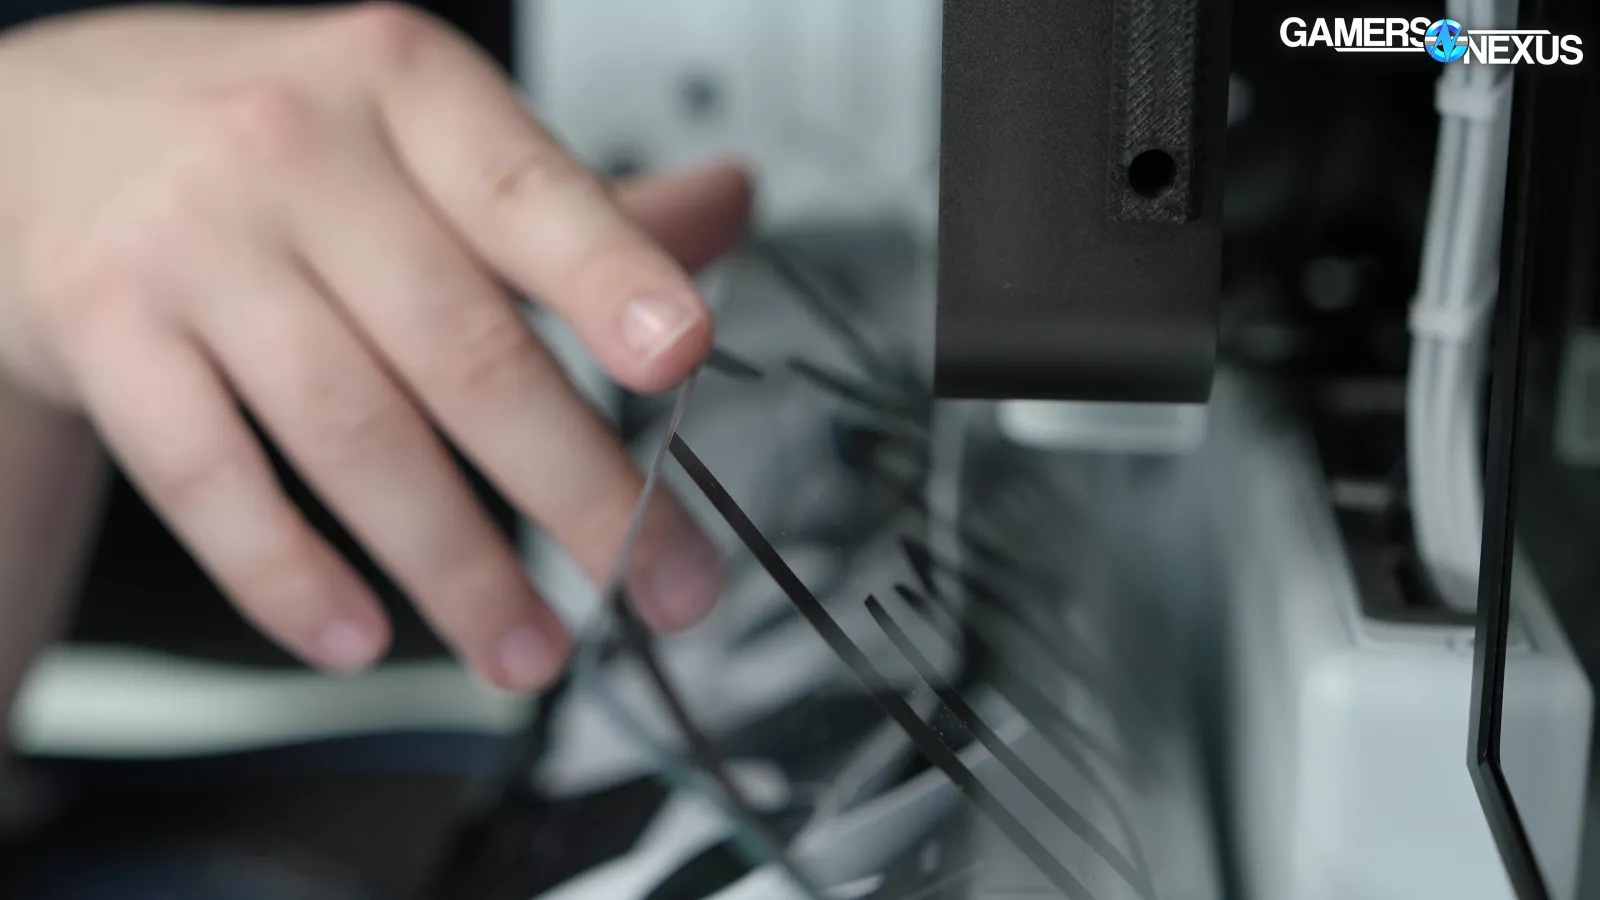
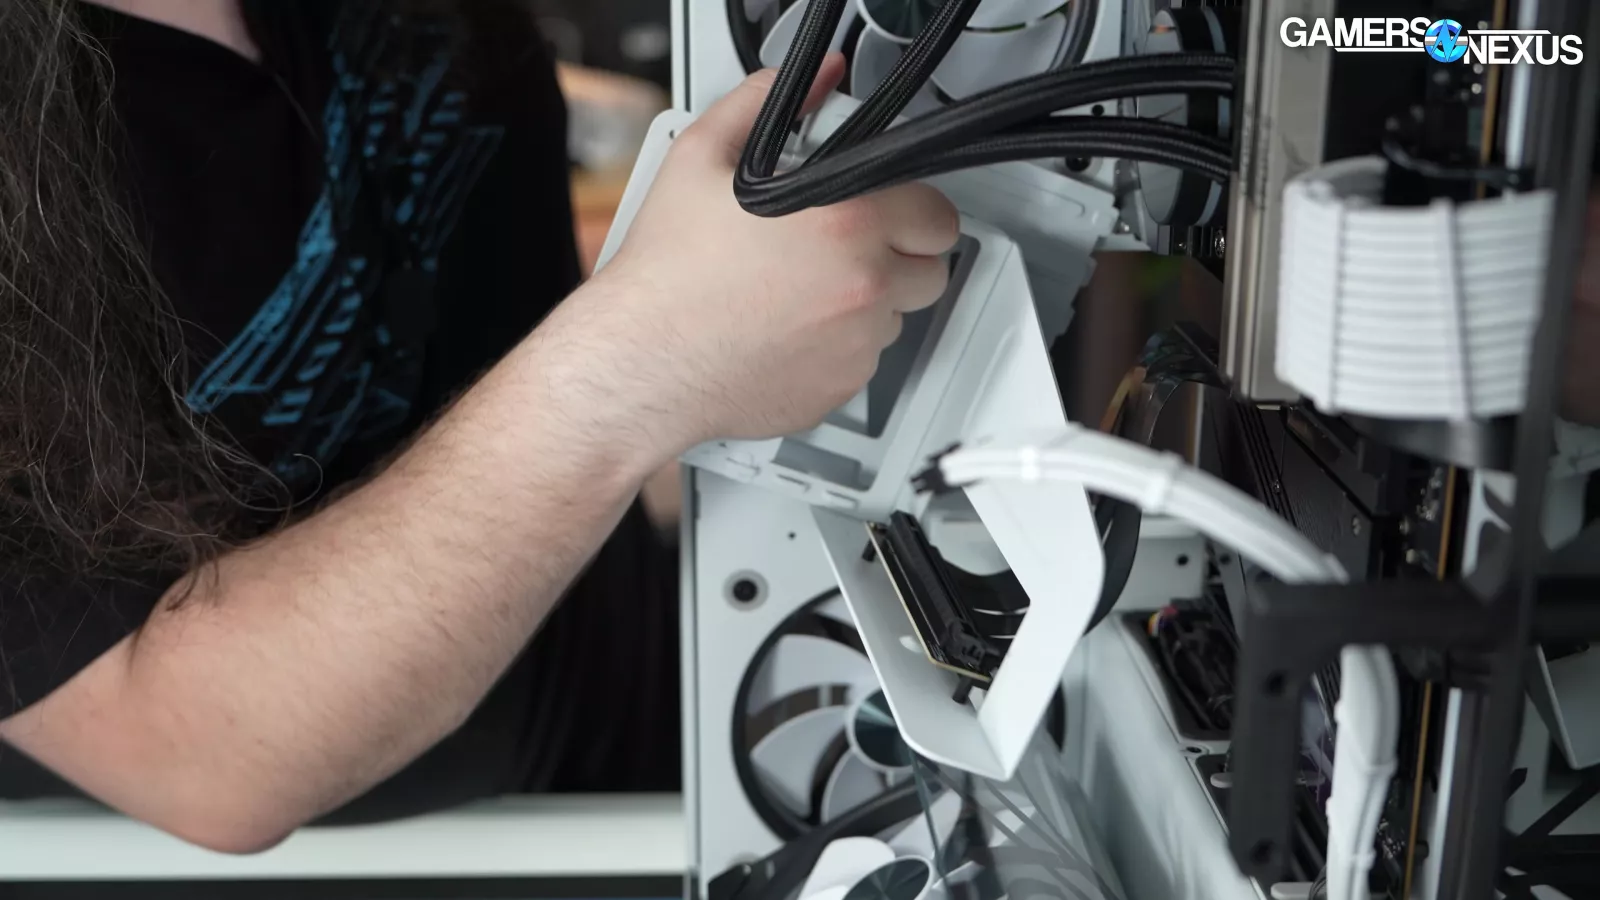
One of the reasons why we like the HAVN HS 420 case is how the panel mechanically slots in.
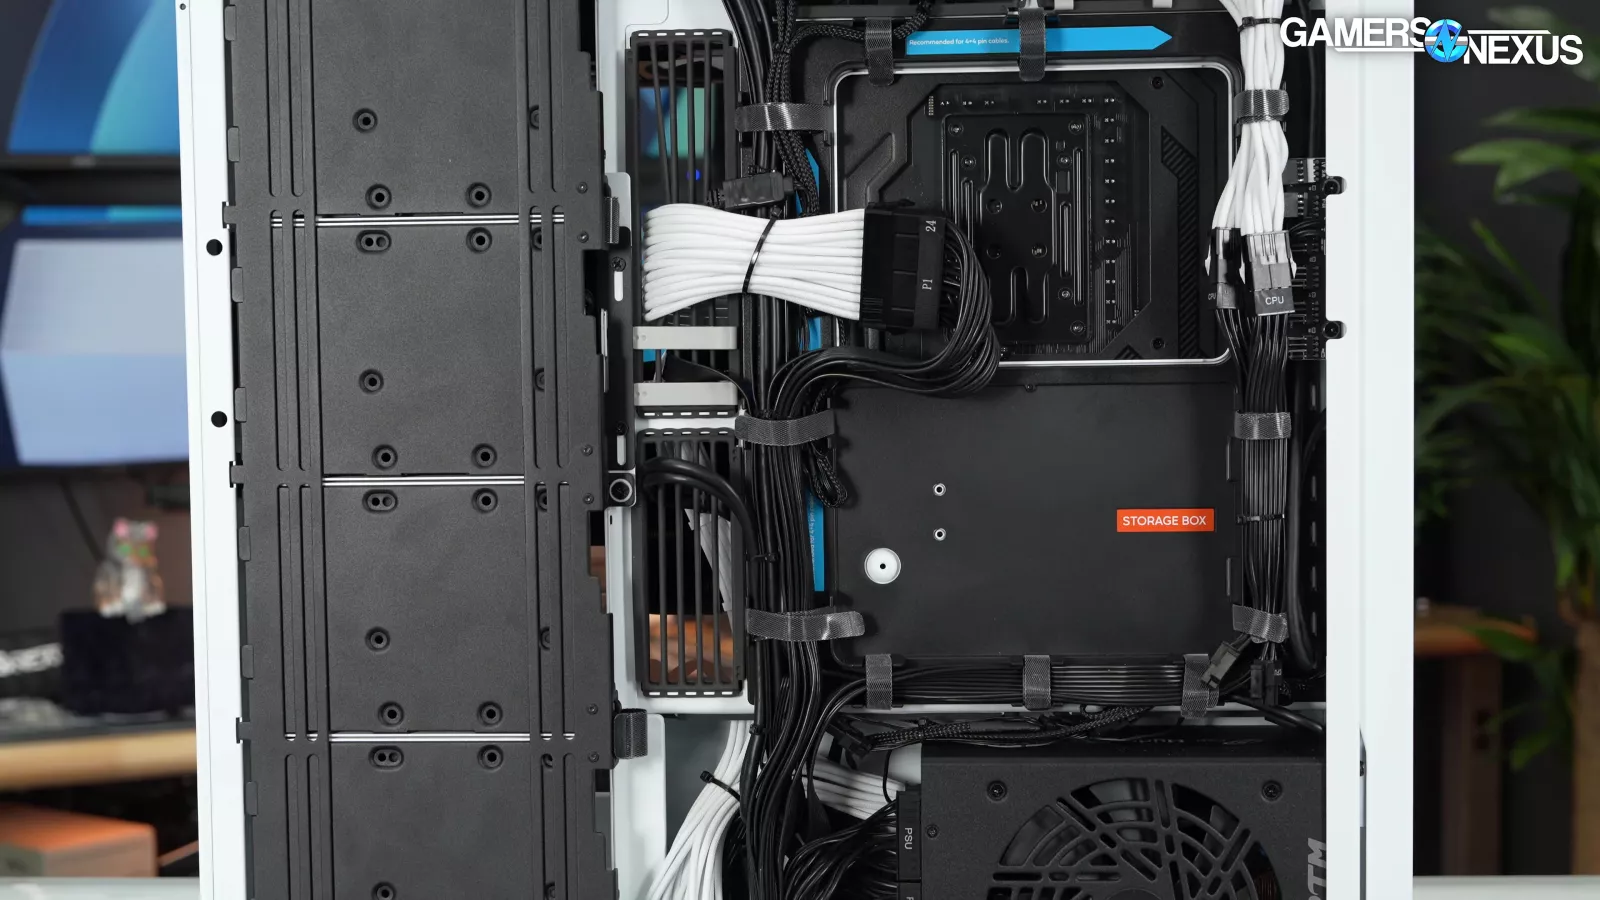

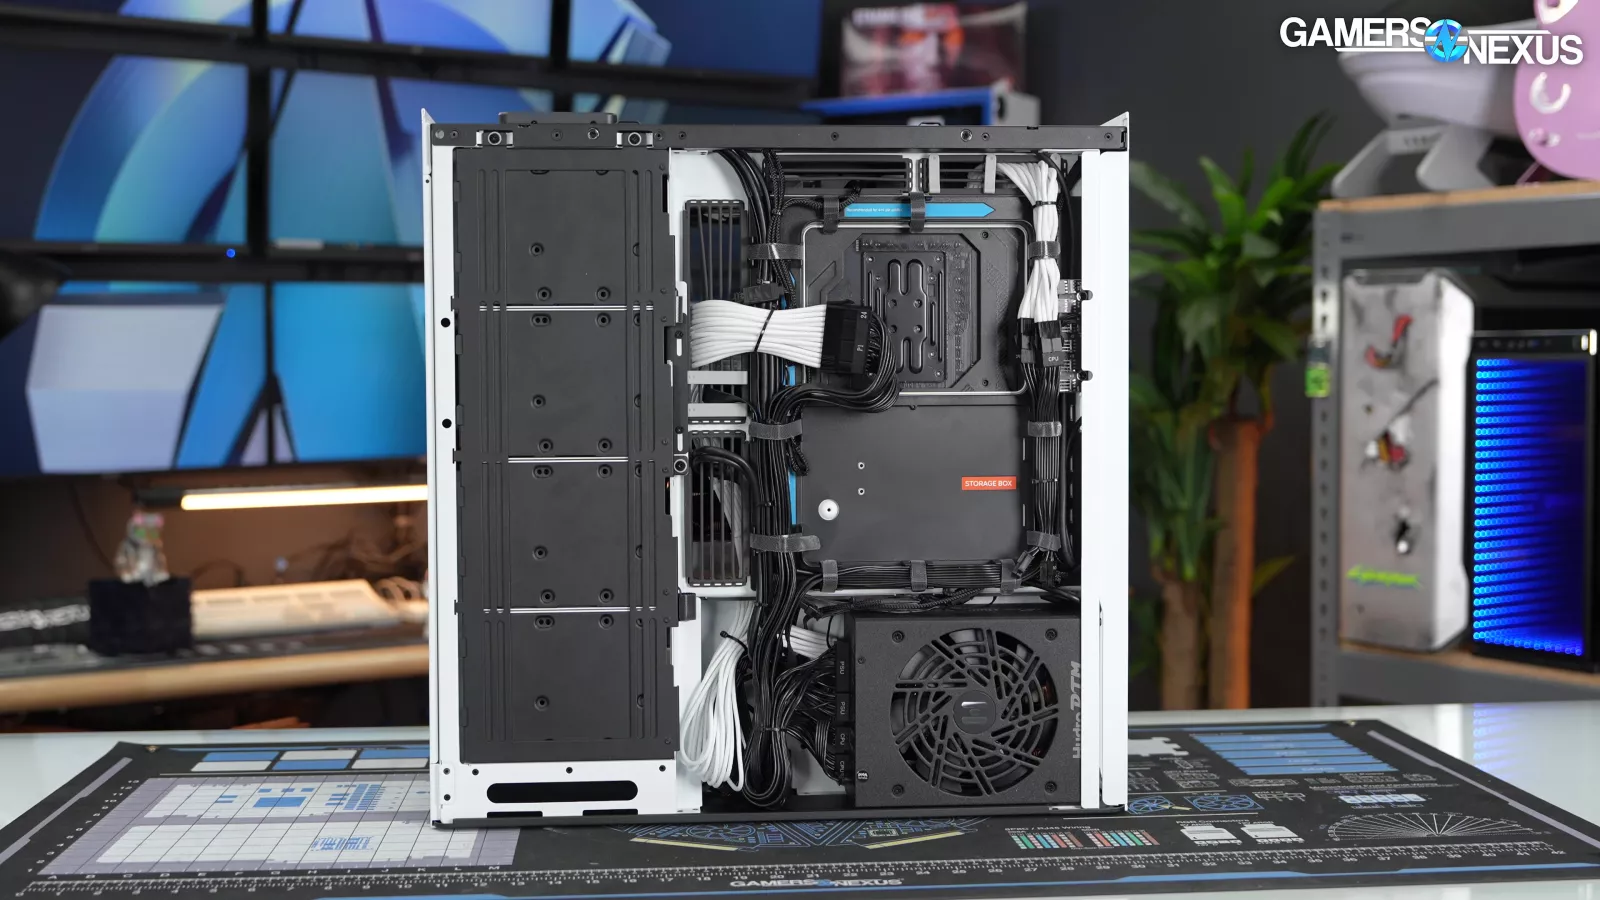
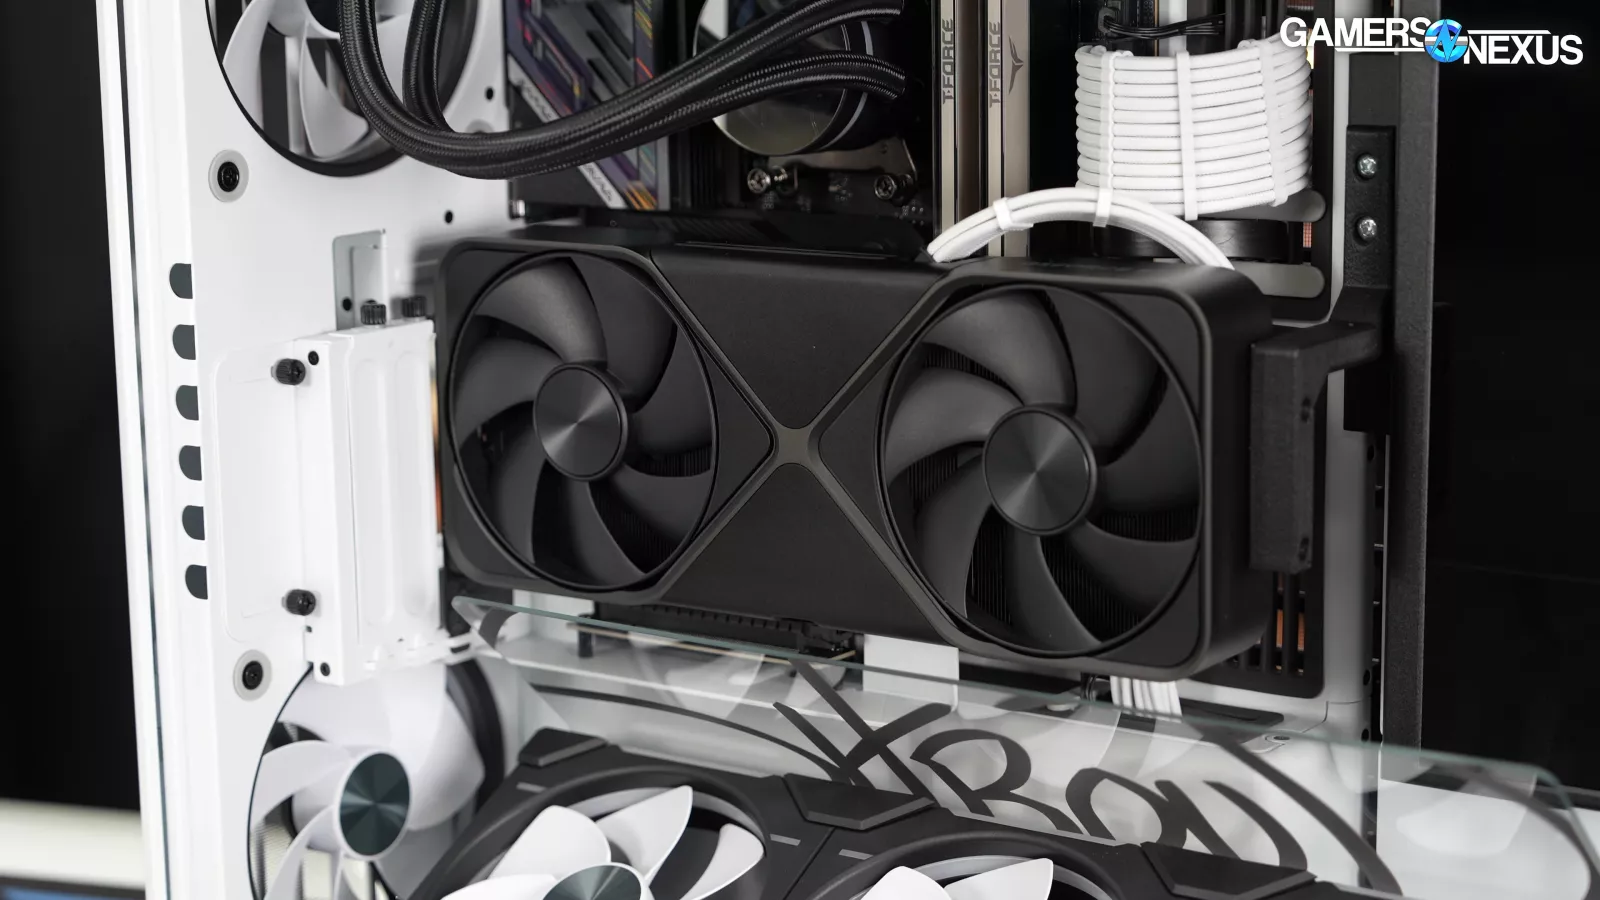
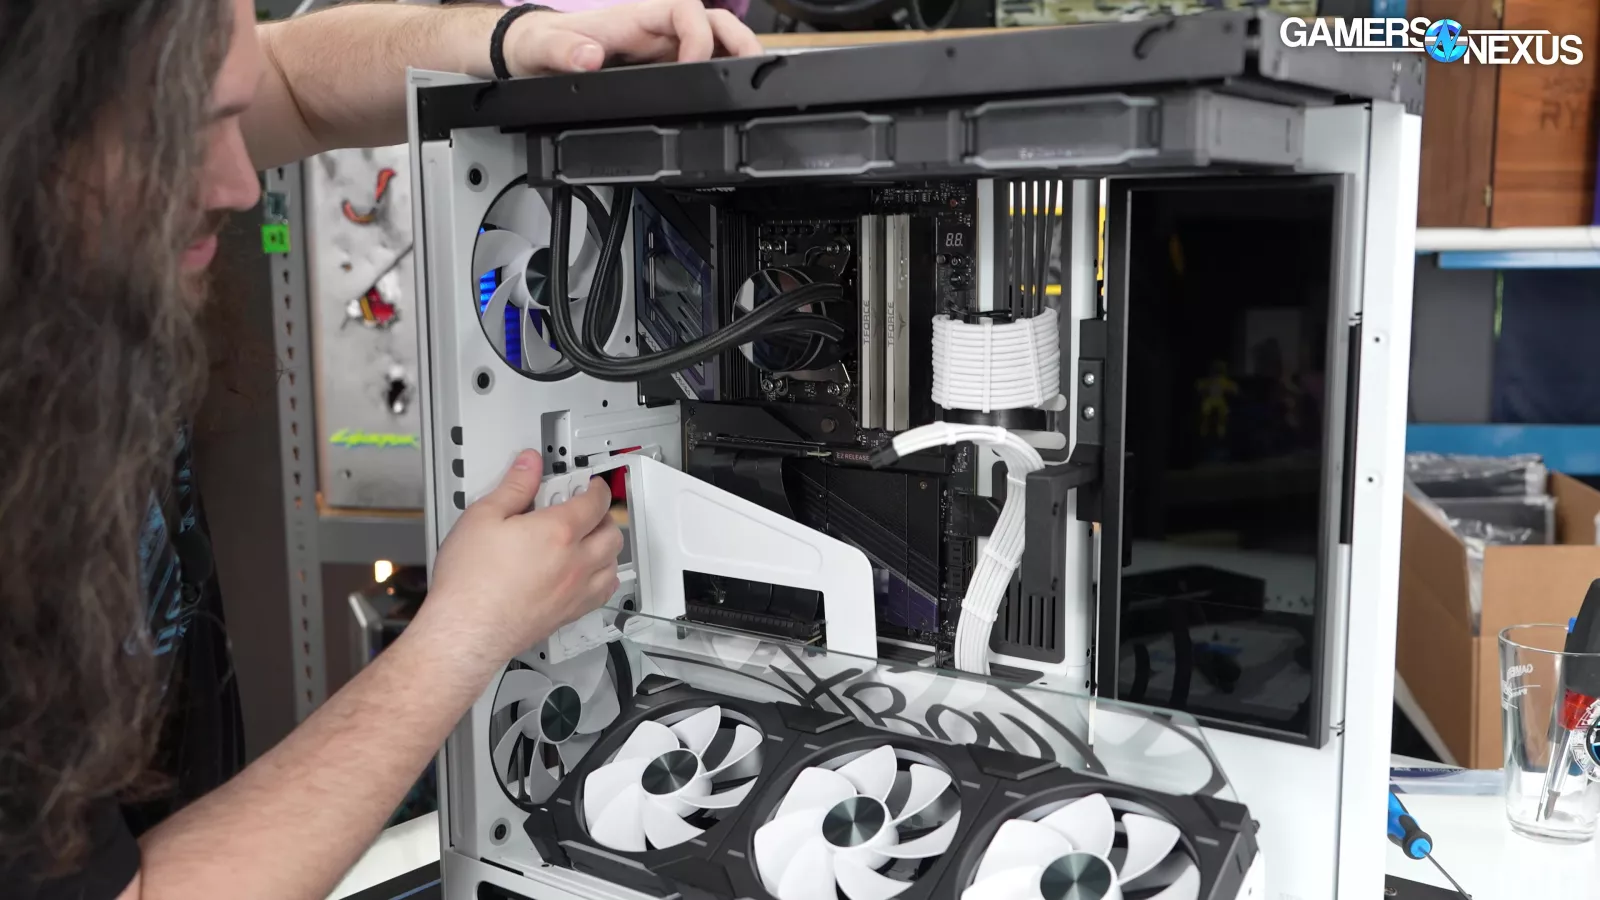
Pulling the backside off reveals the cable management. The PC uses cable extensions, which introduces another point of failure. The 12VHPWR cable is actually a replacement one, which was smart of Maingear. This means it goes from the GPU to the power supply and doesn’t use an extension like the 24-pin. This is good.


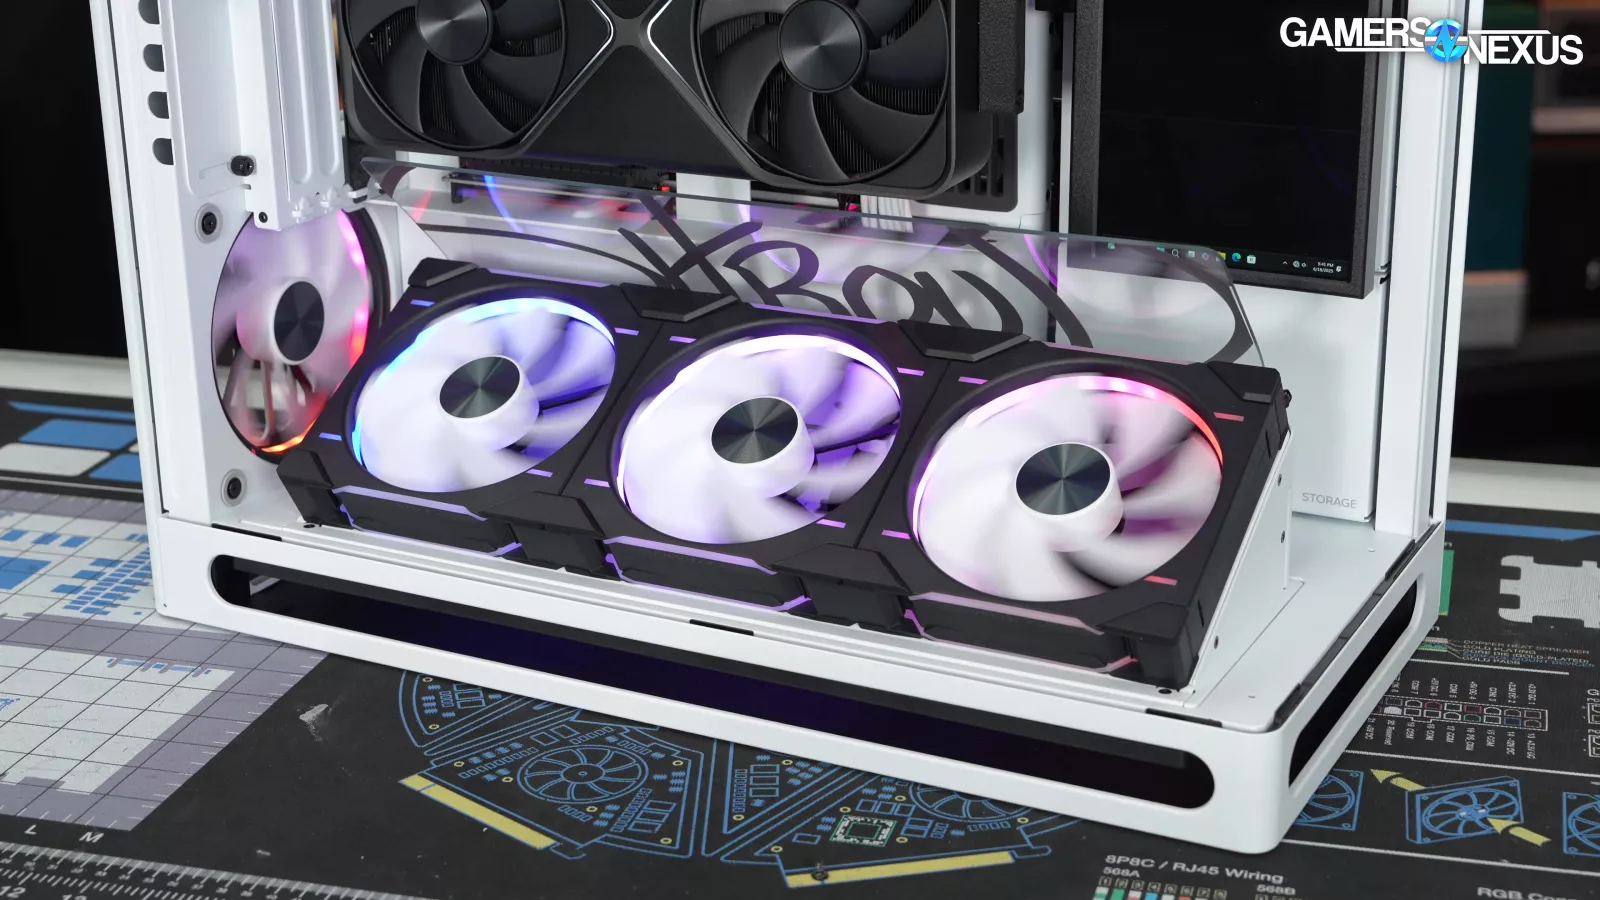
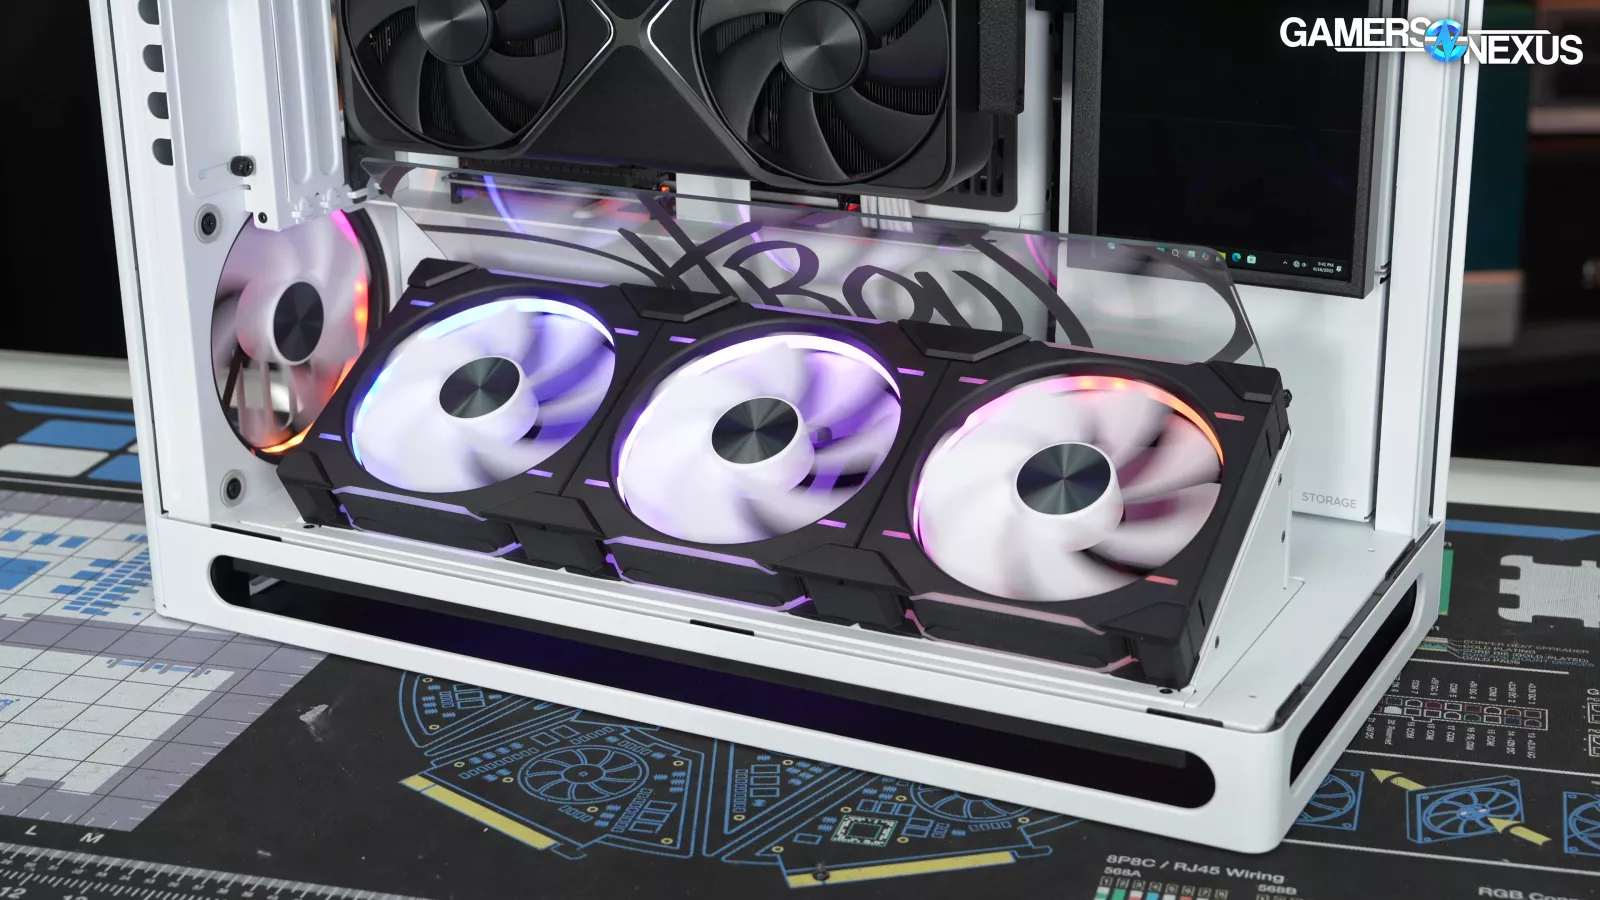
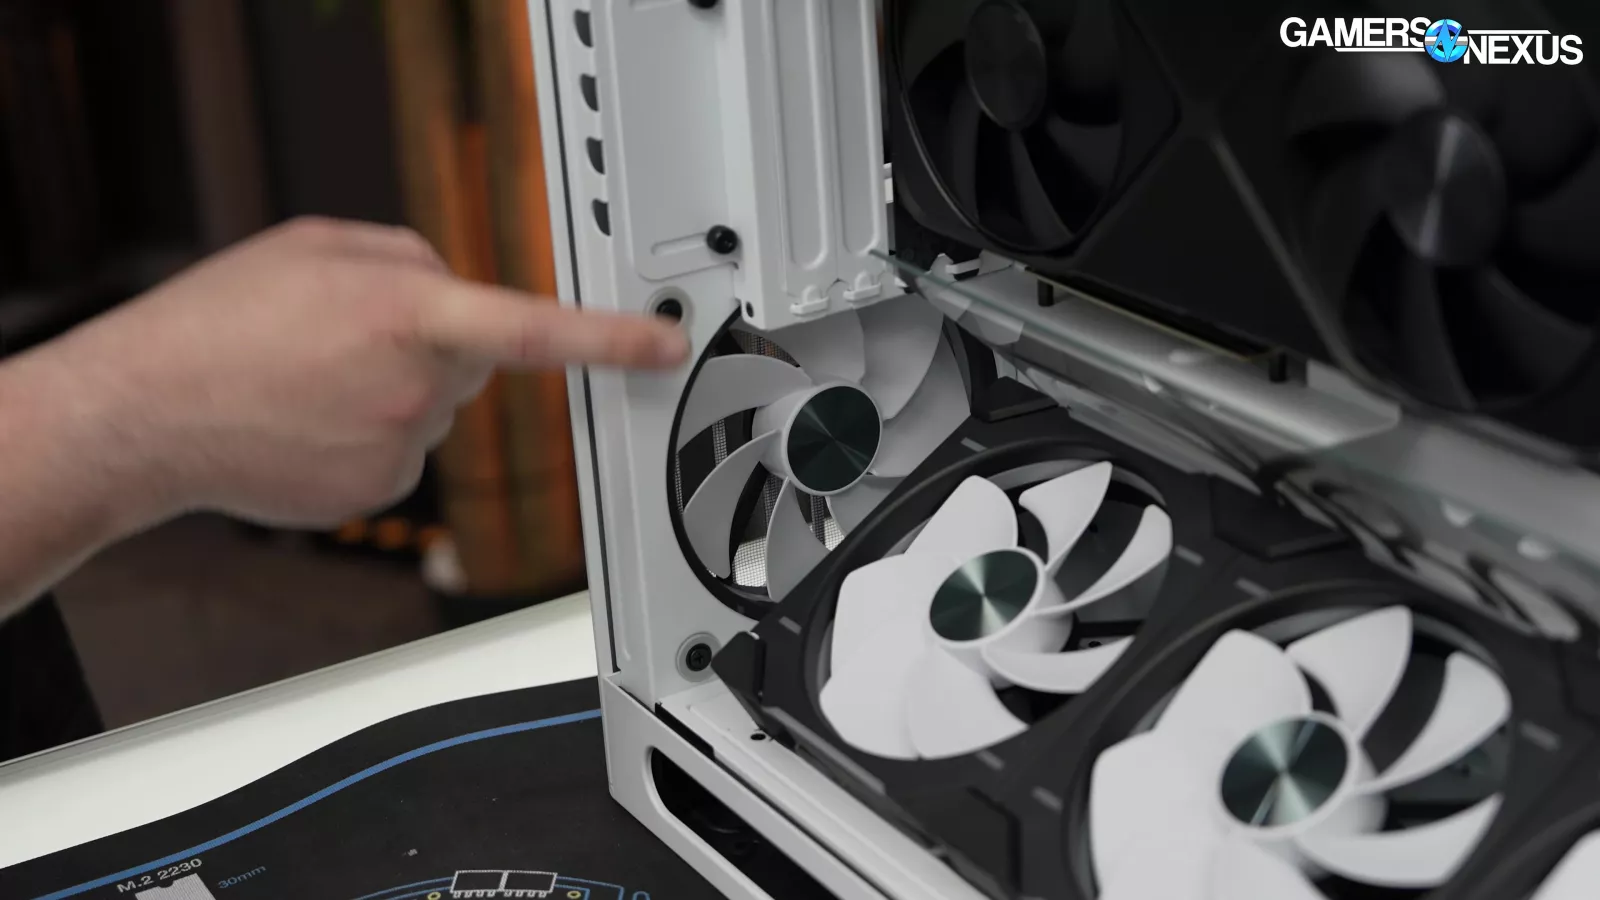
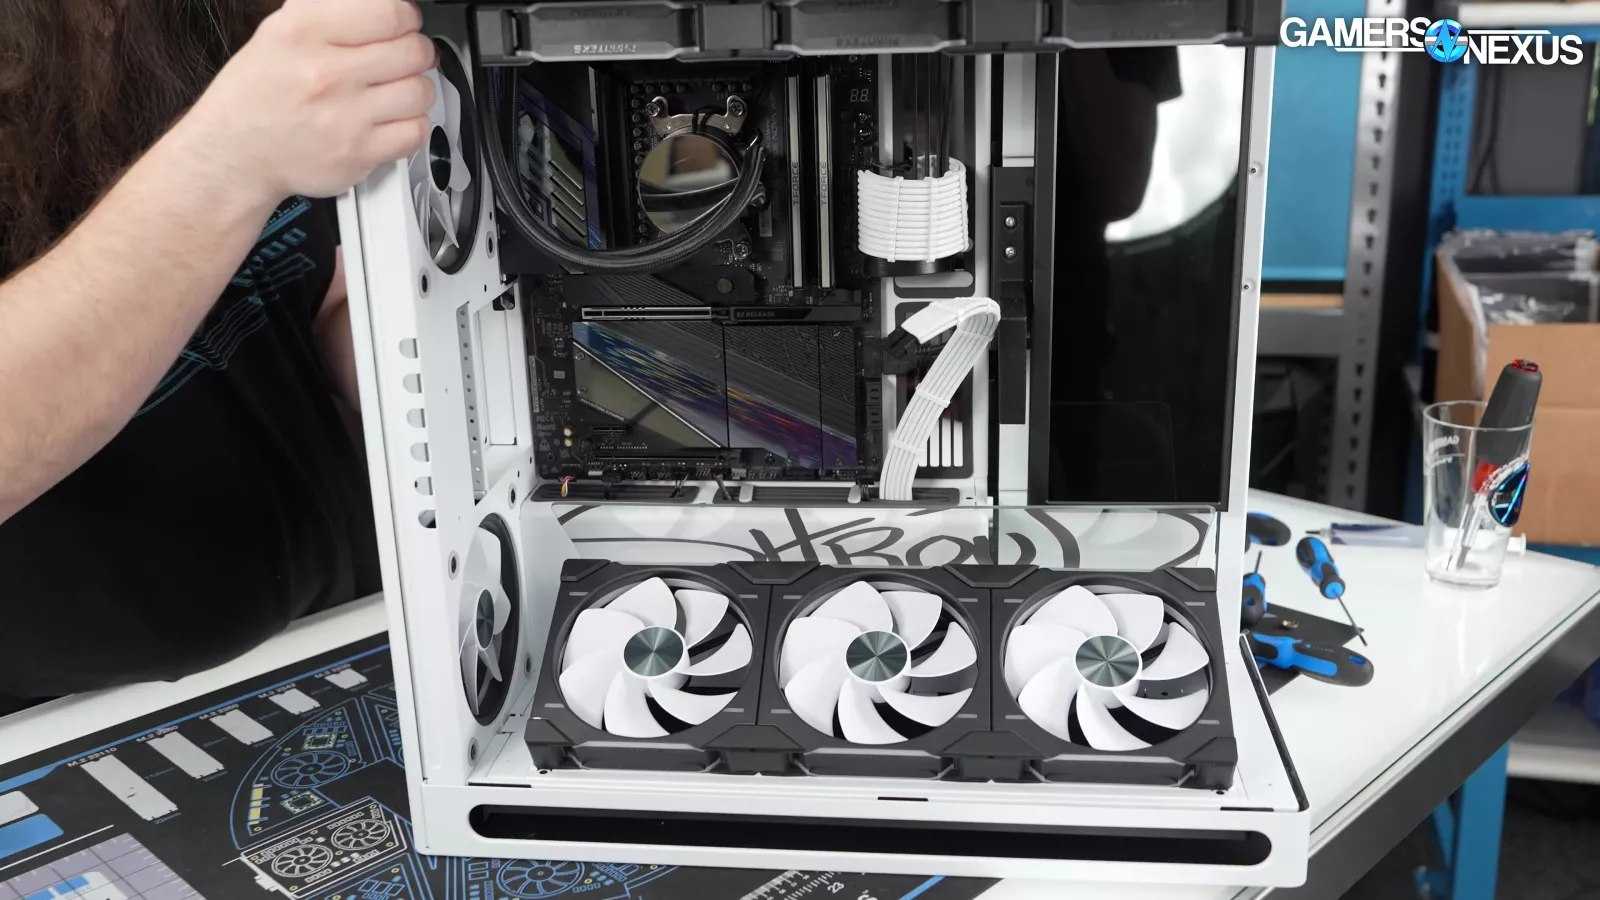
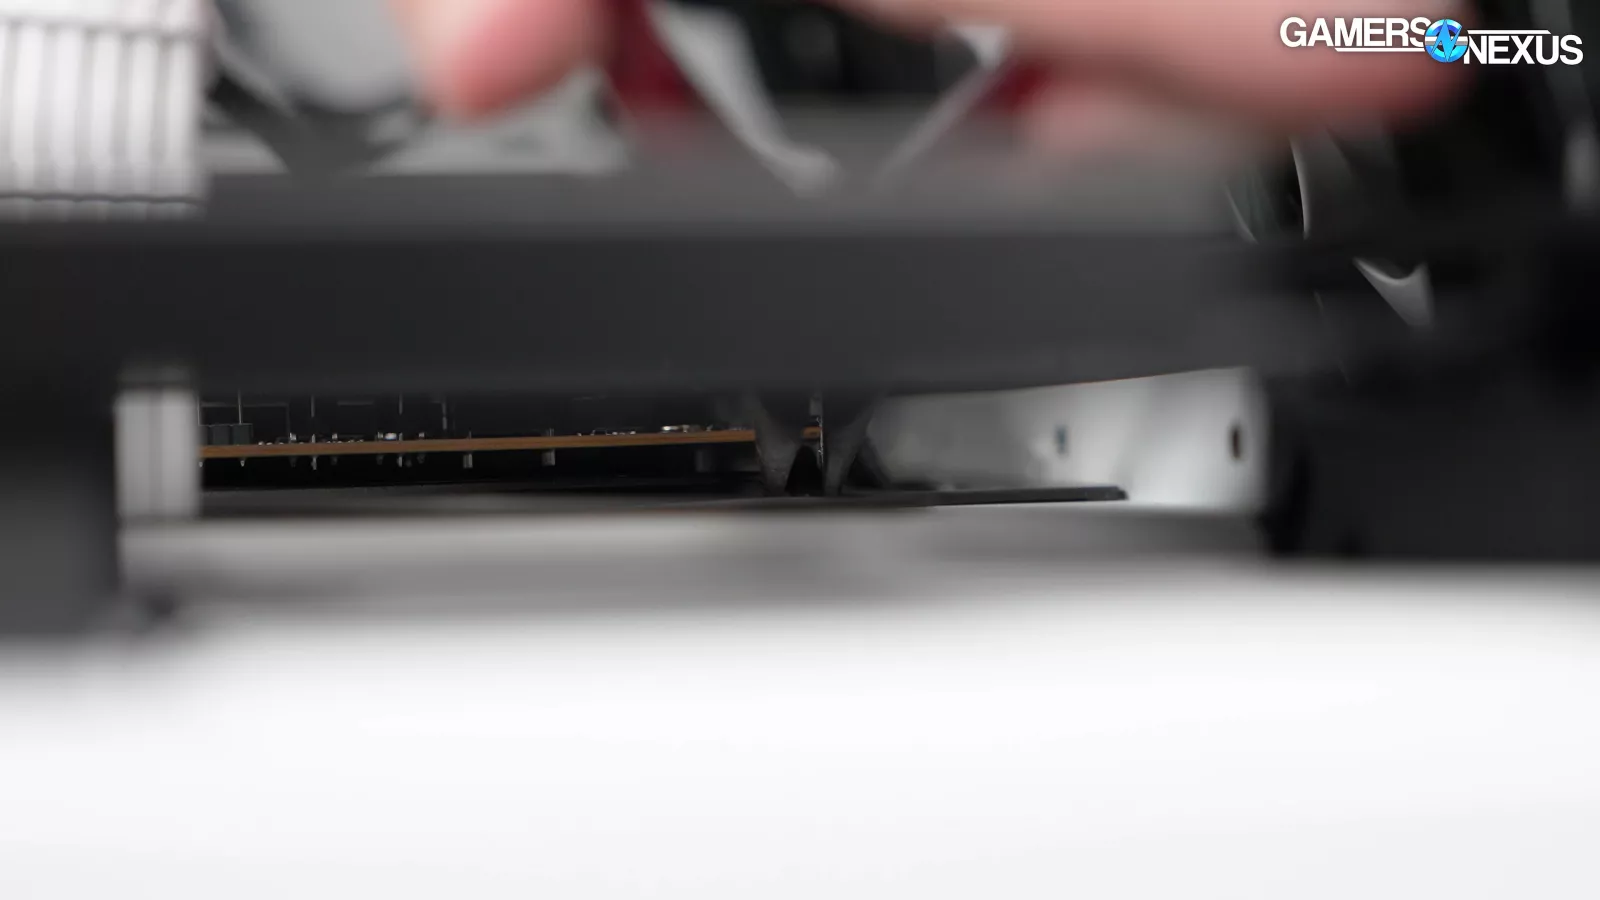
The PC uses a vertical GPU mount. The glass pane acts kind of like a flow guide. The idea is that it shoots the air from the bottom up towards the glass and back at the GPU, but in our testing, it hindered performance, though not in a big way. Actually laying the 3 bottom fans down flat performed better. This means the PC uses a sub-optimal configuration, though it’s still okay. The system’s bigger problem is that they aren’t utilizing the fans speeds the way they should be.
The gap between the GPU and the glass plate should be much closer. The closer the GPU is to the top edge of the glass, the better it will perform. Otherwise, it introduces some potential recirculation issues.
For the case, HAVN recommends using the lower back fan as intake and the upper back fan as exhaust. Unfortunately, Maingear set up both fans as intake. This means the system integrator isn’t following the case manufacturer’s recommendation. When we tested the case, HAVN’s recommended way did work better.
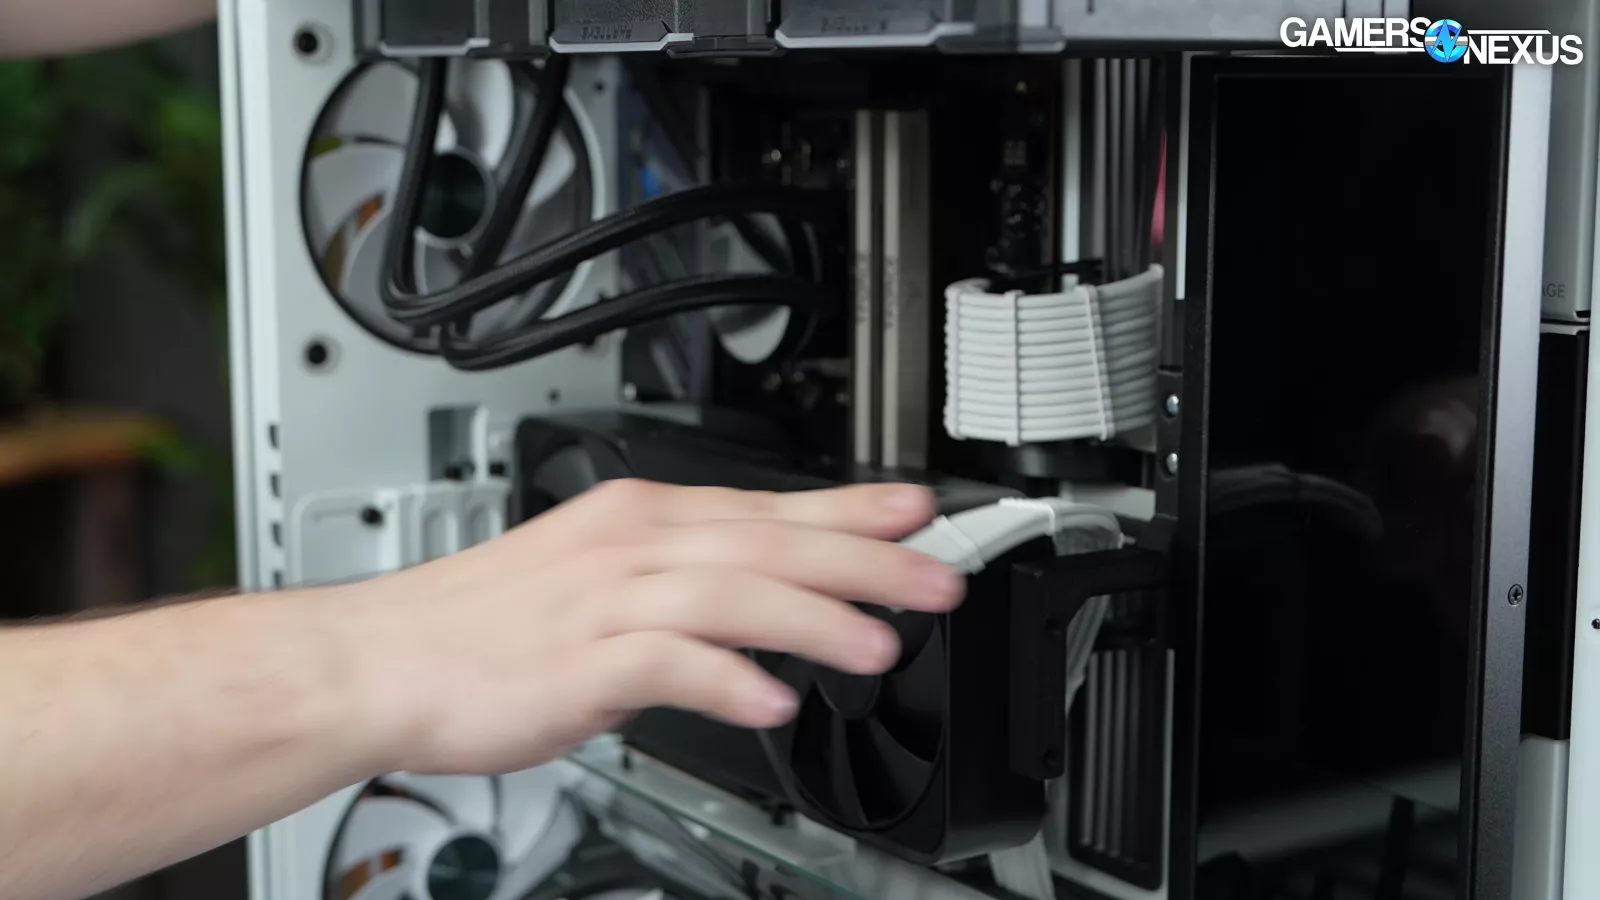
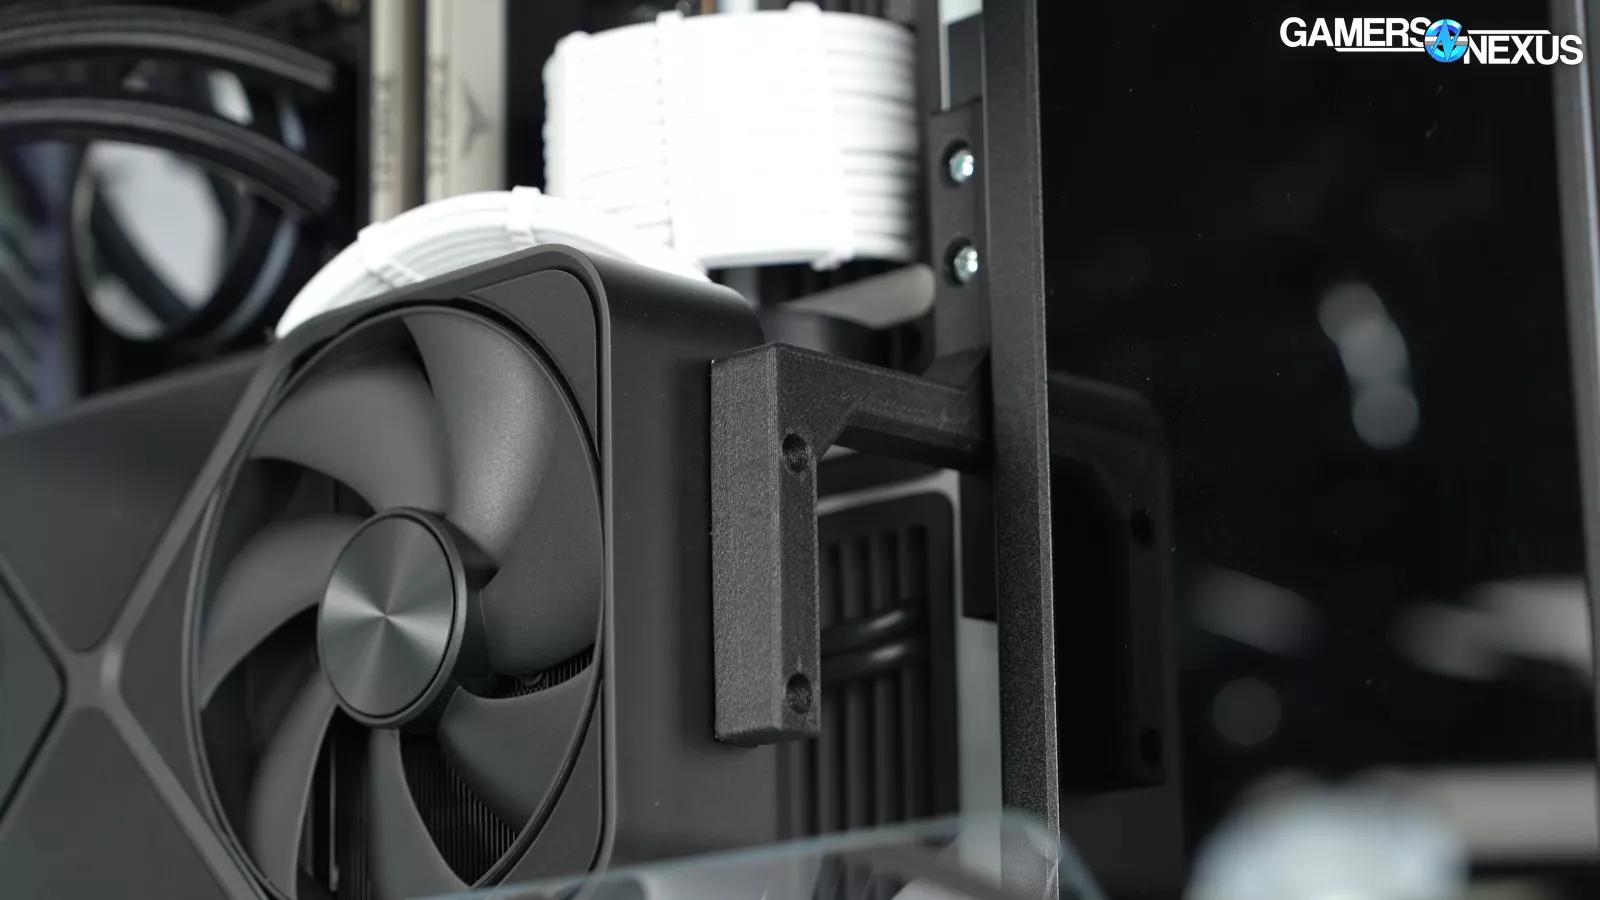
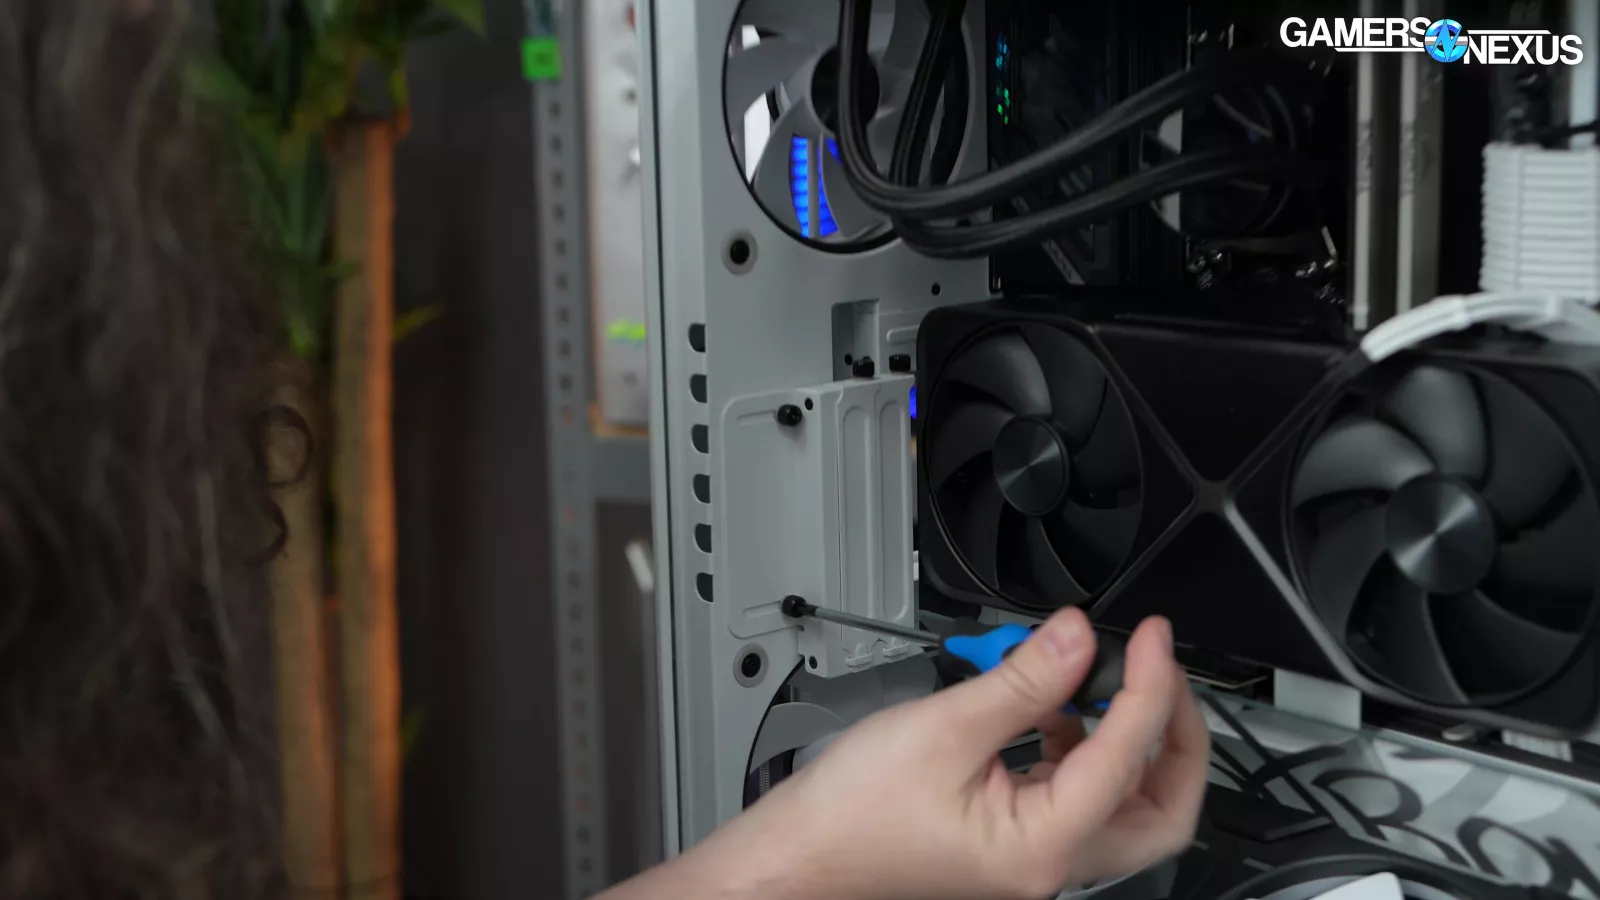
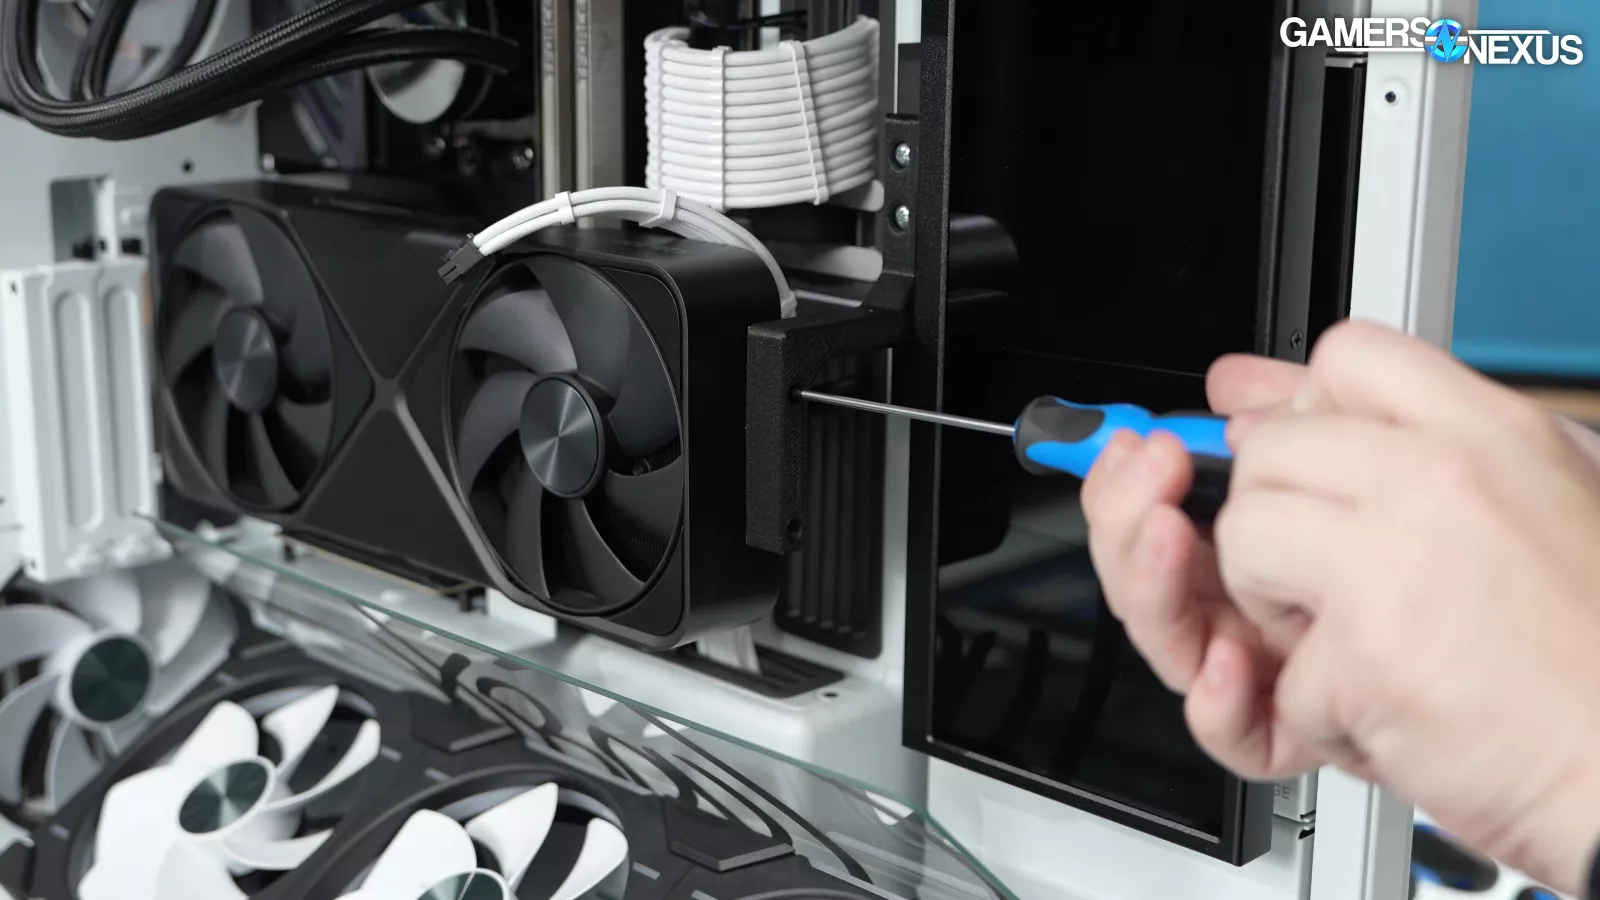
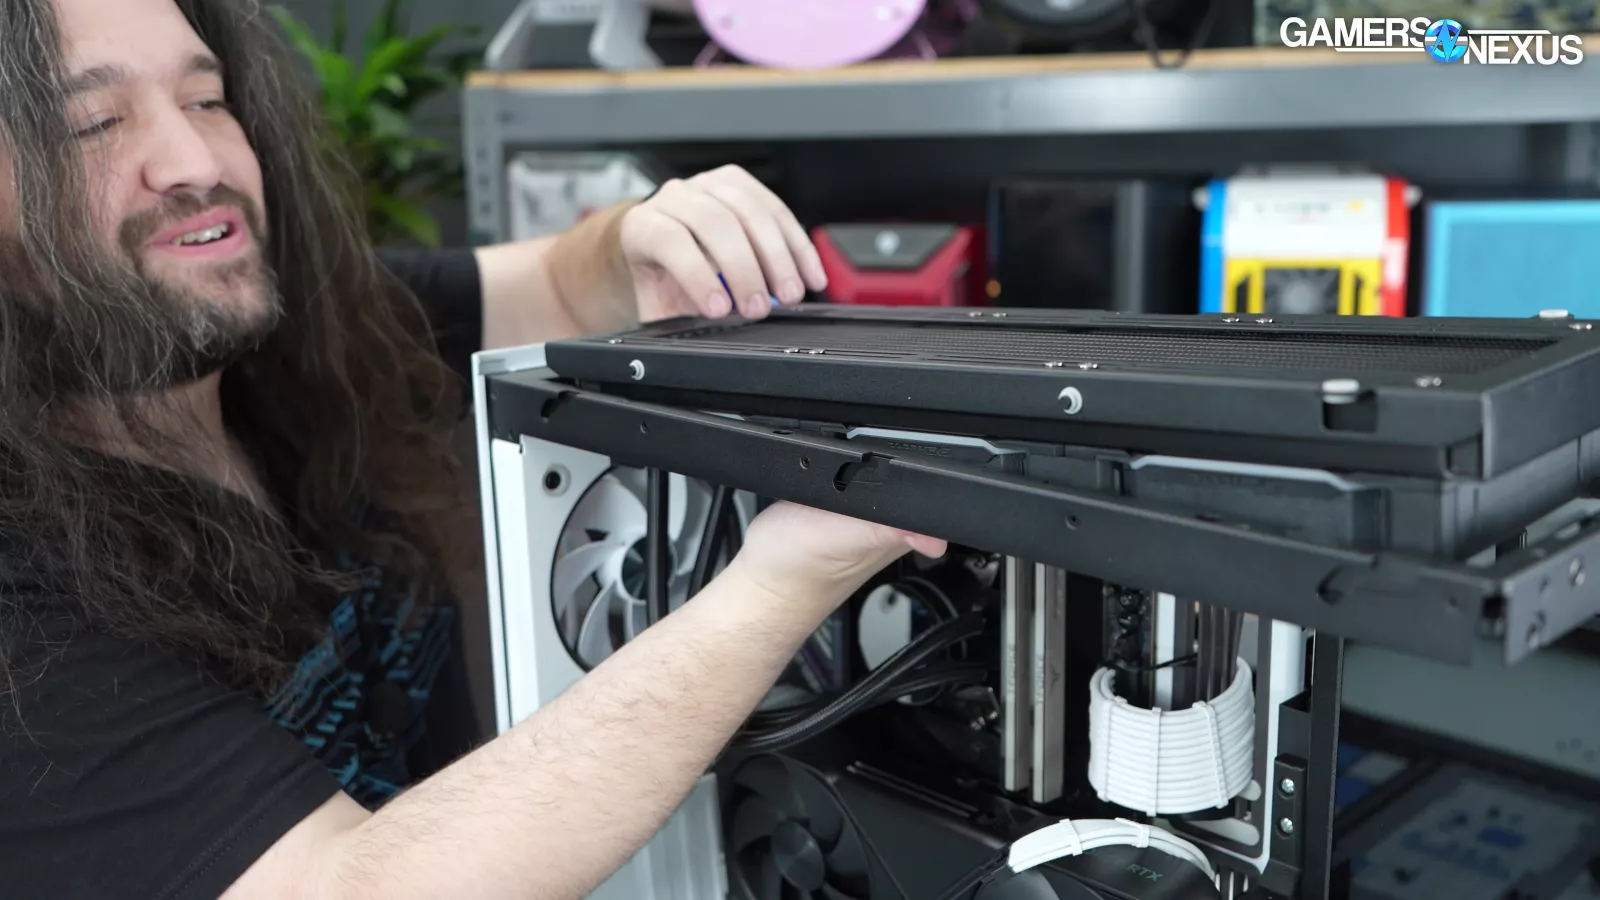
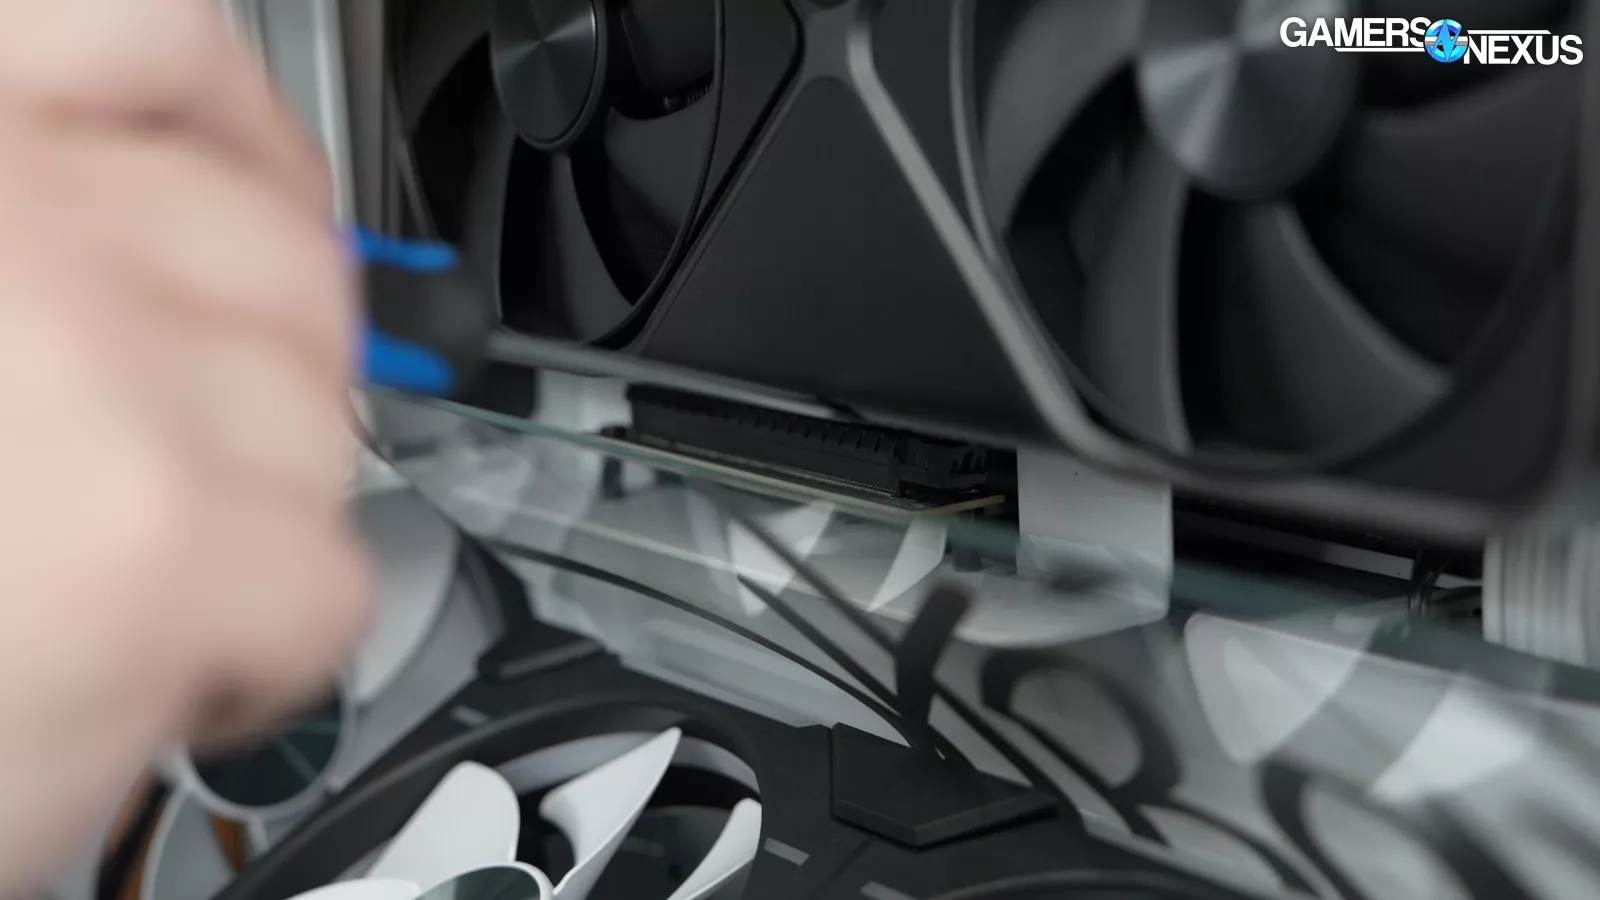
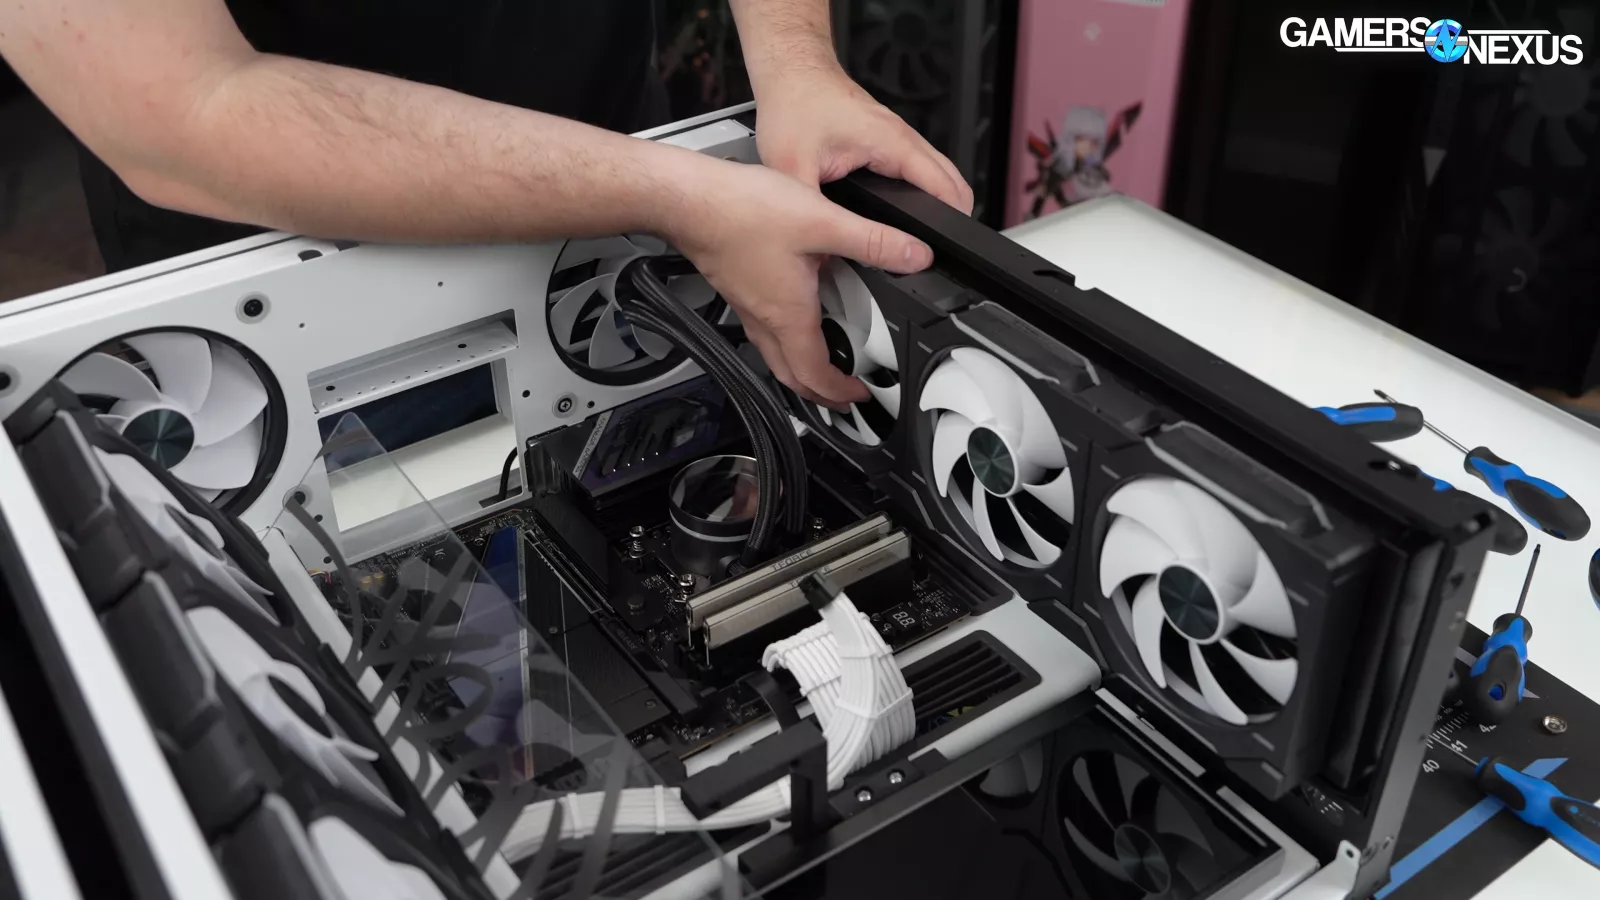
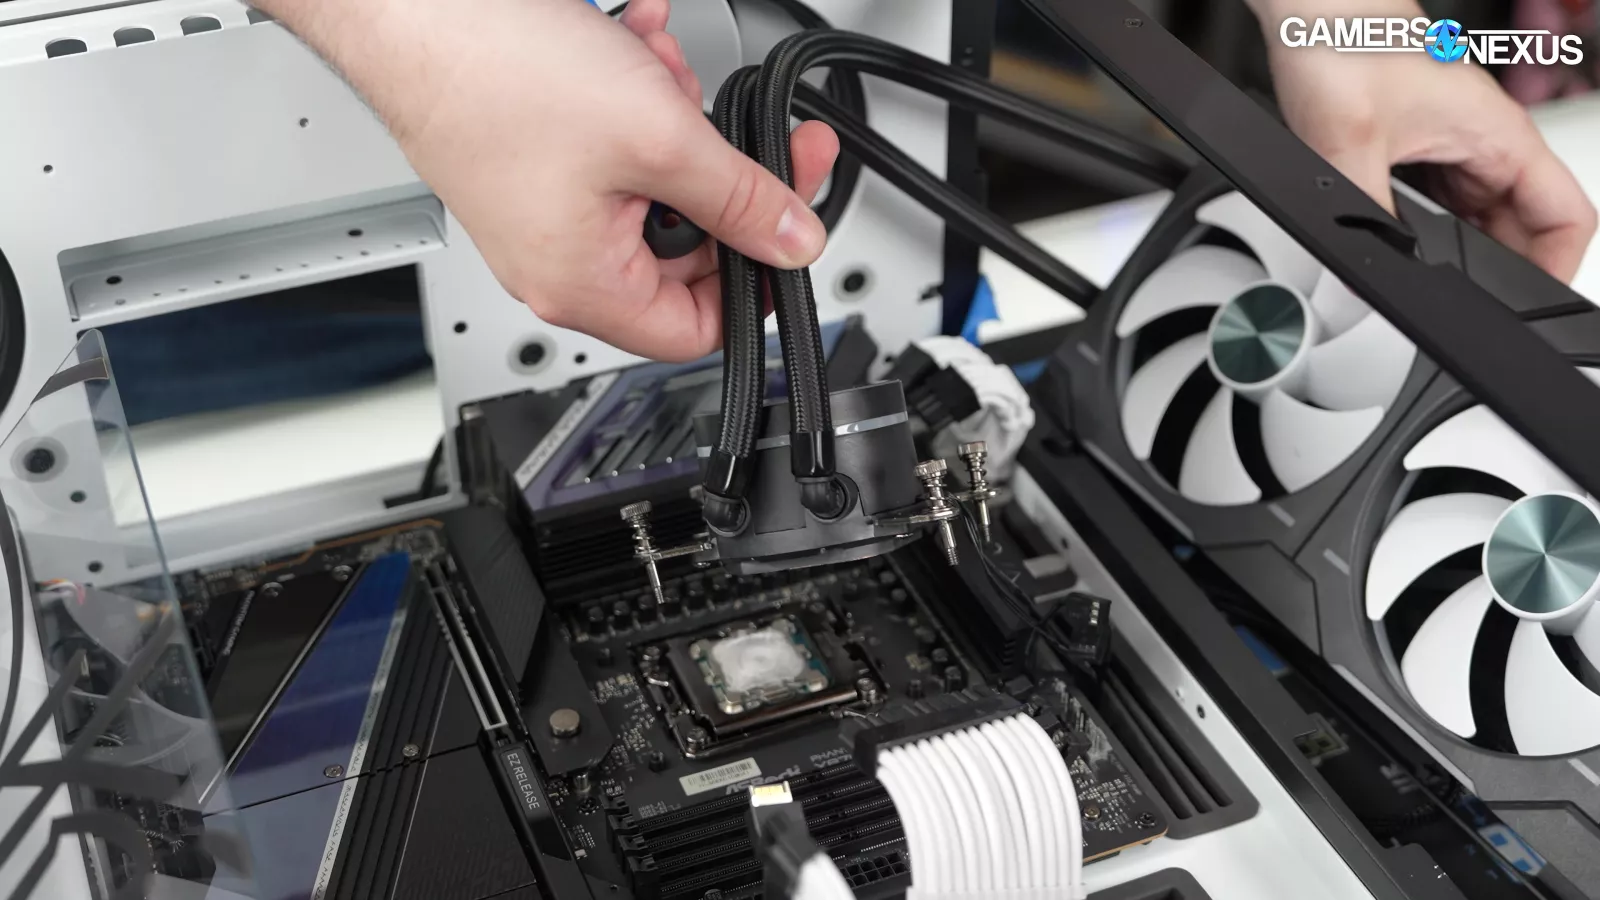
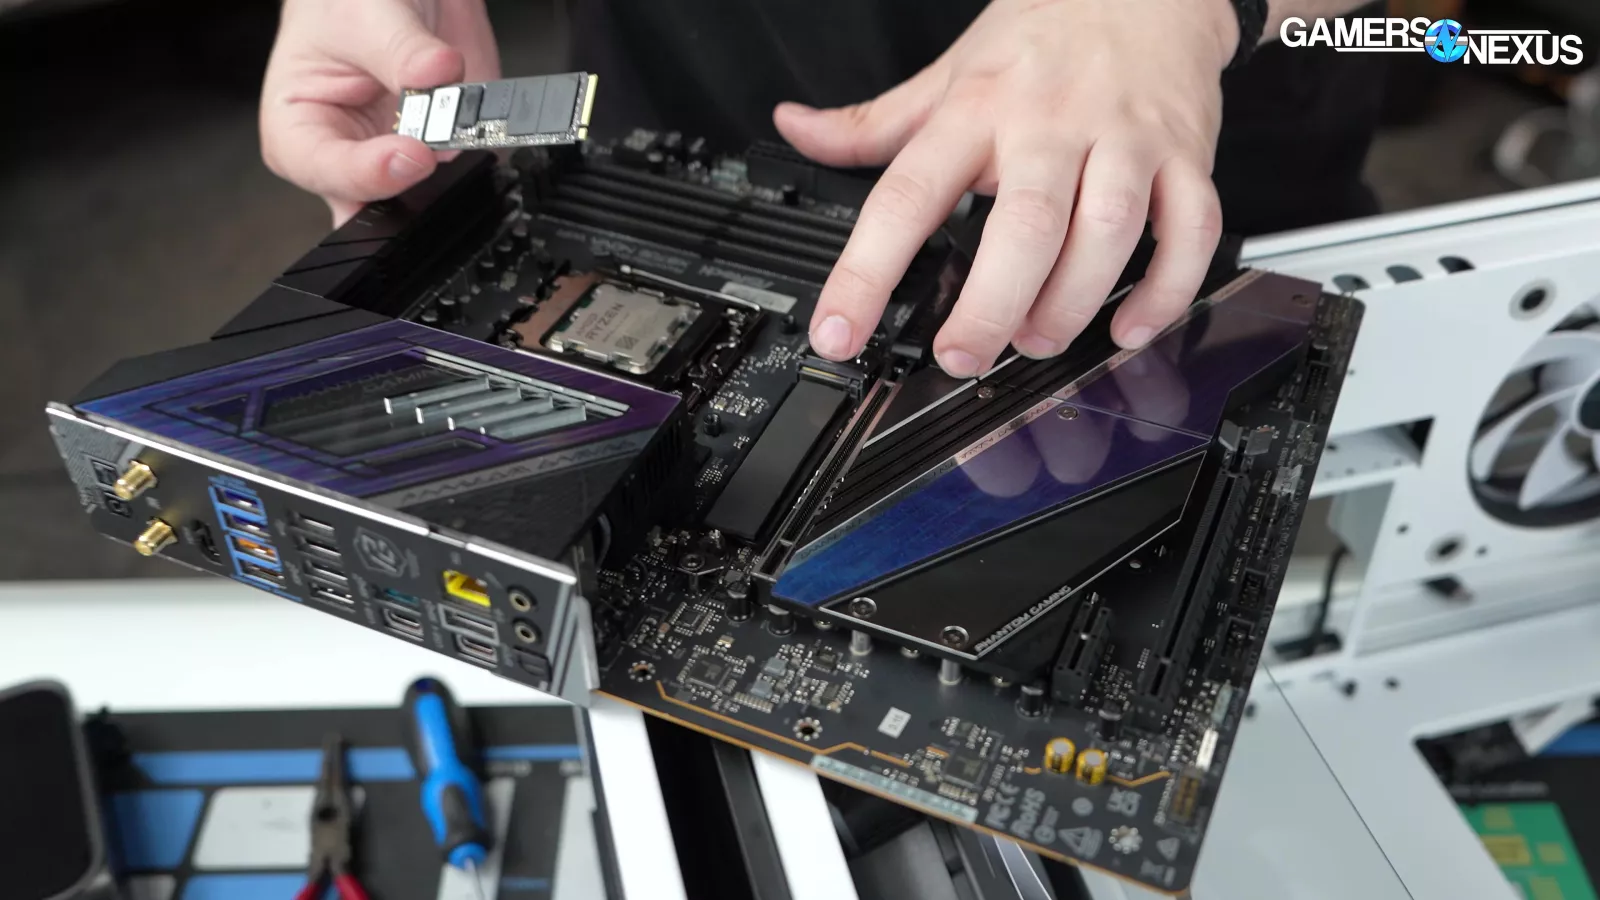
Continuing with the tear-down, we unplugged the power cable from the video card. We noticed that Maingear used a GPU bracket that looked 3D printed. To remove the GPU, we had to unscrew its vertical kit off and unscrew the GPU from its bracket. We unscrewed the radiator at the top to give us better access to remove the vertical kit. The shroud’s glass made it difficult to press down on the video card’s locking clip with our hand, so we used a screwdriver.
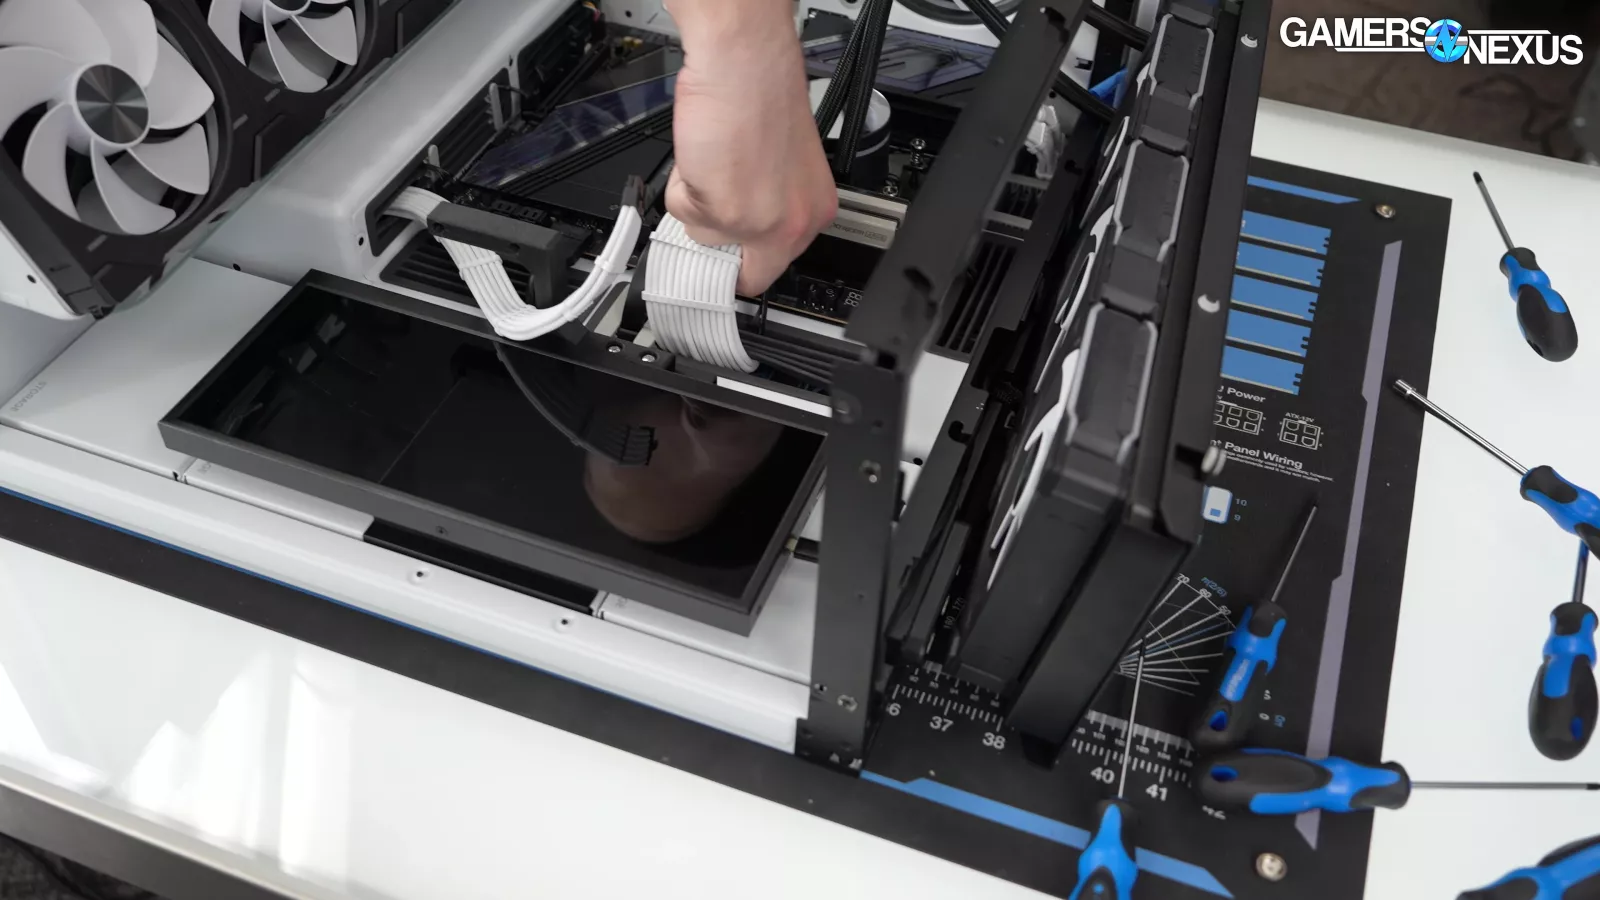
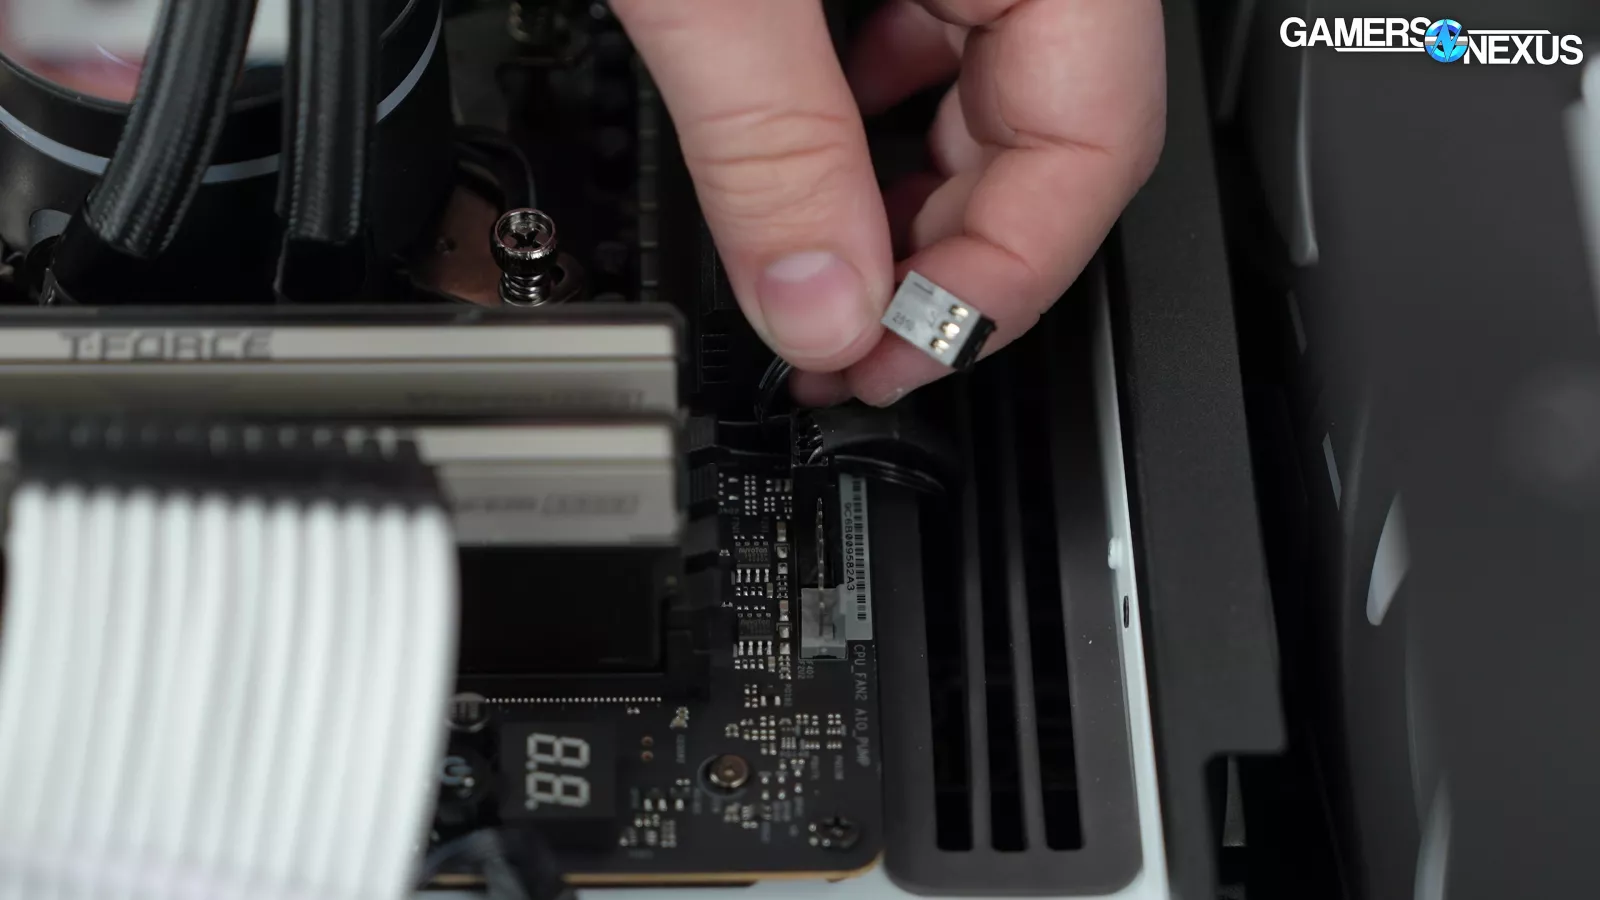
With the GPU removed, we can move forward with the rest of the disassembly. We tugged on all of the cables and saw that they were all secure and properly connected, which is good. Cable management was also tidy with good attention to detail, which is what you want to see from a pre-built.
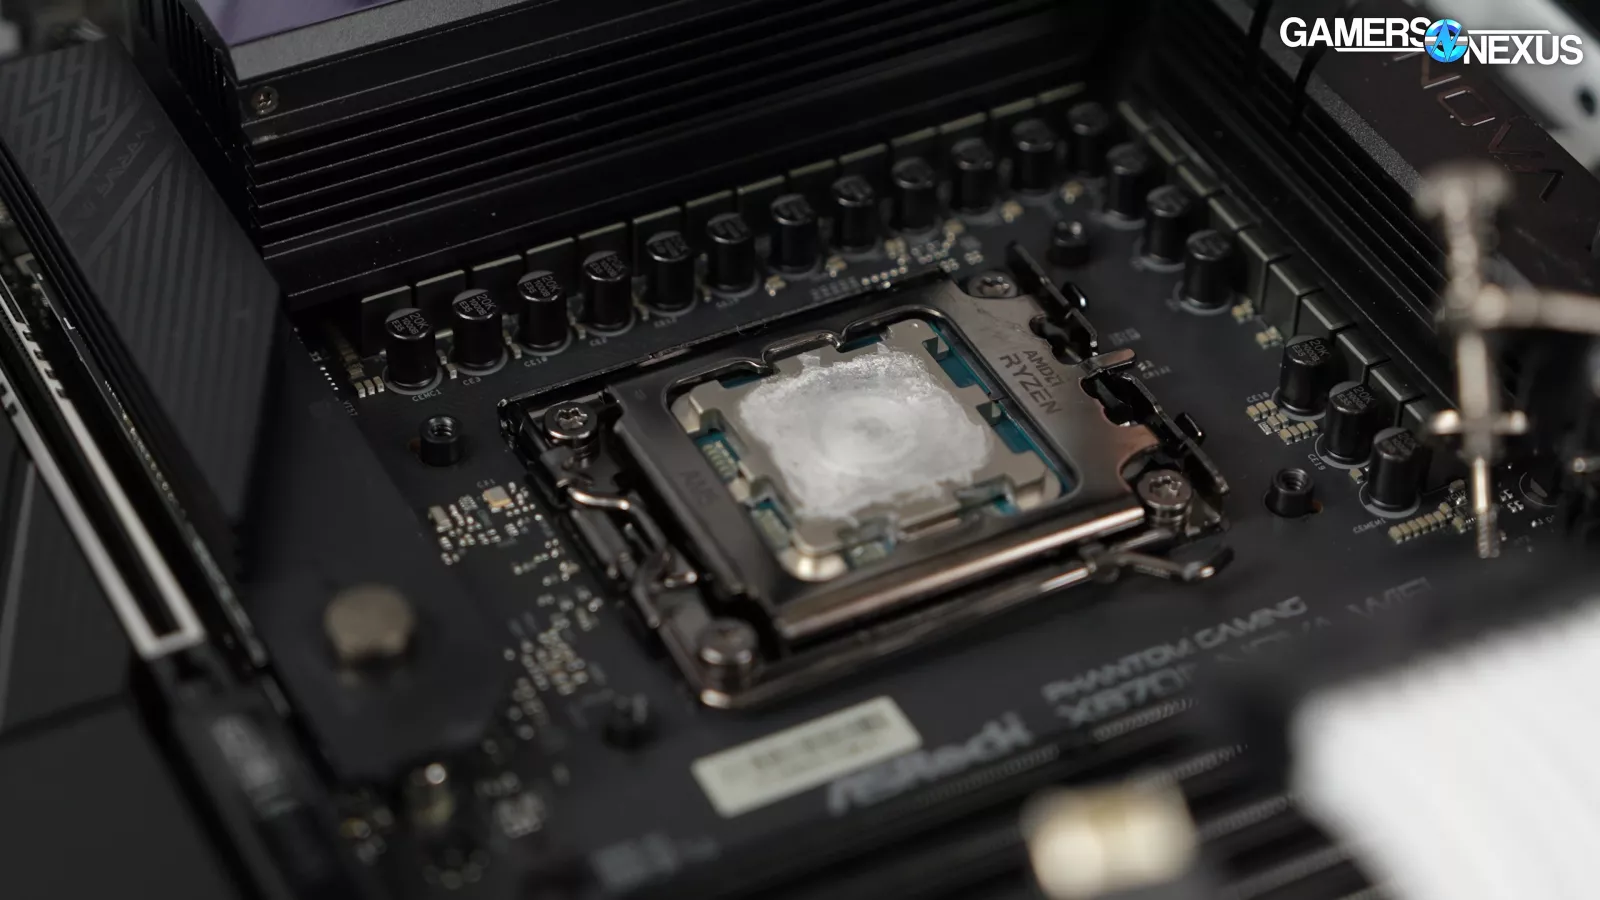
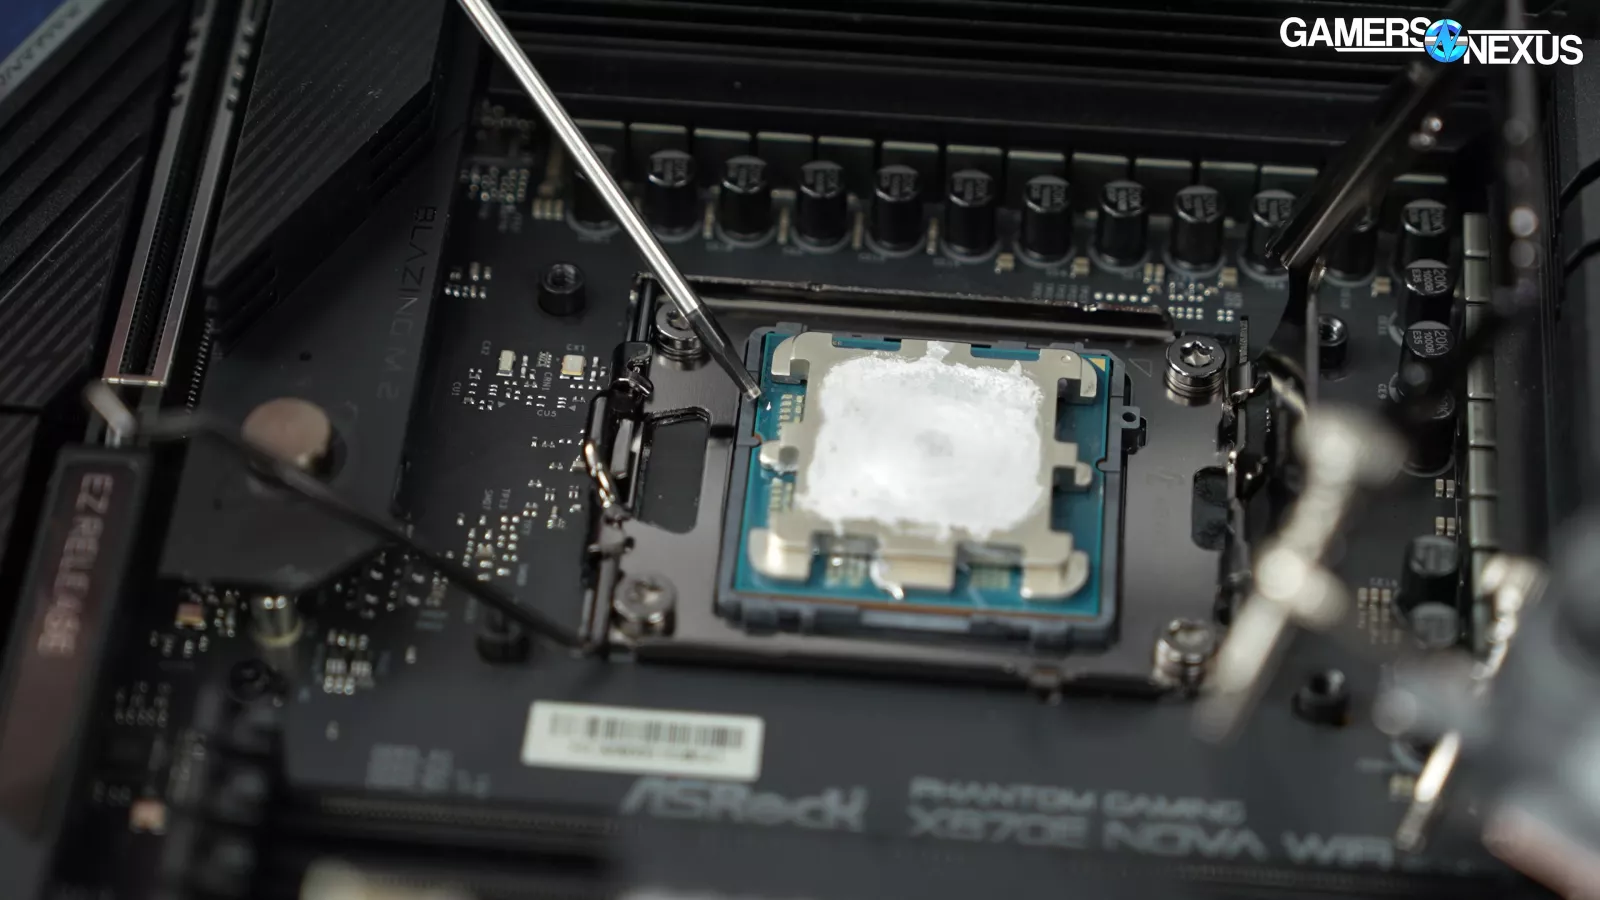
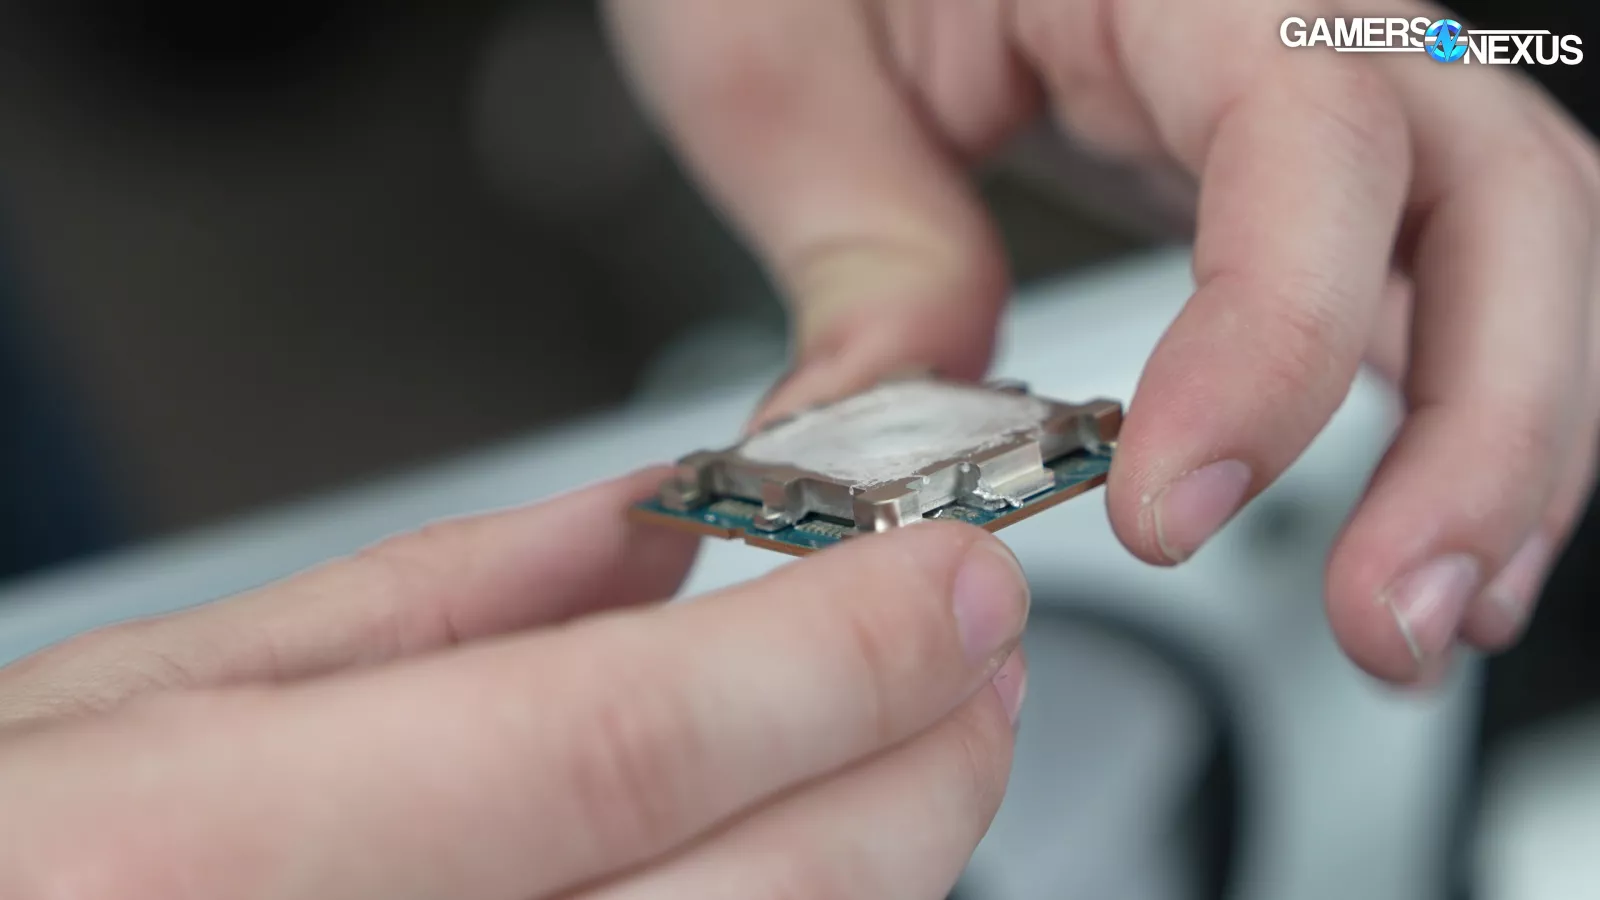
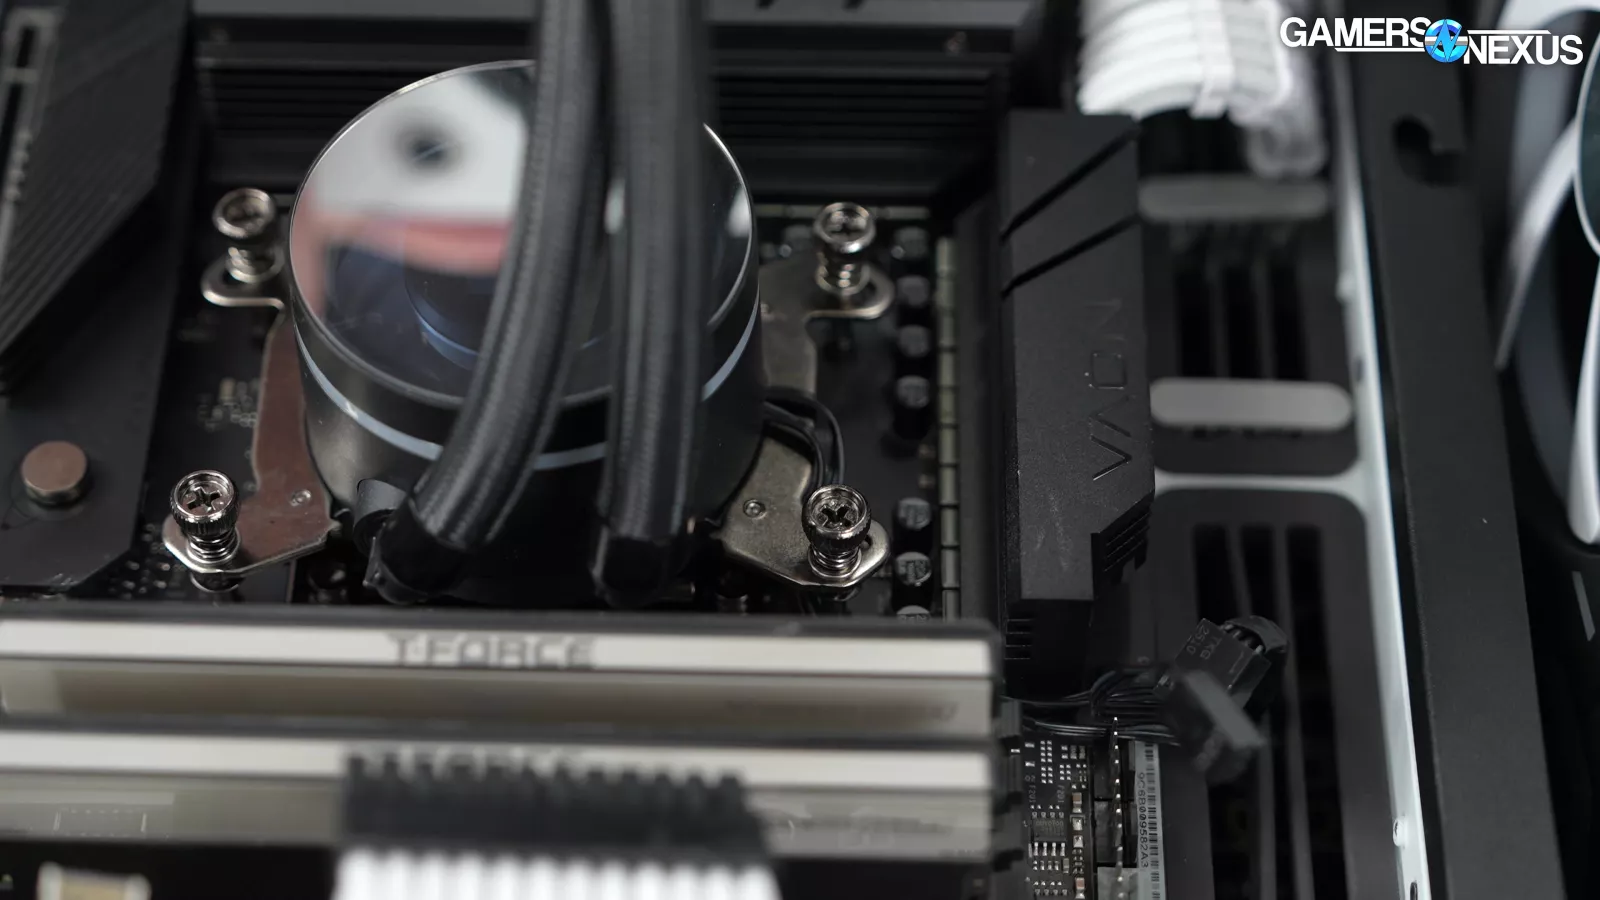
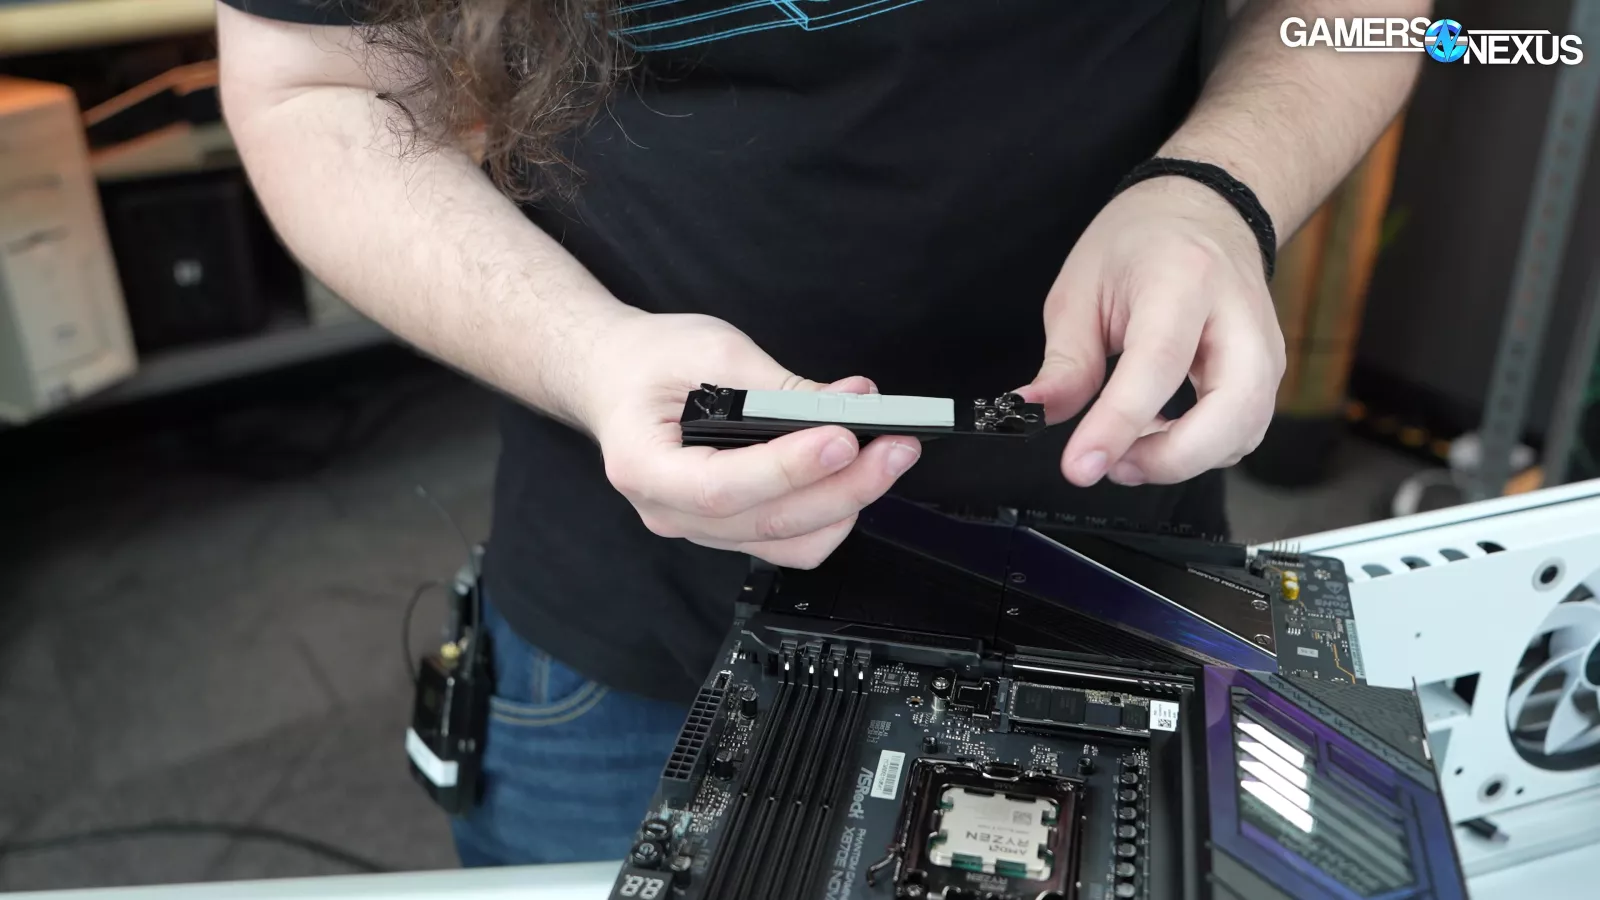
Removing the pump for the liquid cooler exposes the extremely lackluster liquid metal application on top of the CPU, which is really disappointing. It wasn’t applied all around the IHS. We also saw a droplet of liquid metal off of the IHS. We noticed that the pads on the CPU were covered, which protects the components. The reason they should do this is because liquid metal is conductive, and might cause a short otherwise. Maingear’s liquid metal application was not the best and we think if they're going to do it, they should do it right.
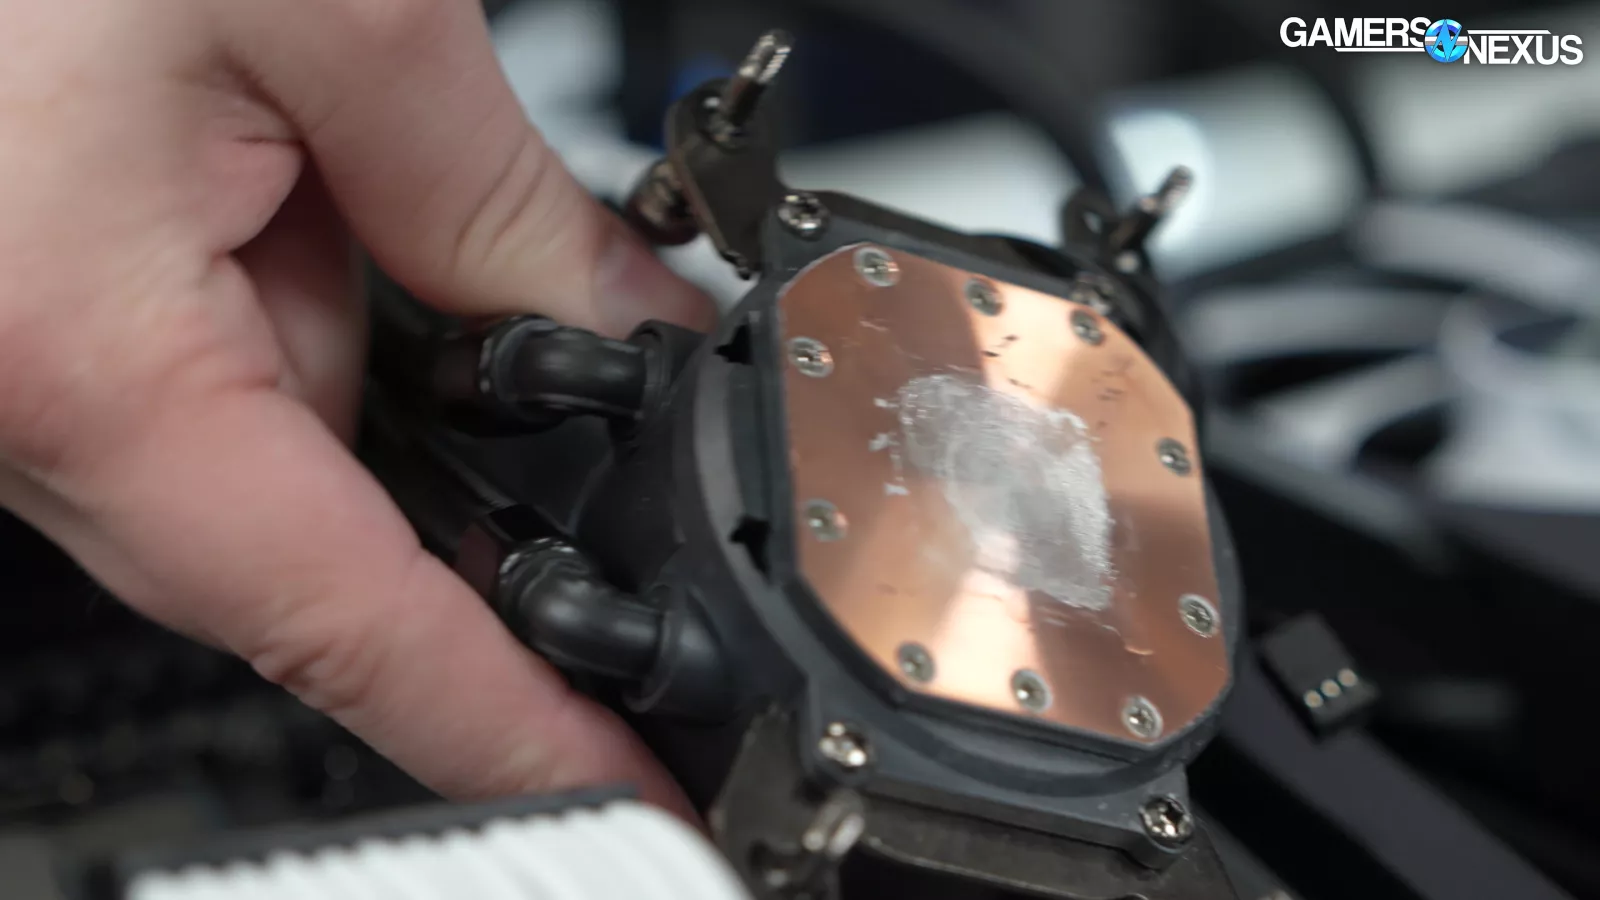
Looking at the underside of the cooler’s copper coldplate, it’s not clear if Maingear applied liquid metal here, which it’s supposed to do. Regardless, there’s not enough liquid metal here. Liquid metal needs to contact liquid metal from both sides to properly mate, otherwise there’s potential for gaps, and poor performance as a result.
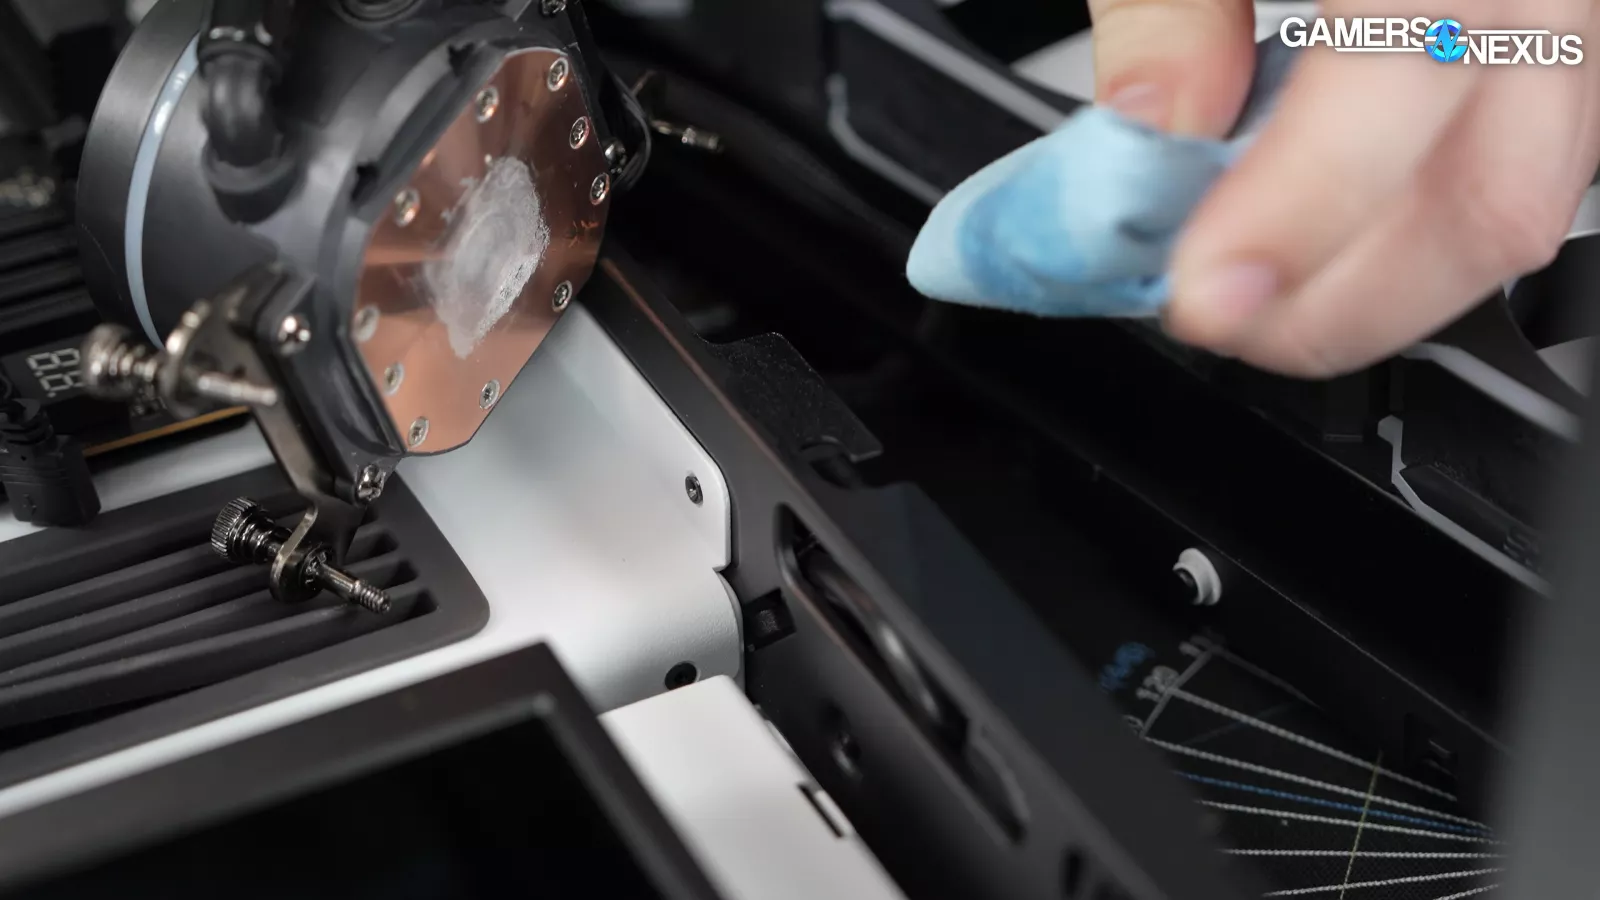
The problem with trying to clean up liquid metal is that it tends to get everywhere. And we had to wipe down parts of our system after we took off the cooler to get rid of traces of it in the case. If you don’t do this, it can potentially cause a short.
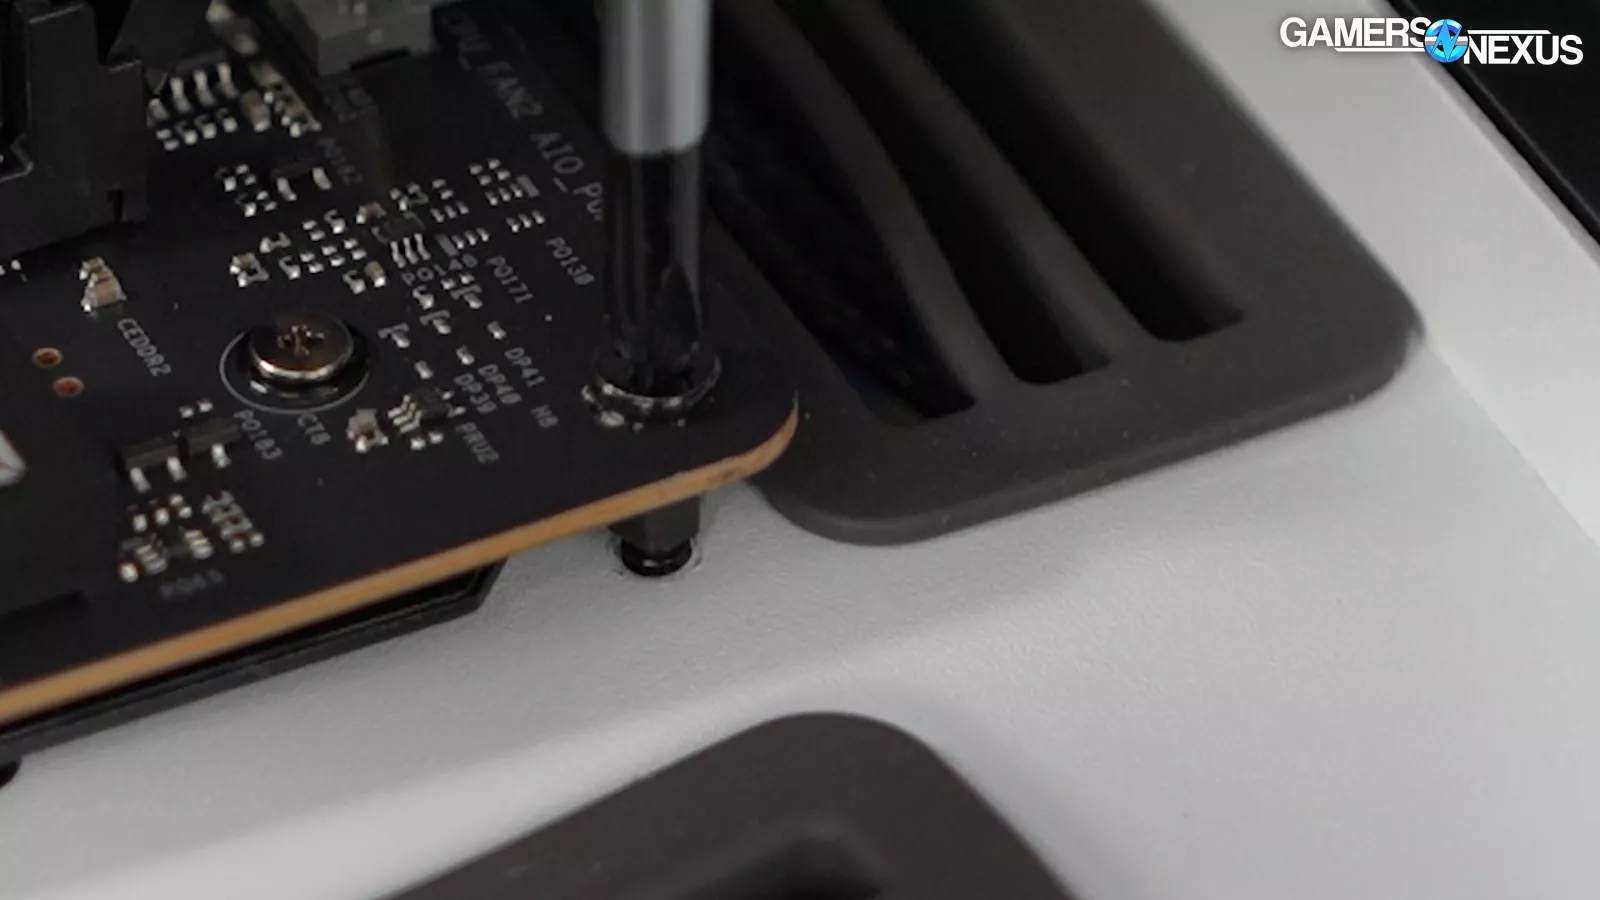
Next, we checked to see if all of the screws in the motherboard were properly screwed in. We discovered that one of them was torqued too tight and basically bound a screw to its standoff. We had to use the help of pliers to unscrew it.
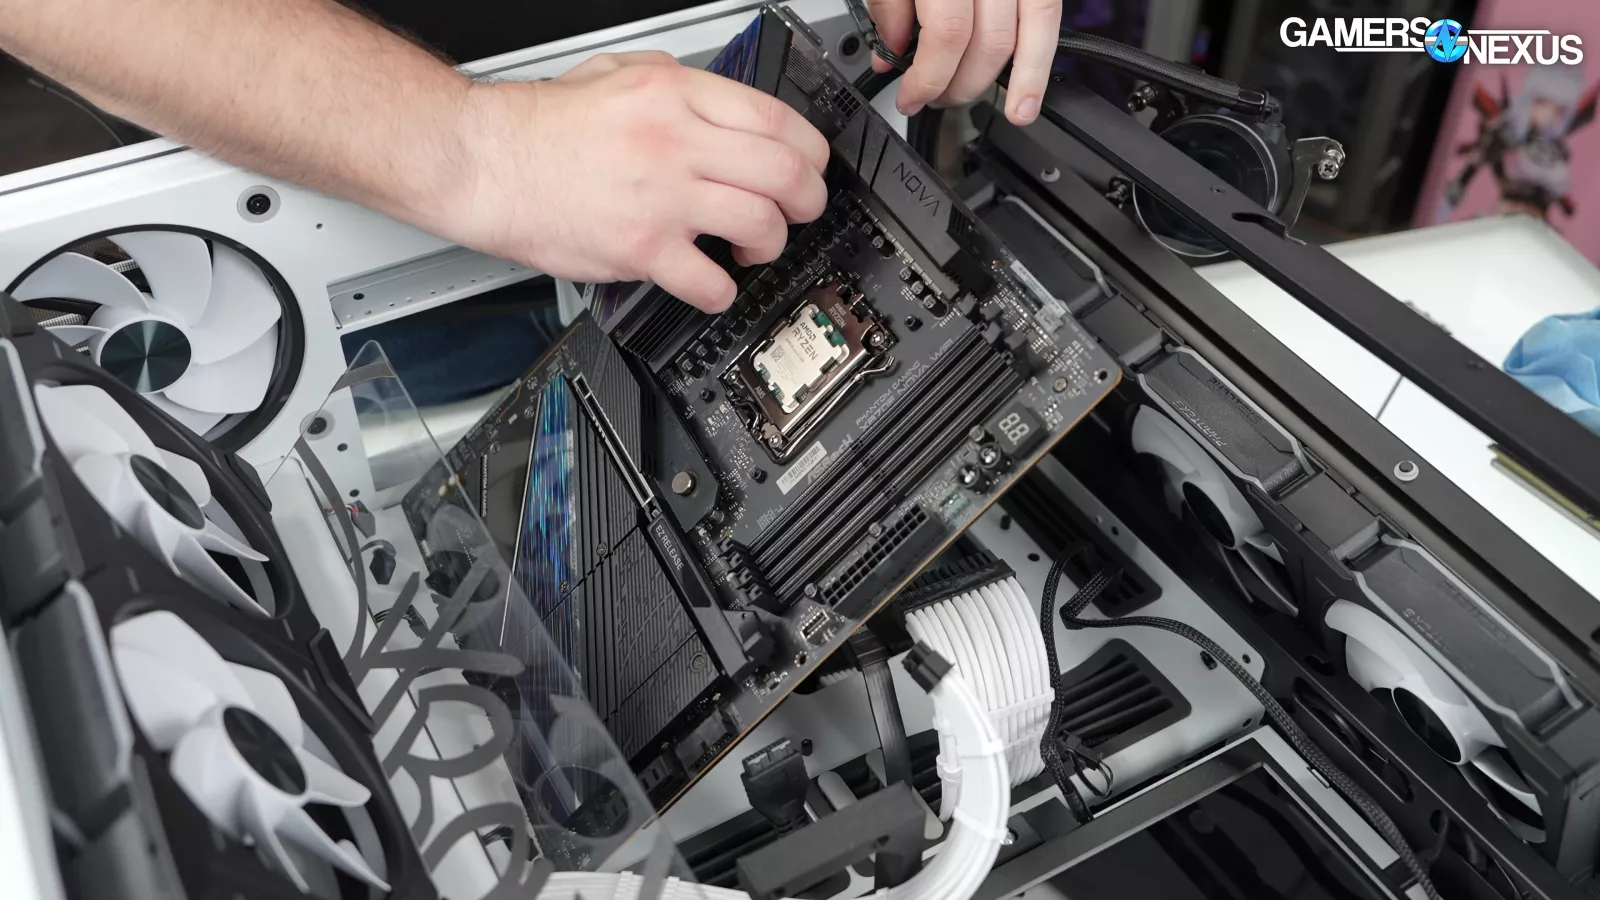
With that removed, we were able to pull the ASRock motherboard out of the case.
We then took the NVME SSD out of the motherboard and saw that Maingear had removed the tape off the thermal pad, which we’ve seen Starforge fail at in the past and unlike Alienware’s Area-51 PC we recently reviewed, the drive wasn’t bent either.
With the tear-down done, let’s get into the rest of the system.
Thermals
Thermals - Steady-State
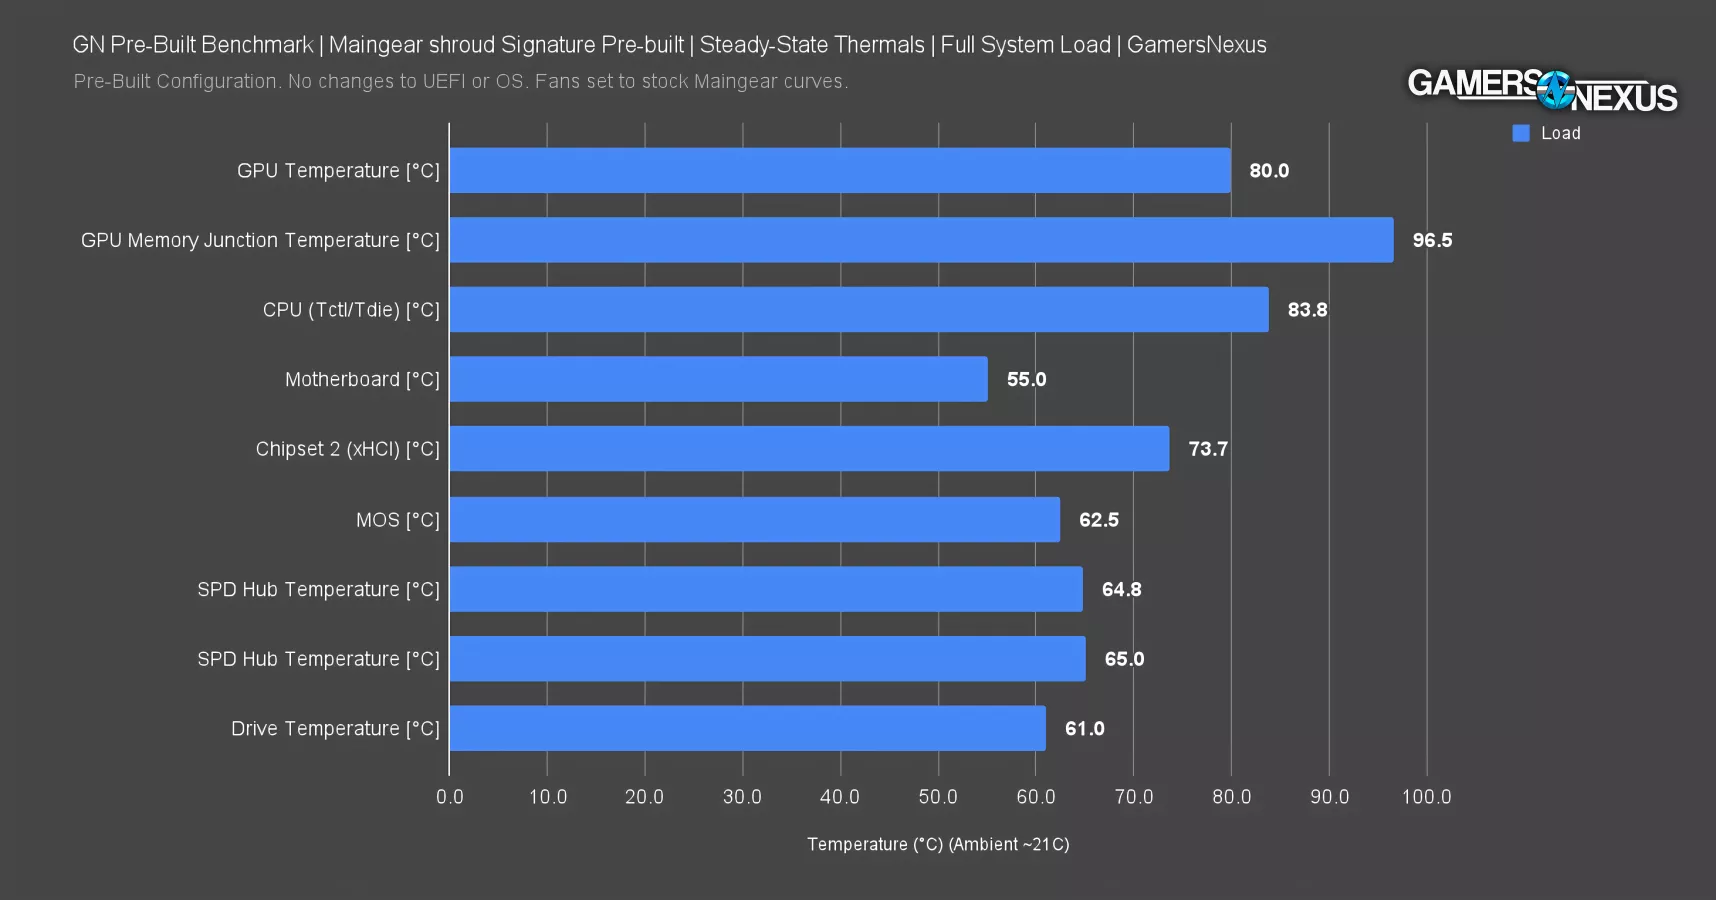
We’ll start with thermal benchmarks. A full system load at steady state has the GPU at 80 degrees Celsius and GPU memory at 96.5 degrees Celsius, which we think is unacceptably high for the memory. The core is OK here. Despite NVIDIA’s FE design being so good overall, its memory can sometimes run too hot in some configurations. This is one of them. As this system ages, the pads age, and dust enters the system, we worry about the memory temperature long-term. The CPU temperature was 84 degrees Celsius with a 420mm liquid cooler, with the chipset at 74 at the hottest as a result of getting dumped on by the GPU. We’ll need to look at noise levels and the power consumption from the overclock to better understand if these numbers make sense.
Other assorted temperatures were fine.
Thermals - CPU Over Time

Now we’ll briefly plot CPU and chipset temperatures against the fan speeds to see how Maingear’s custom fan curve plays out.
CPU temperature rapidly rises at the start of the test and eventually hits the 80s. The AIO pump stays constant for RPM, while the main CPU fans stairstep before settling in just under 1,600 RPM. Overall, this kind of curve mostly makes sense. The biggest downside is that the chassis fans aren’t doing much at under 700 RPM, rendering them to basically be RGB ornaments and limit their usefulness for something like GPU memory thermals.
Adding the “Chipset 2” sensor to the chart again illustrates the general heat dump from the GPU with the flow-through design.
Thermals - GPU Over Time
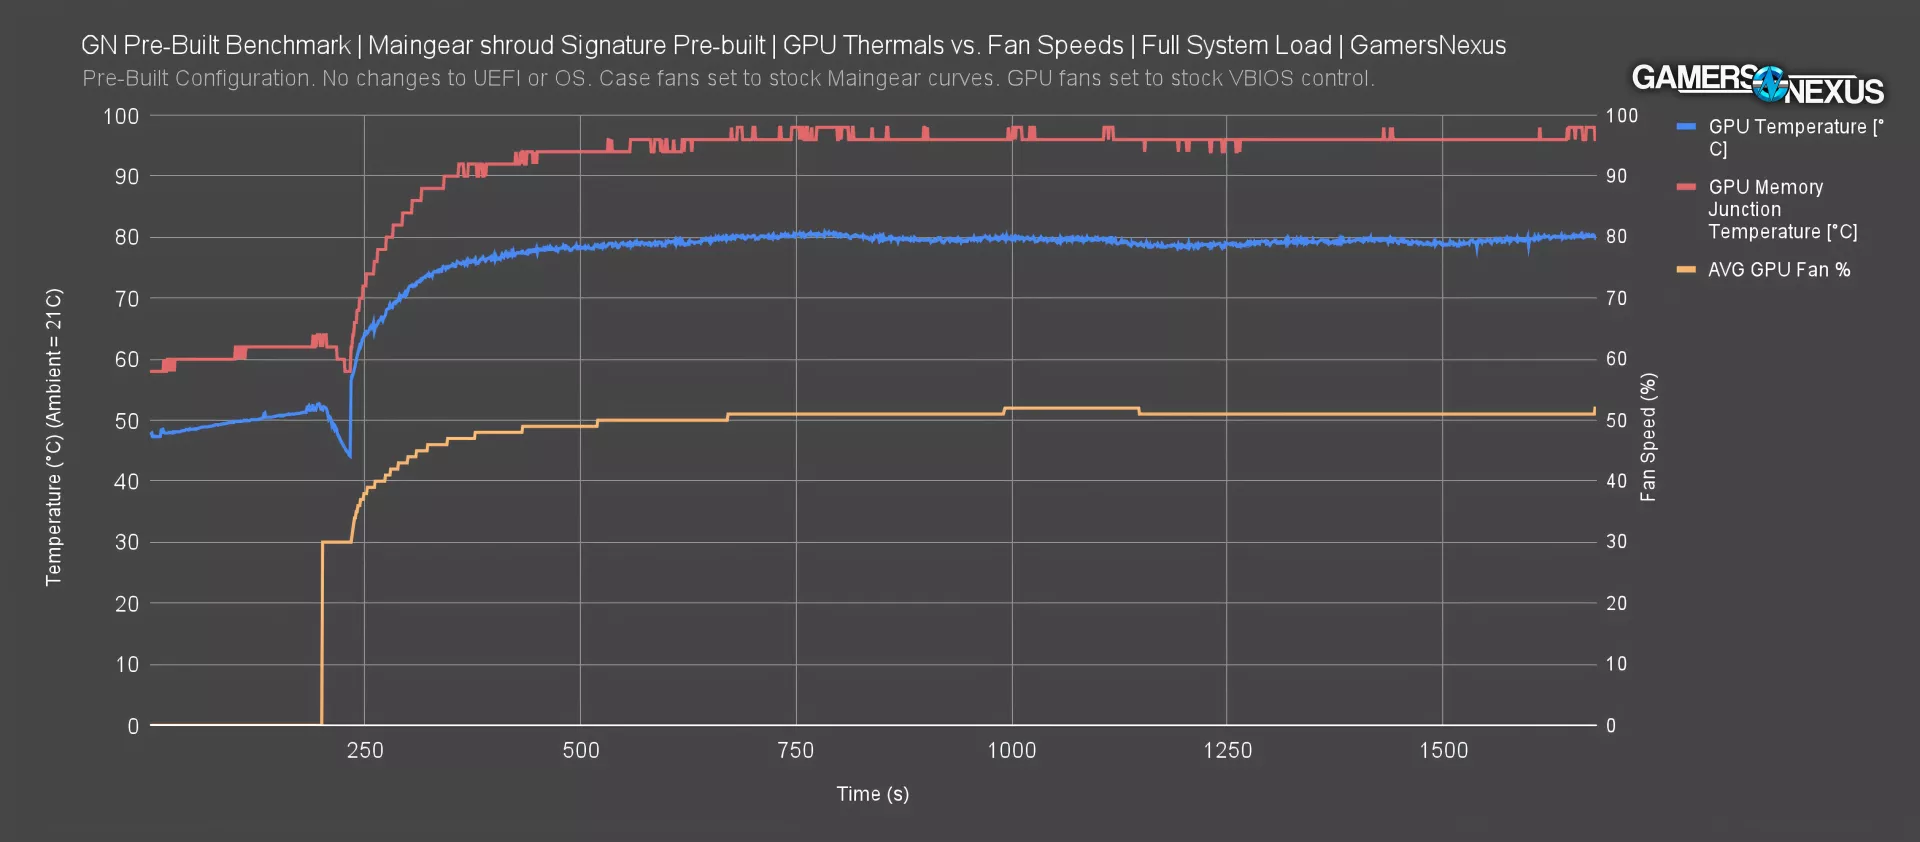
Moving on to GPU thermals over time shows an interesting start as core and memory temperatures steadily increase during the initial idle period of the test, then a steep decline as the fans kick on. After that, they climb to unacceptably hot on the memory and about 80C for the GPU temperature. 80 is fine for the GPU core.
The same goes for the fans – the initial rise to 30% and subsequent quick ramp to 50% are expected.
CPU Frequency
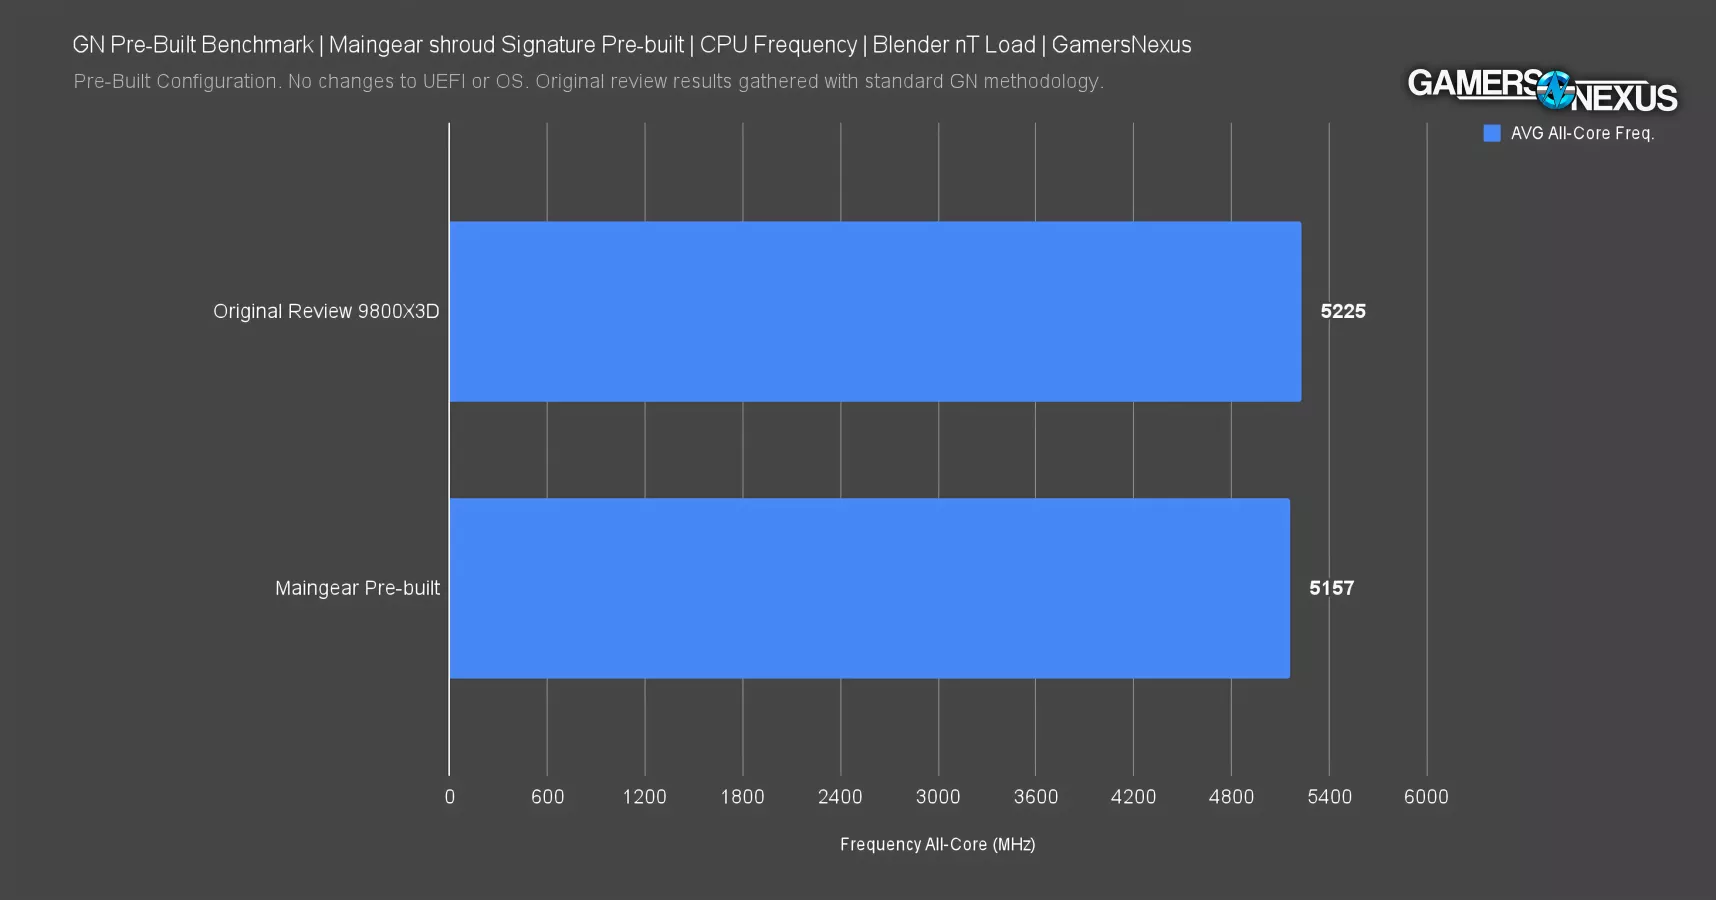
This is a bar chart comparing the average all-core frequency performance for the 9800X3D at steady-state in a separate all-core Blender workload. Maingear’s overclocking claims fall short as the pre-built configuration ran at 5157MHz average, 68MHz slower than in our original review of the CPU when it was tested stock and out-of-the-box without any overclocking. Maingear’s overclock is not actually overclocking the CPU. It’s actually performing lower than the expectation.
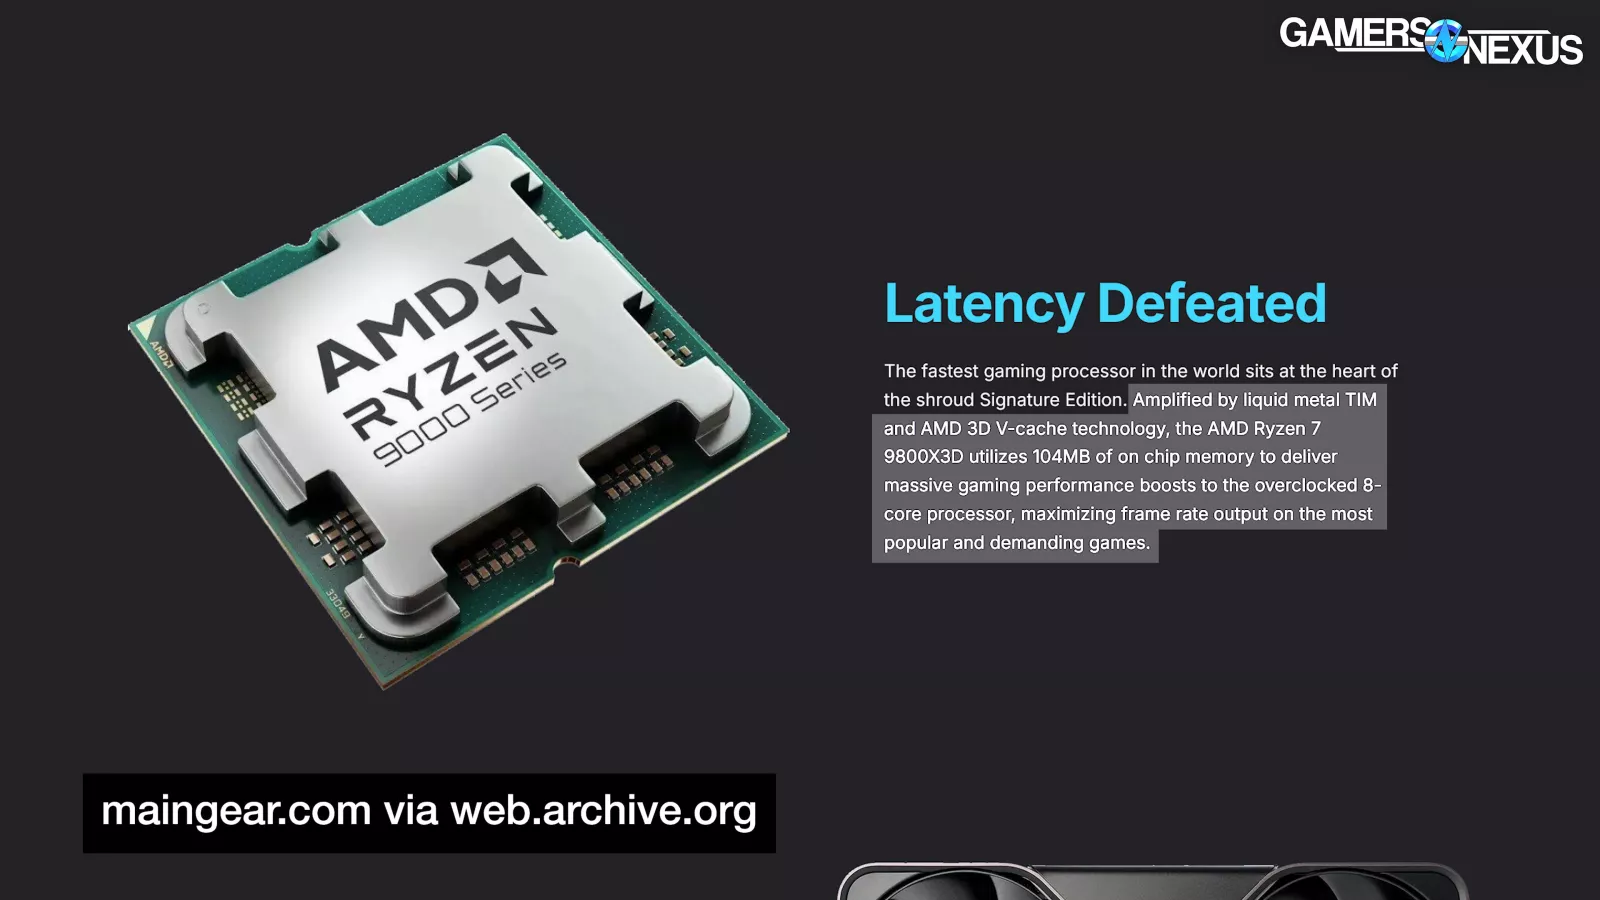
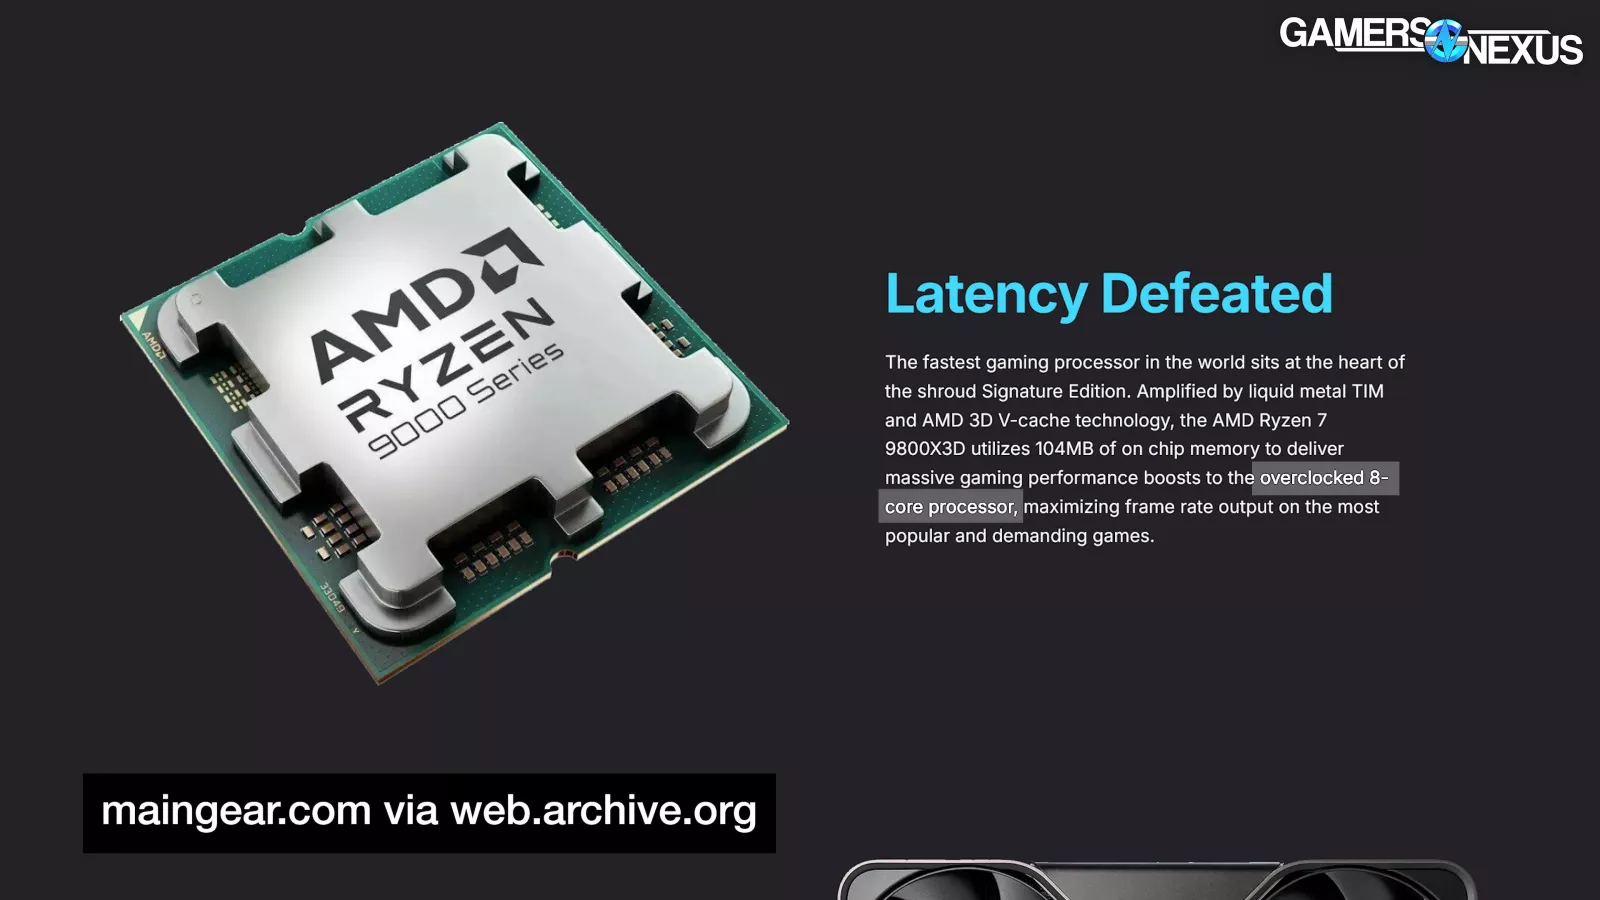
Maingear’s website states: “Amplified by liquid metal TIM and AMD 3D V-cache technology, the AMD Ryzen 7 9800X3D utilizes 104MB of on chip memory to deliver massive gaming performance boosts to the overclocked 8-core processor, maximizing frame rate output on the most popular and demanding games.” So for all that liquid metal, 420mm liquid cooler, and use of aggressive PBO settings, Maingear falls short of actually delivering its promise. Part of this is because of how Maingear used PBO without fine-tuning, but the marketing sets clear expectations. They need to have good acoustics to be worth this trade-off.
Acoustics - dBA Over Time
Acoustic testing is performed in our hemi-anechoic chamber, which we built a couple years ago for around $250,000 and have used regularly since then. The chamber has allowed us new insights into cases and coolers in reviews and also gets a lot of use for pre-built reviews.
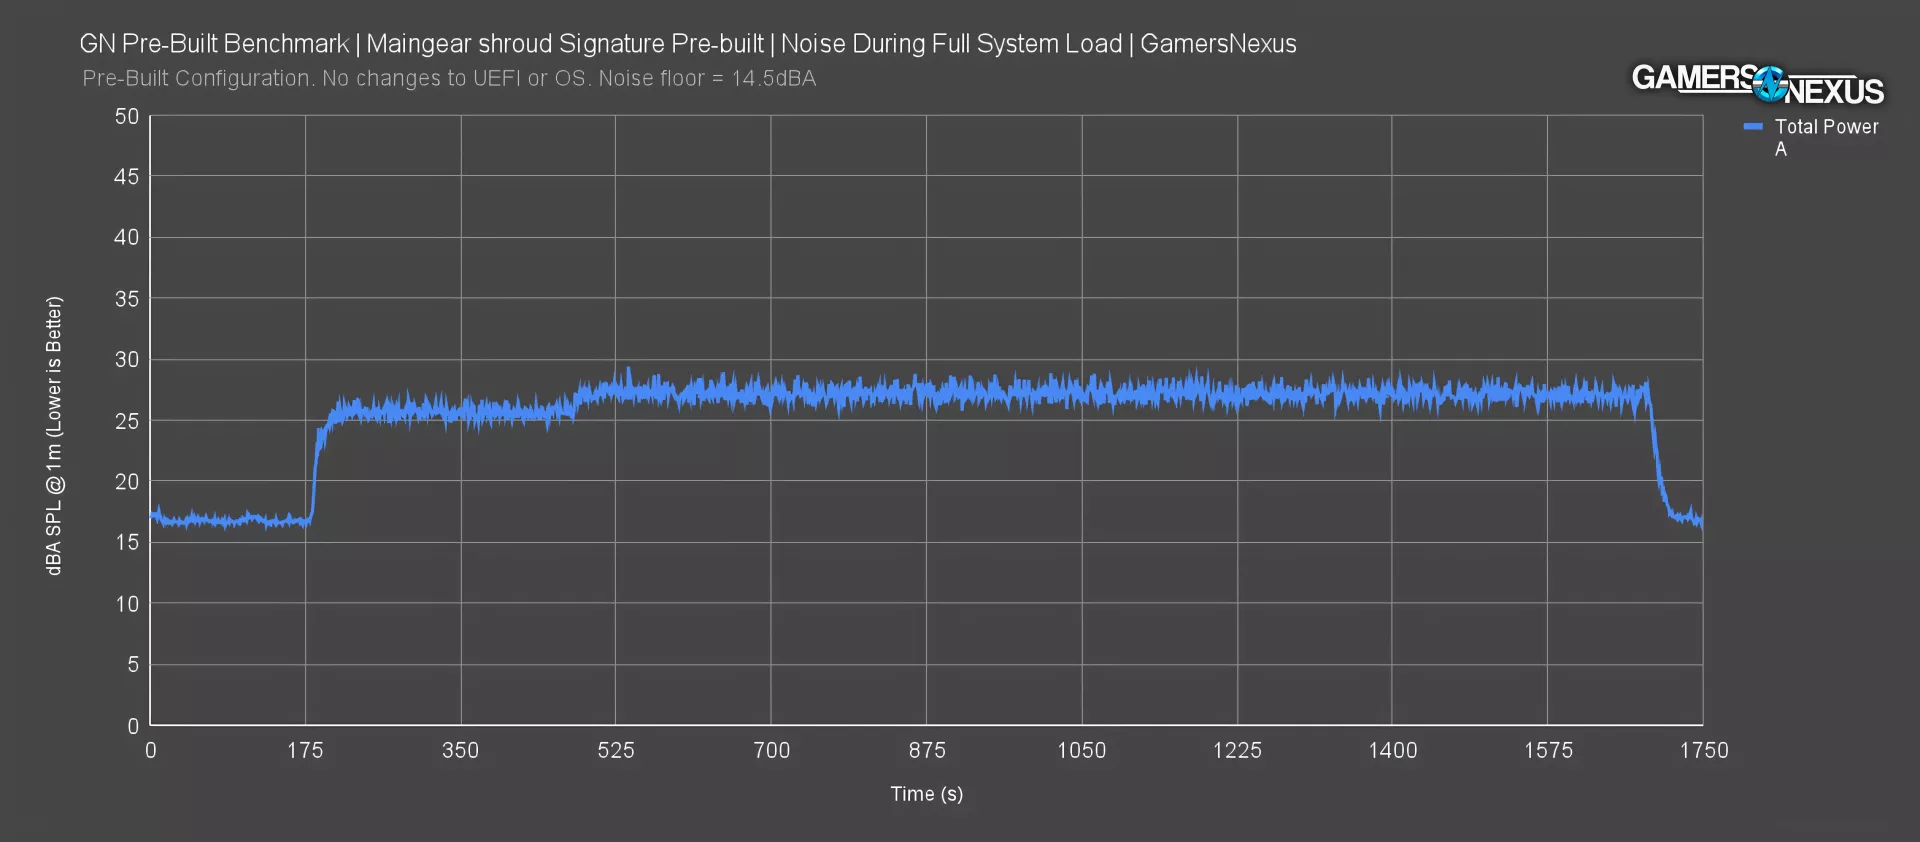
For noise over time, the system started out at a very low 16.9dBA during the idle period, before rising to roughly 25-26dBA during the first few minutes of load when measured at 1 meter, then running at roughly 27.1dBA at steady-state.
We have no complaints about the noise in the shroud Signature Edition – Meangear did well here, but the trade-off is clear in our earlier thermal results. Maingear has some room acoustically to get a little more aggressive on noise to combat these thermal concerns with the VRAM, particularly in some of the under-utilized chassis fans.
Total System Power Consumption
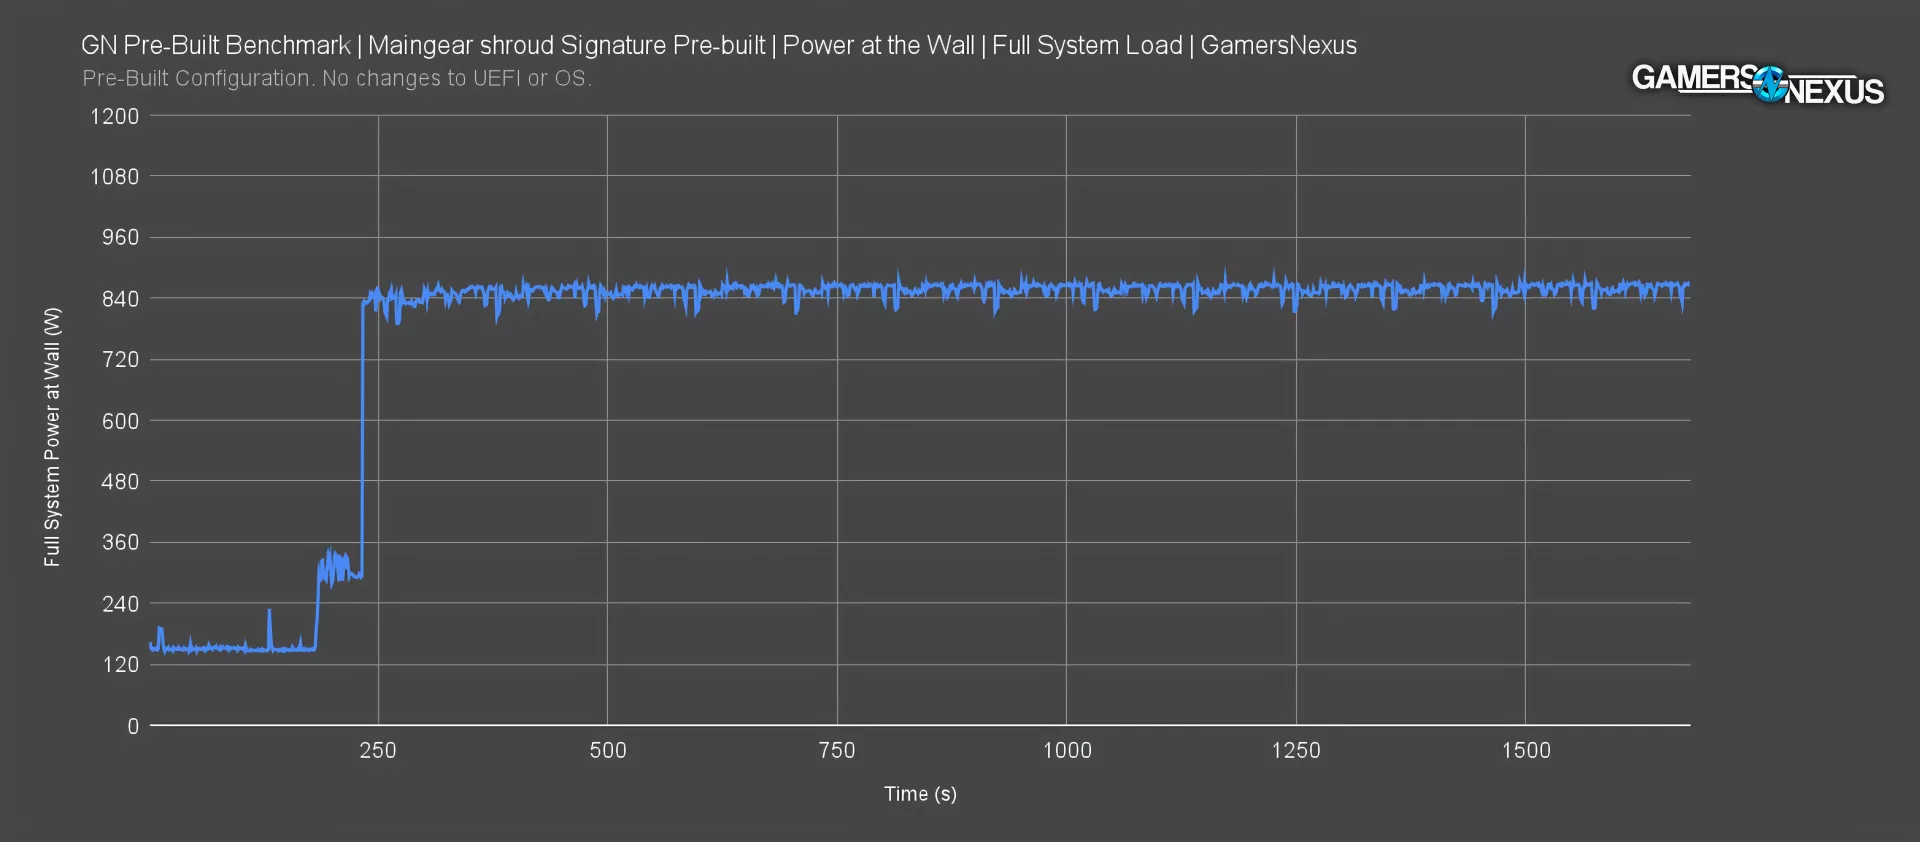
Full system power consumption during the full-torture load started out at an average of 153W when idle. That’s higher than the Origin Genesis’ roughly 125W idle, and that had a full-size water cooling pump. This is due to the internal screen taking power in addition to all the LEDs.
After the load was established, the system shot up to about 840W and stayed there, very slowly rising to 860W at steady-state.
BIOS
We need to understand what Maingear did for this overclock.
Jumping into the BIOS for the first time was extremely laggy and slow, and maddeningly, not all of the inputs went through. A reboot fixed it at least.
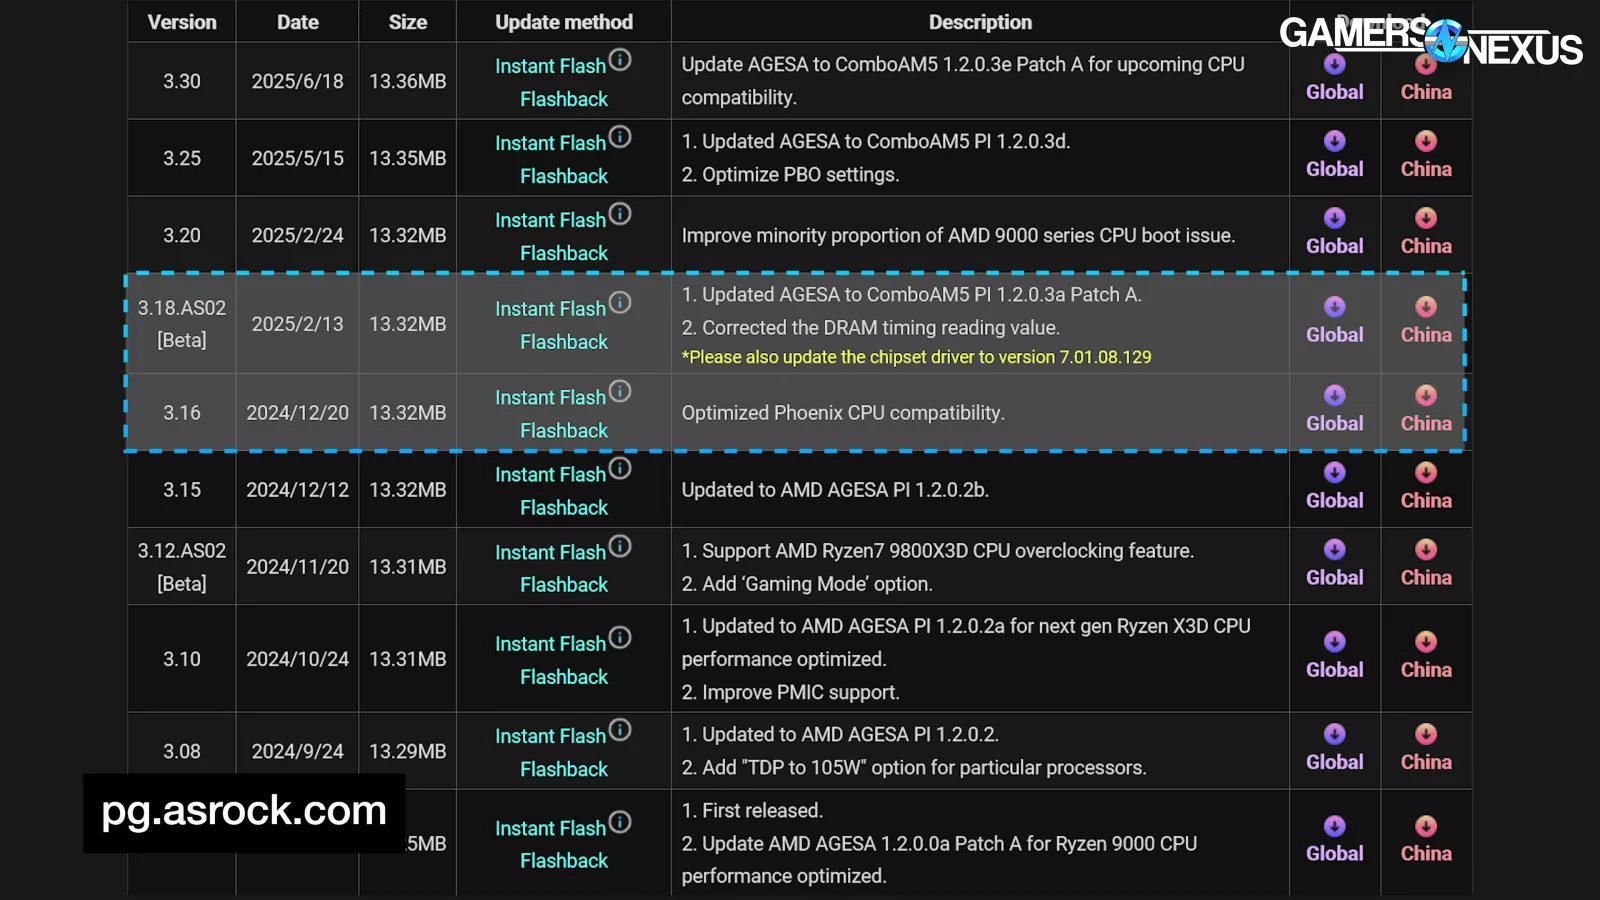
We checked out the ASRock X870E Nova WiFi’s BIOS version 3.17 that came on the system. This revision isn’t available publicly at the time of writing, but research pointed to it being launched in January 2025. The PC was built near the very end of February, meaning that version 3.20 (released 2/24) should have been installed. The possible exception is if Maingear has an actual thorough process to make sure the OC settings work on newer BIOS versions, potentially requiring validation. Version 3.25 did not exist yet so that’s fine that it’s not on here.
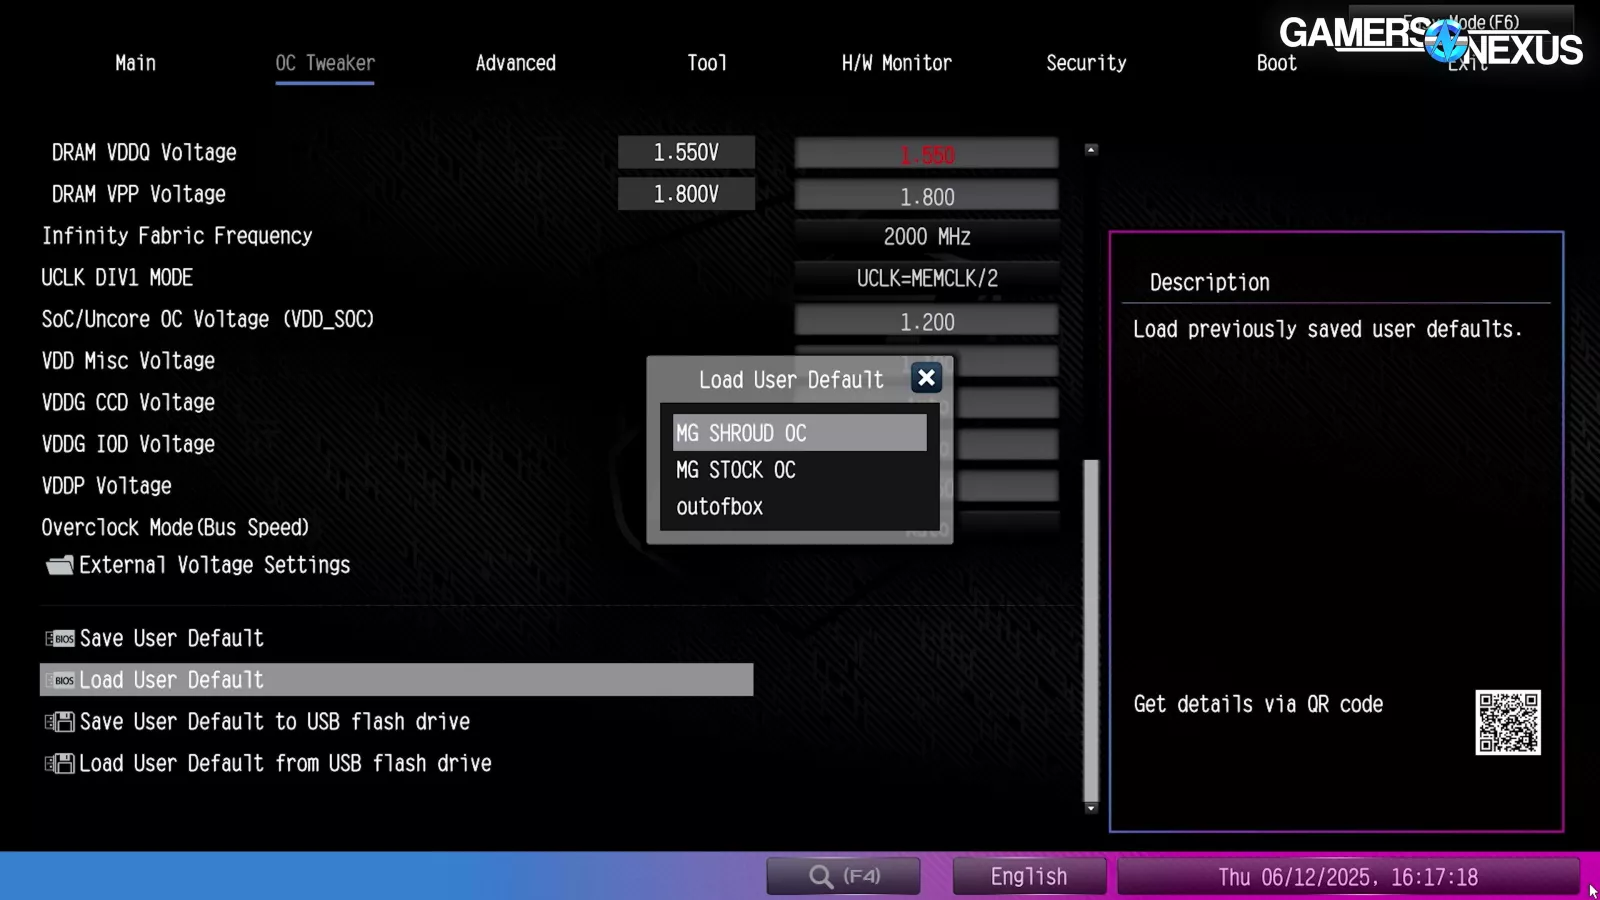
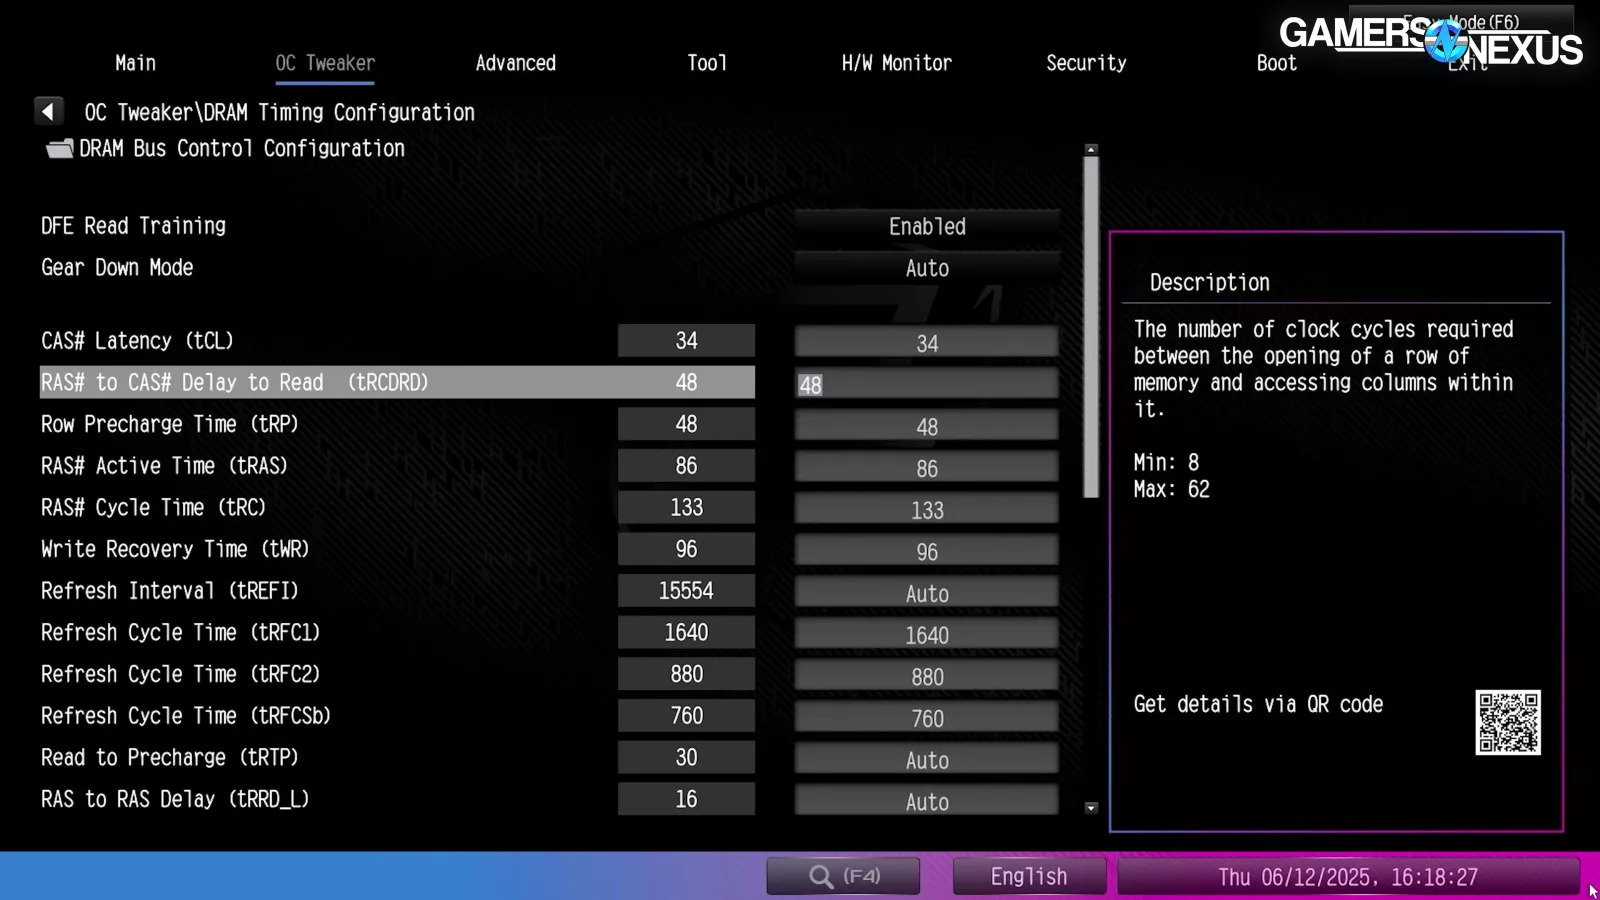
It came with two profiles already saved. The default profile (named “MG SHROUD OC”) sets AMD’s PBO to its most aggressive settings and has numerous tweaks to the system memory that indicate a genuinely custom OC, which is pretty cool. Voltages, miscellaneous settings like “DDR5 Nitro Mode,” and even tightened timings of 34-48-48-86 with a 1T command rate show manual tuning.
The extreme memory profile for this kit uses primary timings of 38-48-48-84, so Maingear did actually manually modify the settings, which is pretty cool.
We can respect that and credit to them for being more like actual enthusiasts.
But also like actual enthusiasts, this isn’t fully stable. And yes, we did just roast the entire audience, kind of like how the VRAM roasts on the FE GPU.
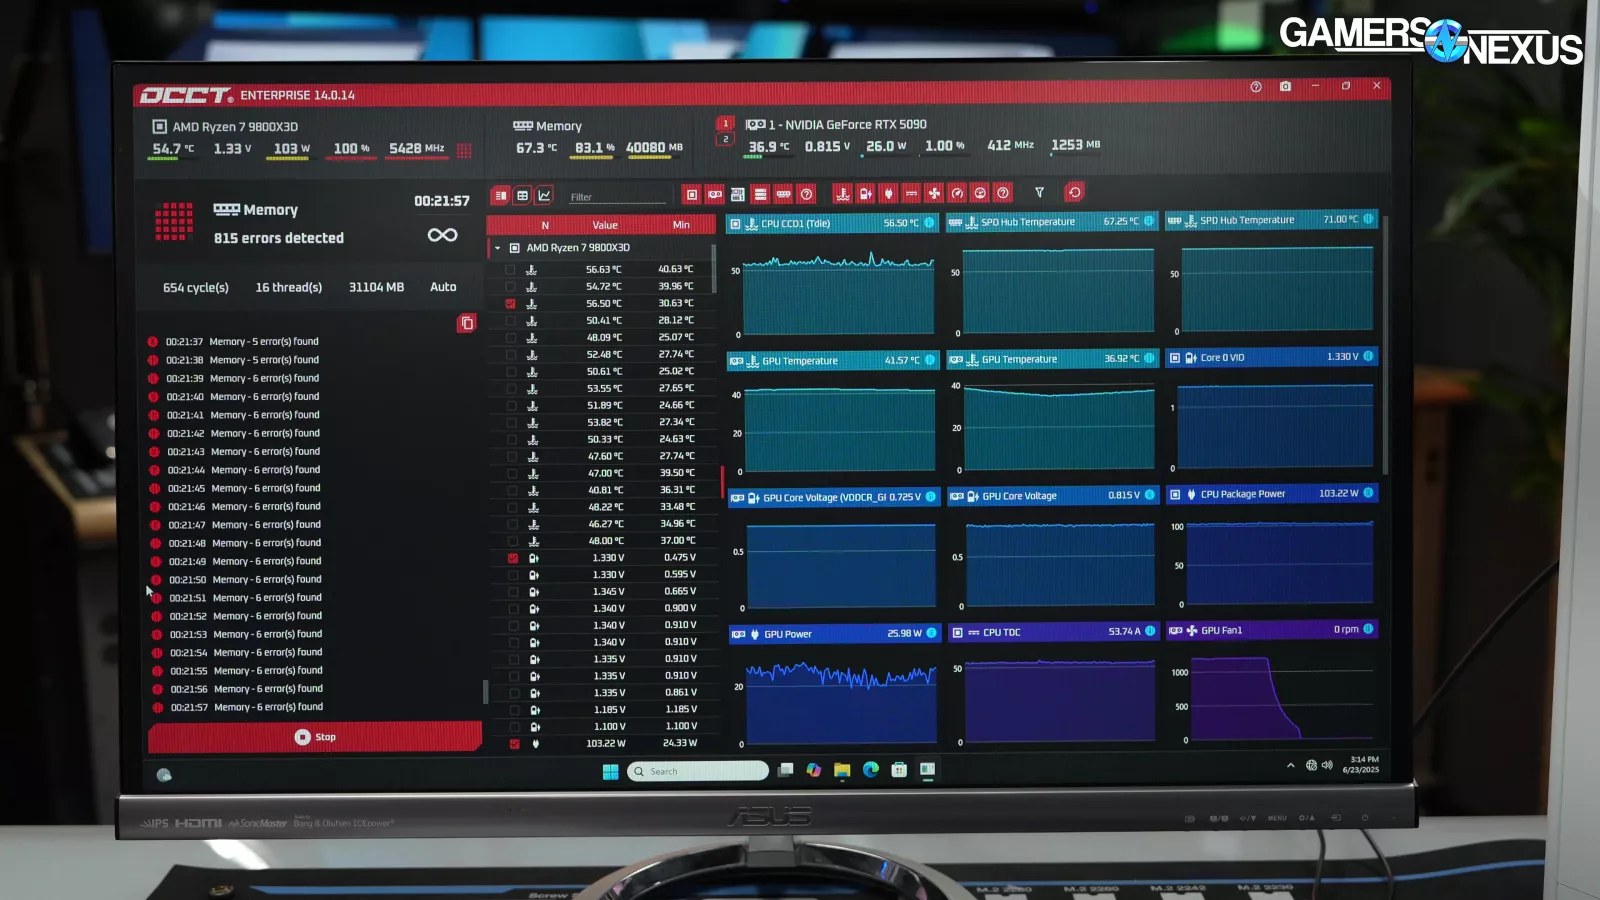
We didn’t experience any crashes during our earlier thermal testing, but workloads are highly varied and don’t always trigger problems. Explicitly testing the memory revealed instability and caused a crash when we set it to run over a weekend. We also saw multiple errors within minutes under MemTest64, and a full system crash within hours of launching OCCT’s RAM test.
So at best, this OC might be called “game stable” by people who want to cope, but it’s not actually stable, and that means it’s only a matter of time before you run into some kind of game where it is also not stable. You also wouldn’t want to do any meaningful, actual work on a system with unstable memory because it could result in a loss of data. This is a huge fumble that indicates Maingear’s testing isn’t rigorous enough.
The other profile, “MG STOCK OC,” switches the CPU to auto PBO instead of the more aggressive settings on the shroud profile. It also drops some of the memory related voltages and loosens the RAM timings back to the XMP numbers. This is not the default profile, though.
The BIOS showed other signs of care, like the auto driver installer being disabled, which we really appreciate, and custom fan curves all around. SIs normally leave fans set to the motherboard defaults, so this is cool to see. Maingear is doing cool stuff in BIOS, but they need to perform more exhaustive stability testing.
Software and OS Setup
Windows is next.
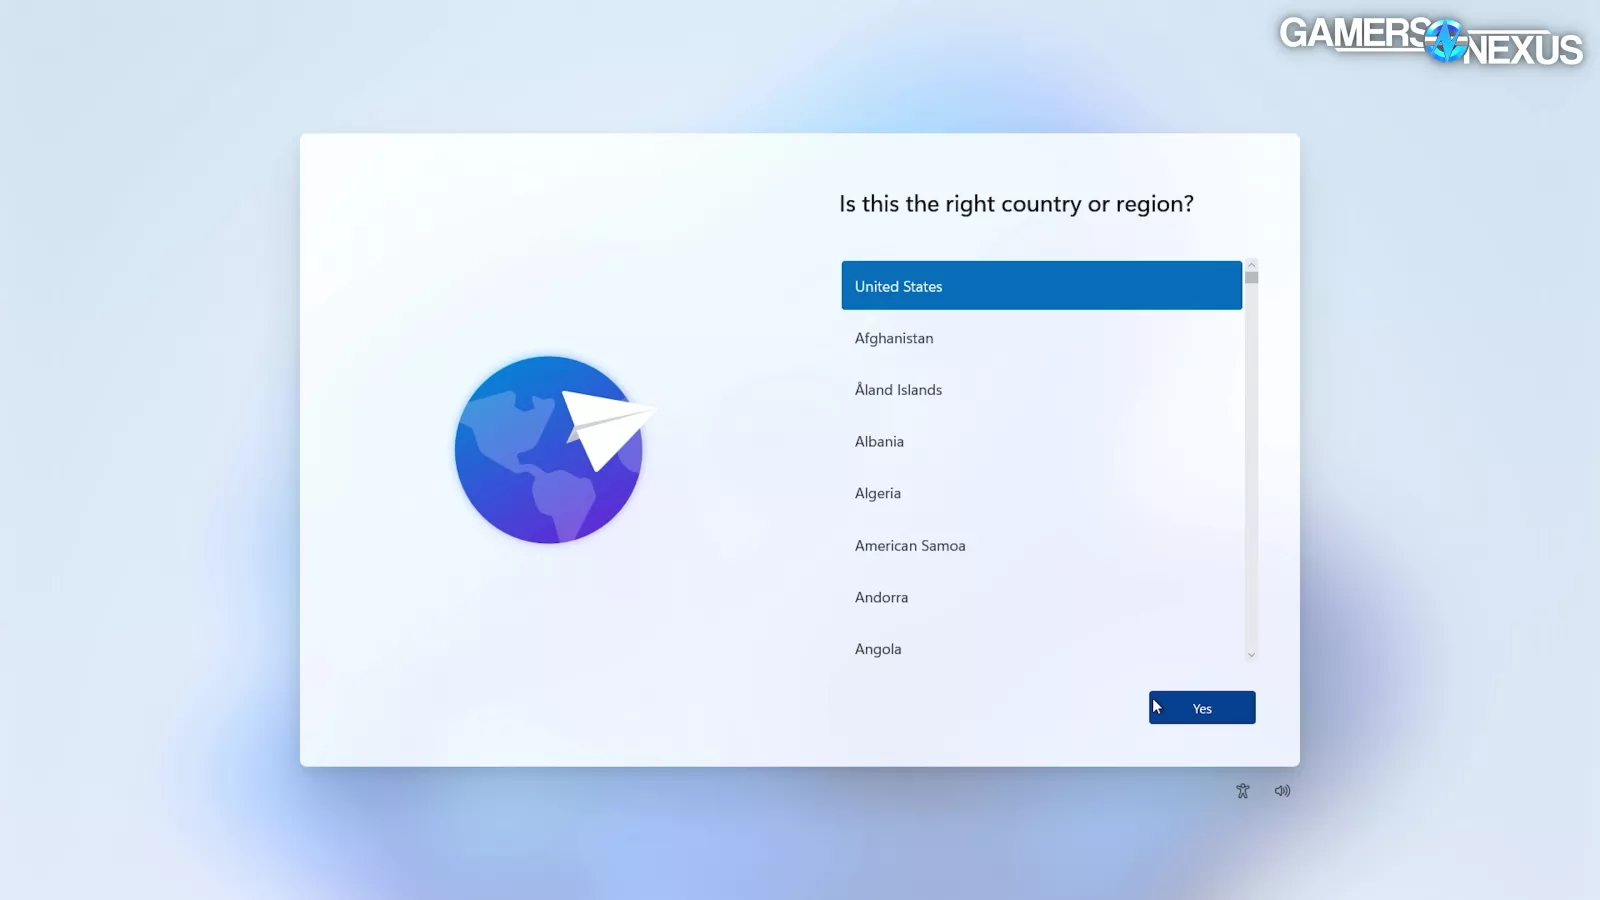
Maingear wins points for setting up the Windows 11 installer to automatically include the “I don’t have internet” button on the first go. Maingear must have customized the install to allow this, and that’s great because it’s the only way to make a local account, and Microsoft keeps taking steps to make the workaround more difficult. There were no additional agreements or data harvesting attempts tacked on at the end, either. This is one of the best things Maingear did for the system.
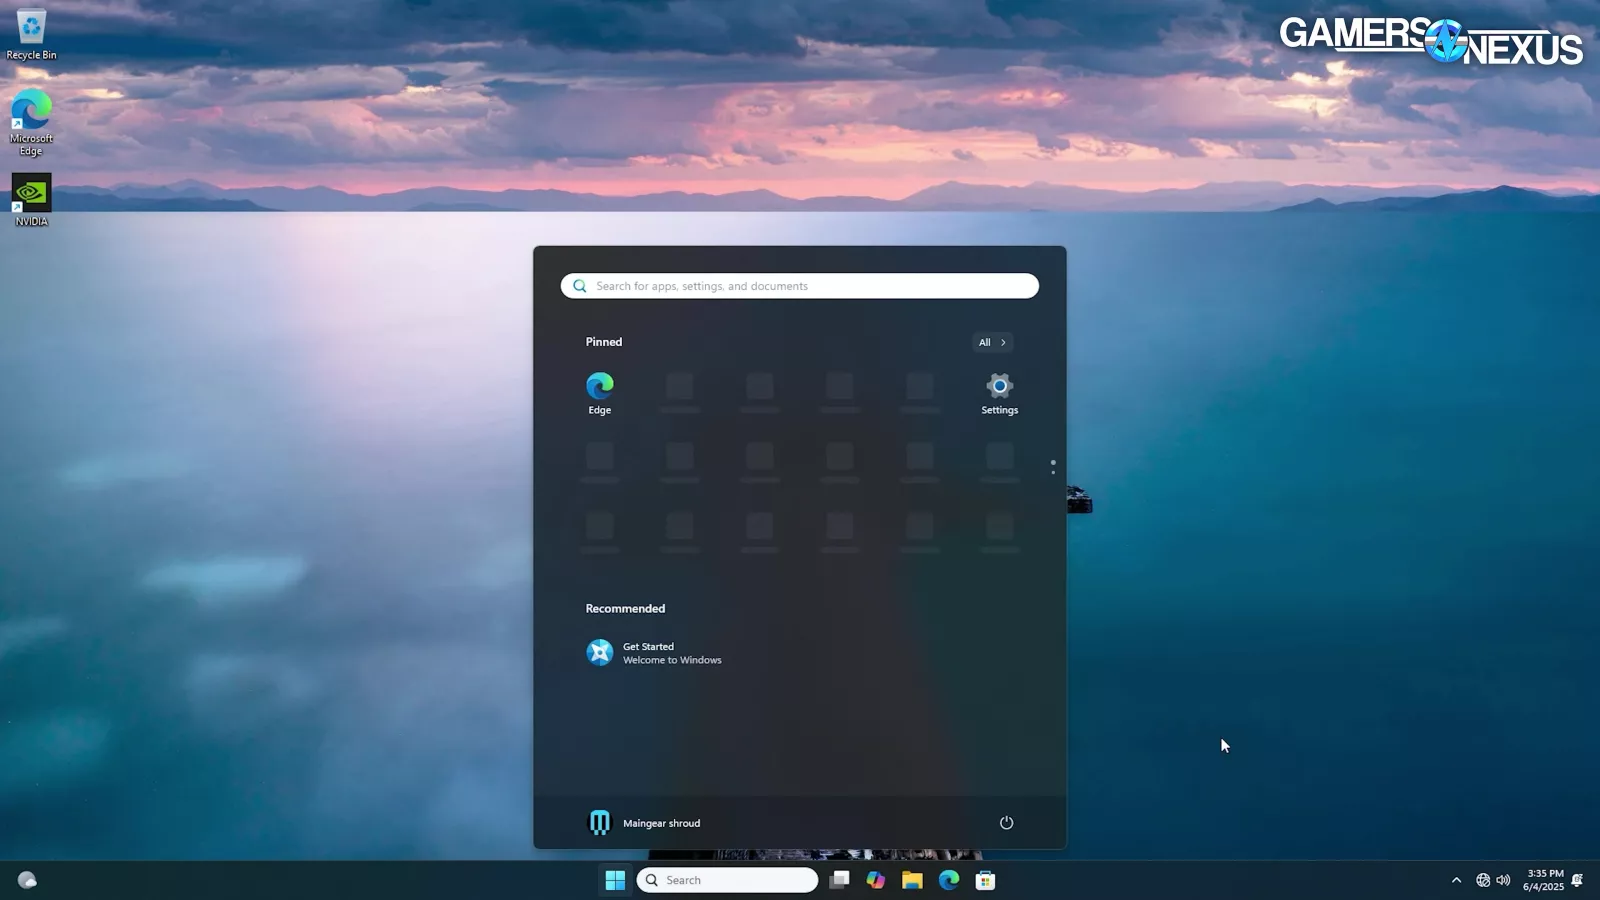
The desktop itself was clean, with no bloatware on the desktop or in the start menu, or tray. We guess this really is what “100% zero” looks like: Scientists have said humans can’t conceptualize nothingness for centuries, and yet here we are, seeing it on the Windows desktop. And that’s a good thing. There were no missing drivers and the NVIDIA driver version was 572.60, which was released February 27th, so that’s as up to date as it could be when it was built.
Overall, we’d put Maingear’s OS setup into the “great” category.
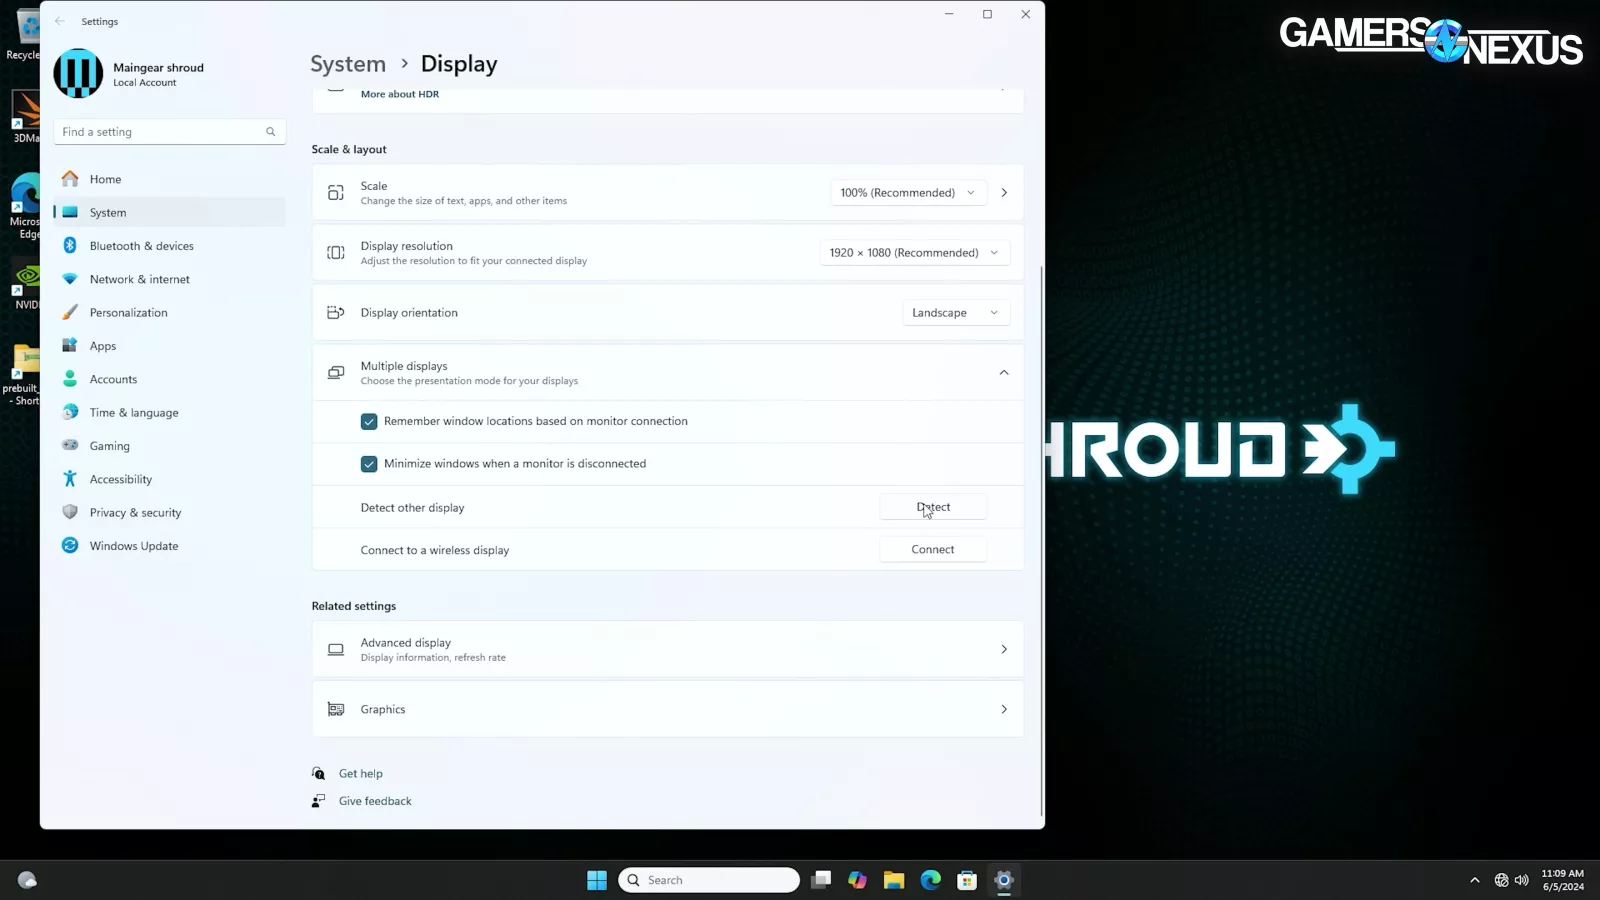
Unfortunately, the internal screen gave us trouble. It didn’t even detect on the first boot, which is a big problem and it was a toss-up if it would come on with subsequent boots. Unplugging and re-connecting the rear USB-C cable gets it going again, but even then we had to manually change the screen orientation in Windows. This is annoying and disappointing for a main feature. The upside is that there’s no custom software. The downside is that relying on Windows to guess the right setup isn’t going to work. We think the issues stem, at least partly, from using the IGP.
Packaging and Accessories
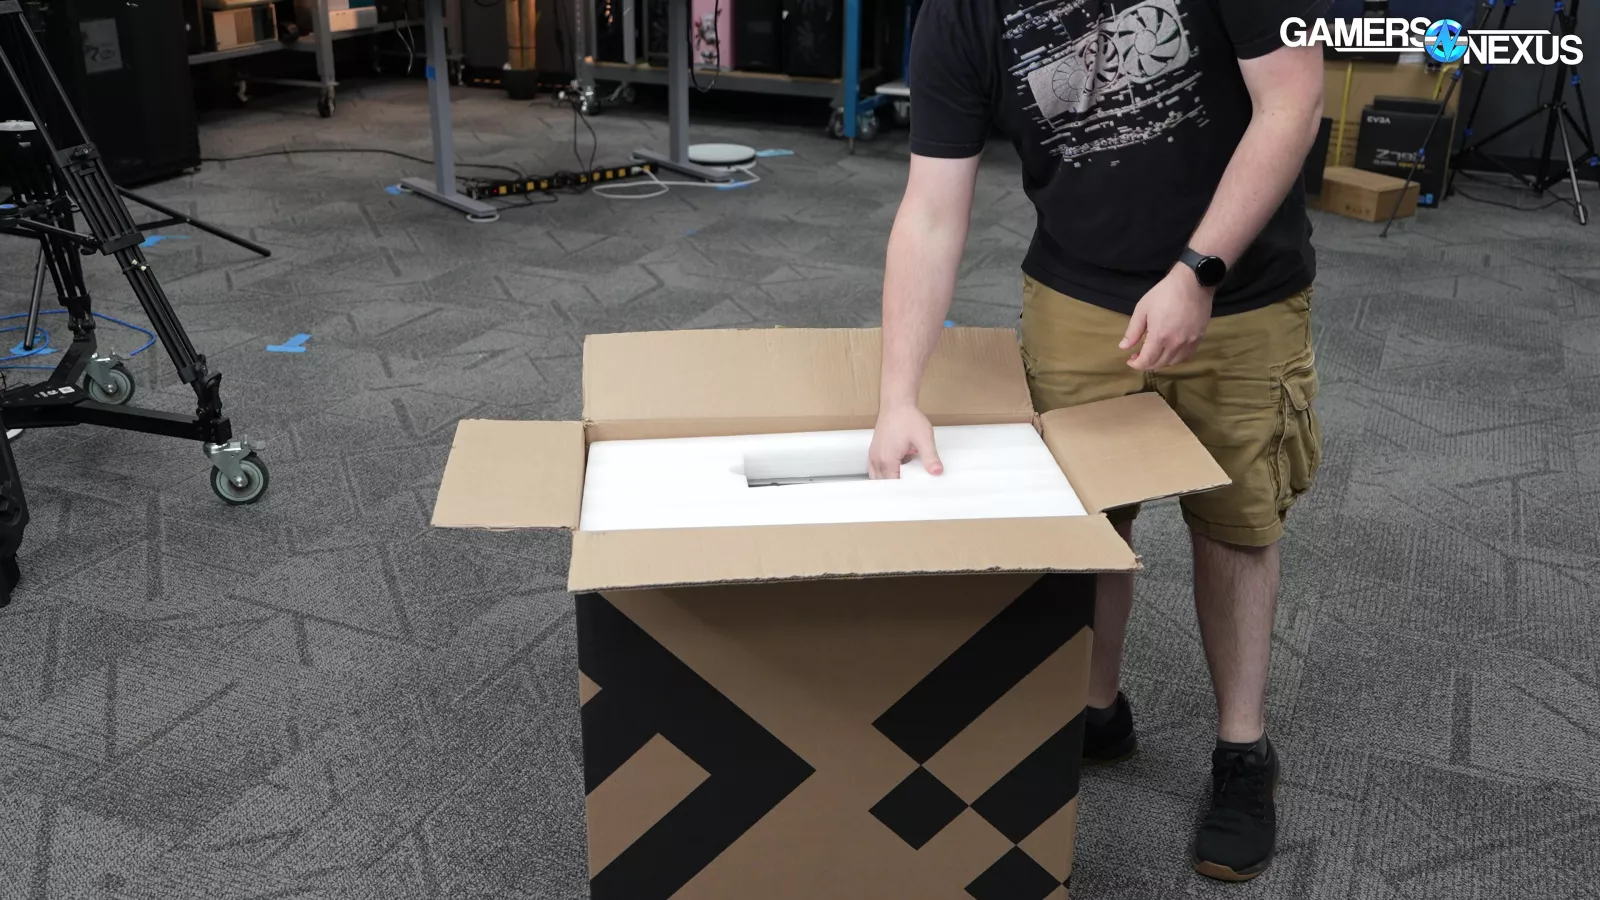
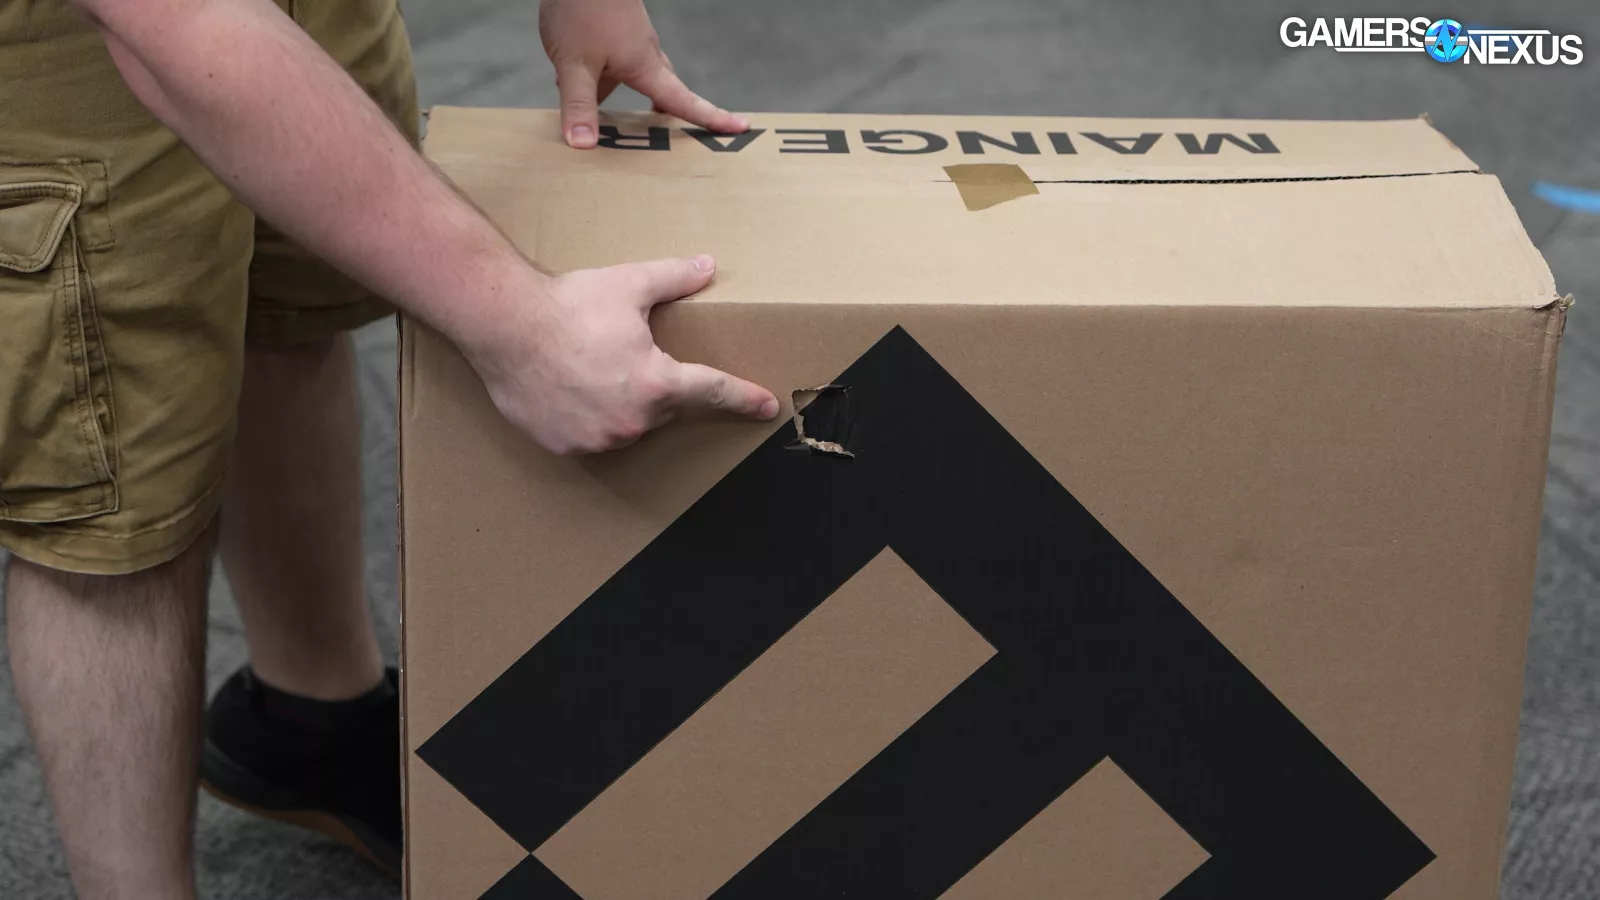
Packaging was simple, with soft foam inside to protect the PC. Ours came with a hole in the box, but there wasn’t any damage to the system. We would have liked to see more protection for a $6,000 computer. It doesn’t need to be an Origin wooden crate, but sturdier cardboard boxes would be good for safety.
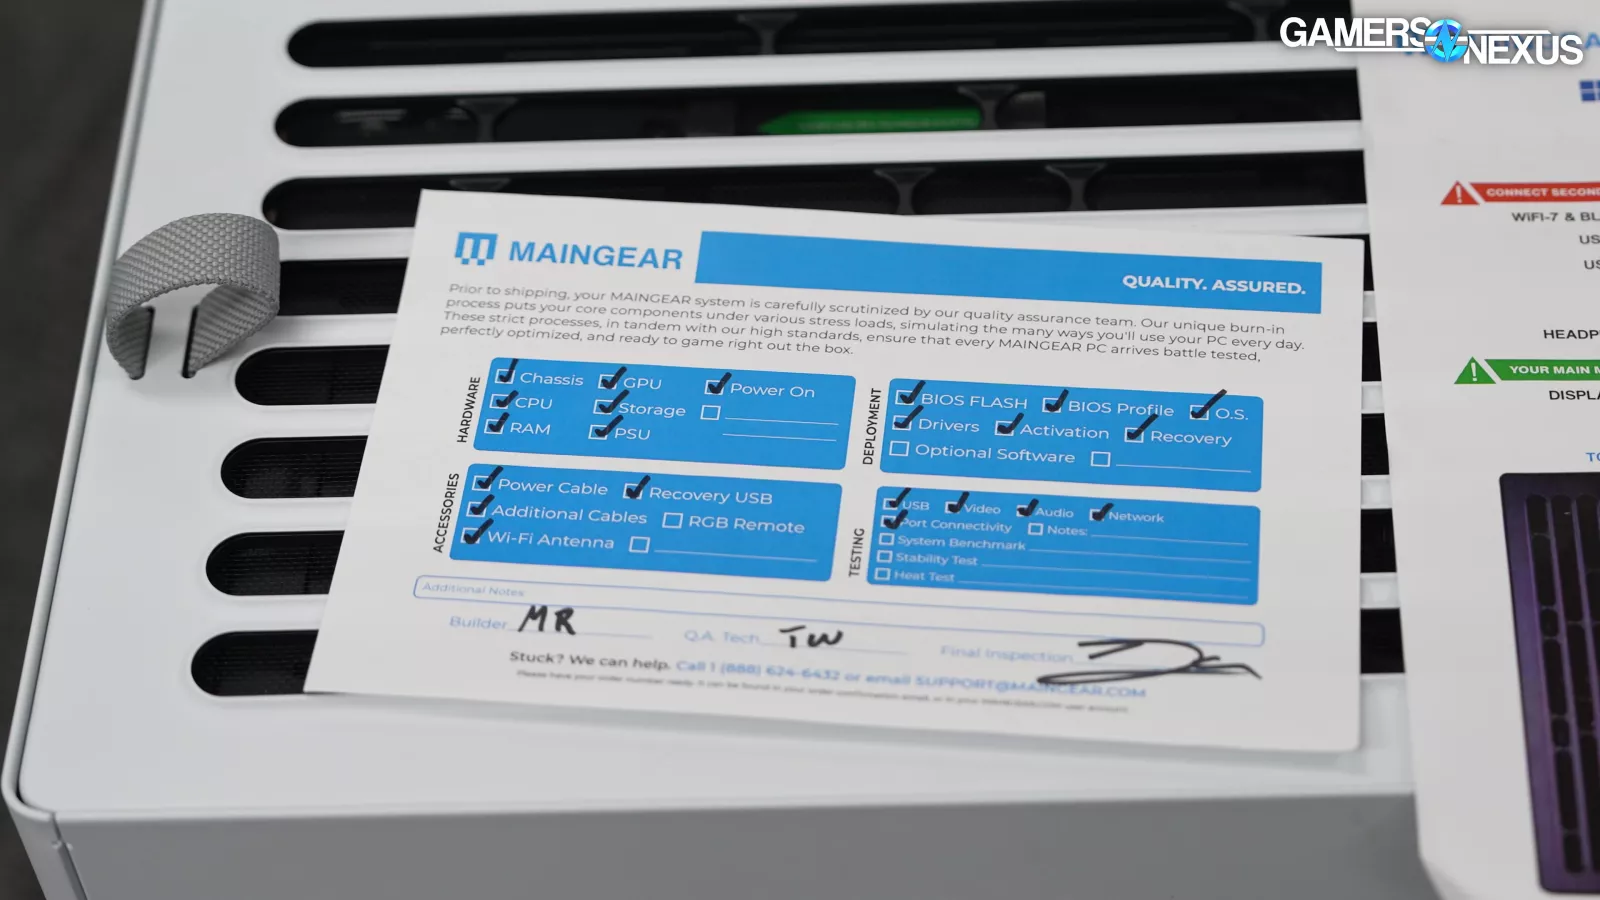
Aside from the PC, there was a QA checklist, some stickers, and the standard case, motherboard, and PSU extras. We like when the companies include the component accessories that they wouldn’t otherwise have a use for.
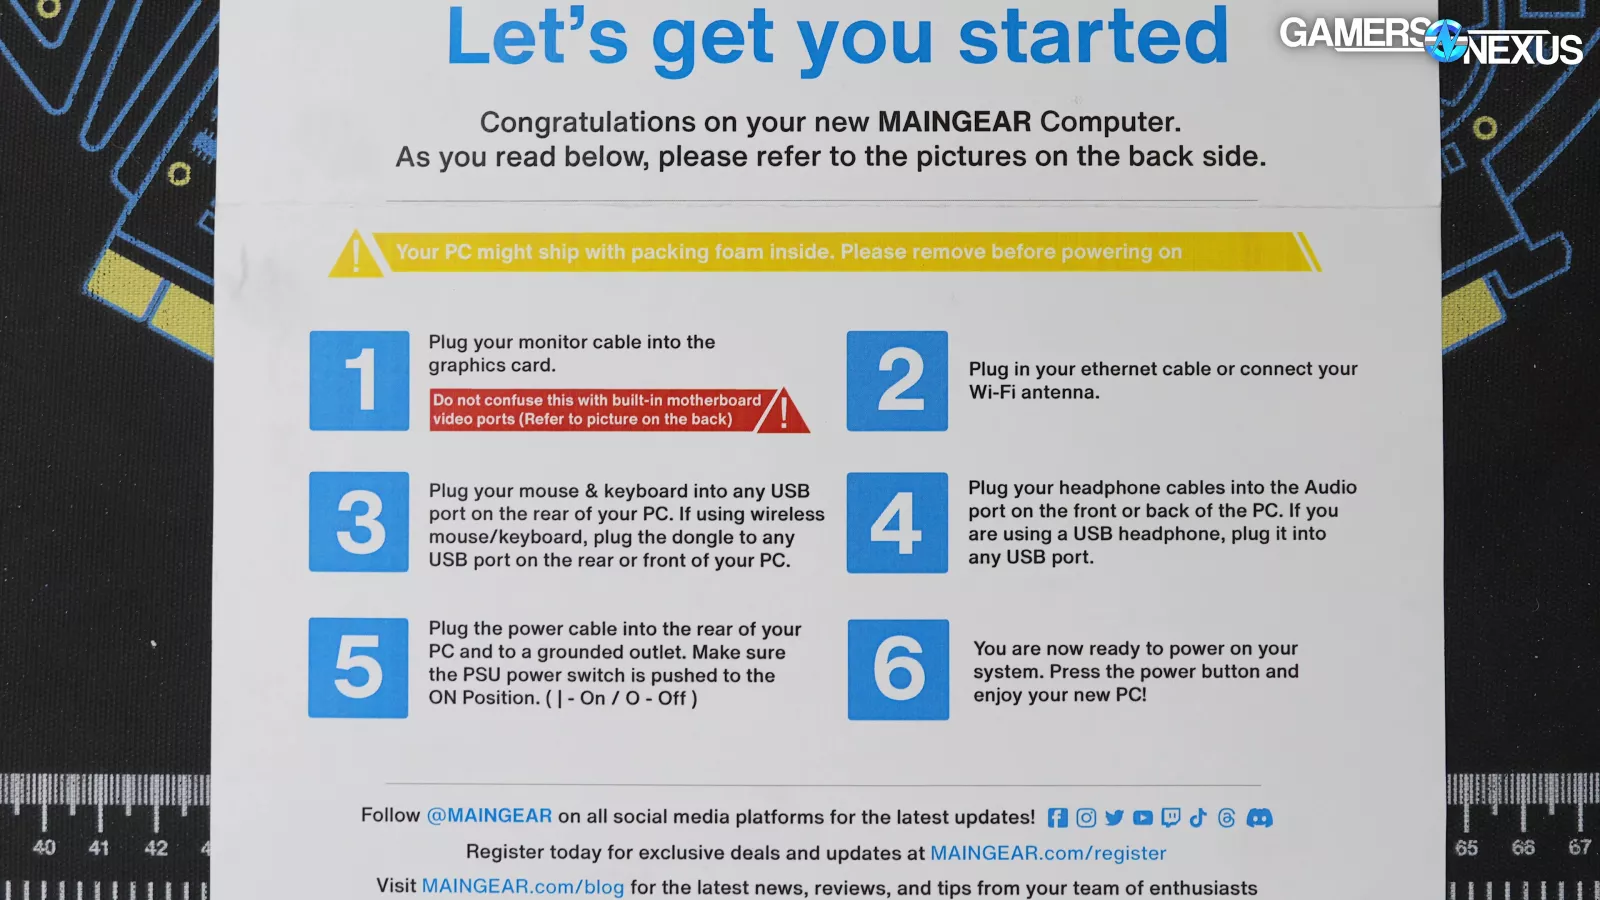
The quick start guide was a mixed bag. On one hand, it had good basics like a warning to remove any foam inside the build (though there wasn’t any in our case), and instructions to make sure the PSU was switched on.
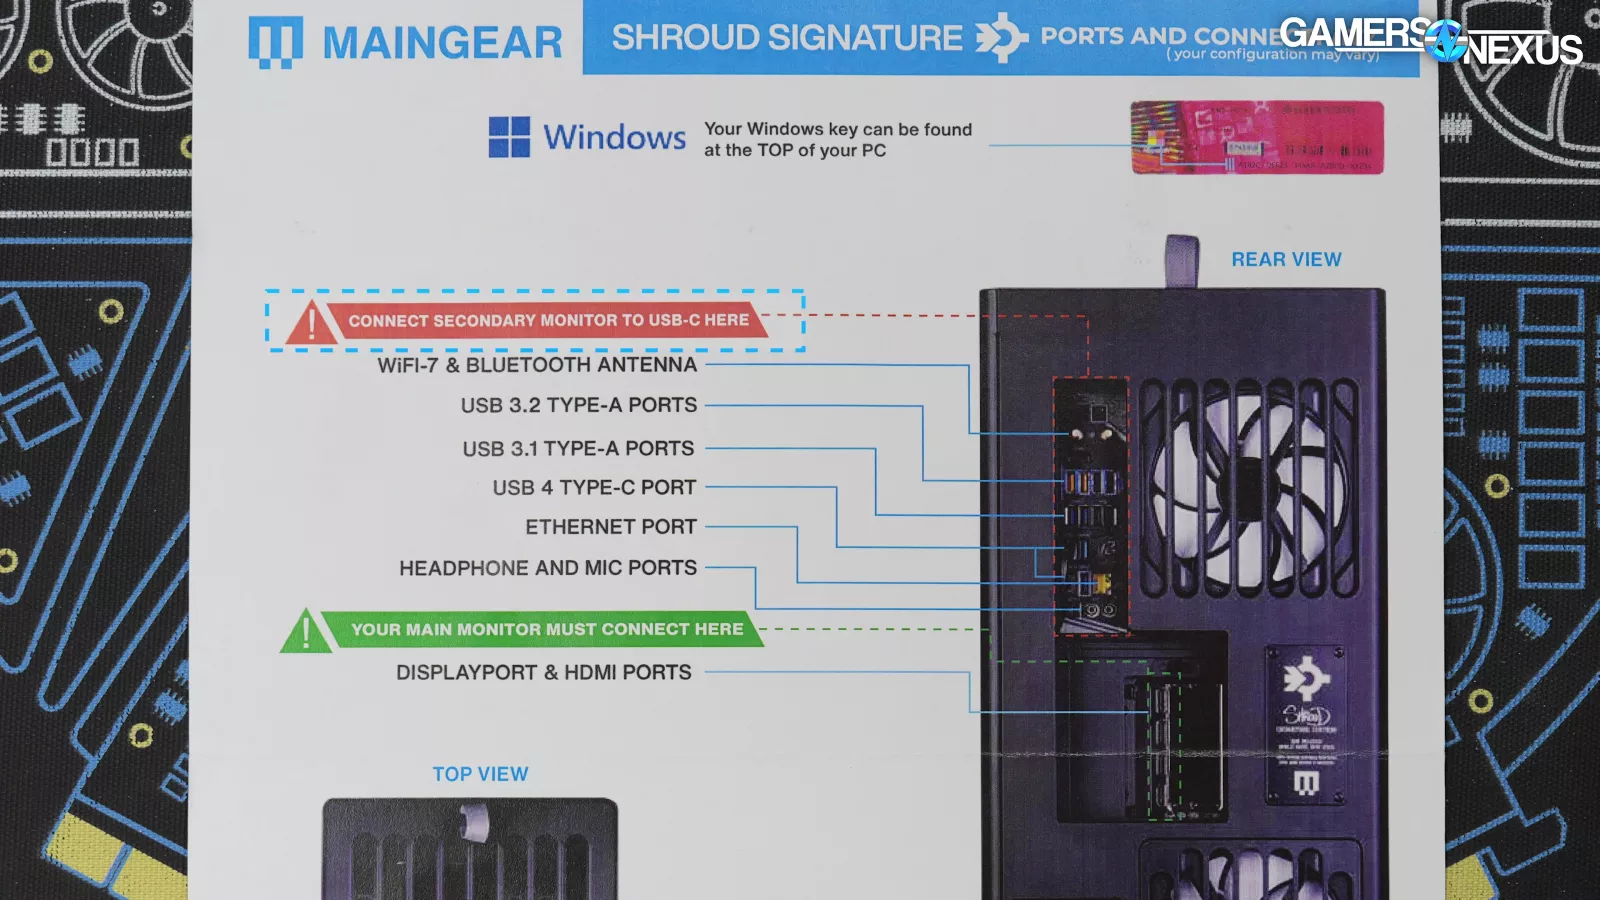
On the other hand, it says “connect secondary monitor to USB-C here,” referring to the motherboard I/O. This is a very strange instruction. We’re pretty sure it means the internal screen, but it’s not immediately clear based on the vague language.

It’s not until we went to the link on the QR code that it became clear. Maingear should update this section of the guide.
Trade-In Program

Finally, Maingear has a trade-in program specifically for this PC. The company says that when it upgrades a component in shroud’s personal PC, it’ll notify all Signature Edition customers via an email that details the upgrade and its alleged performance boost.
Cynically, we think the point of this is to use FOMO marketing on parasocial whales. There’s only a 14-day decision window, so clearly time pressure is part of the plan. We haven’t received an offer like this as far as we can tell, unless it went to spam or something (which is possible with a promo email), but the currently advertised signature Edition has a higher-end CPU versus our original model. We feel like that should have qualified as an upgrade opportunity, although it doesn’t seem worth taking.
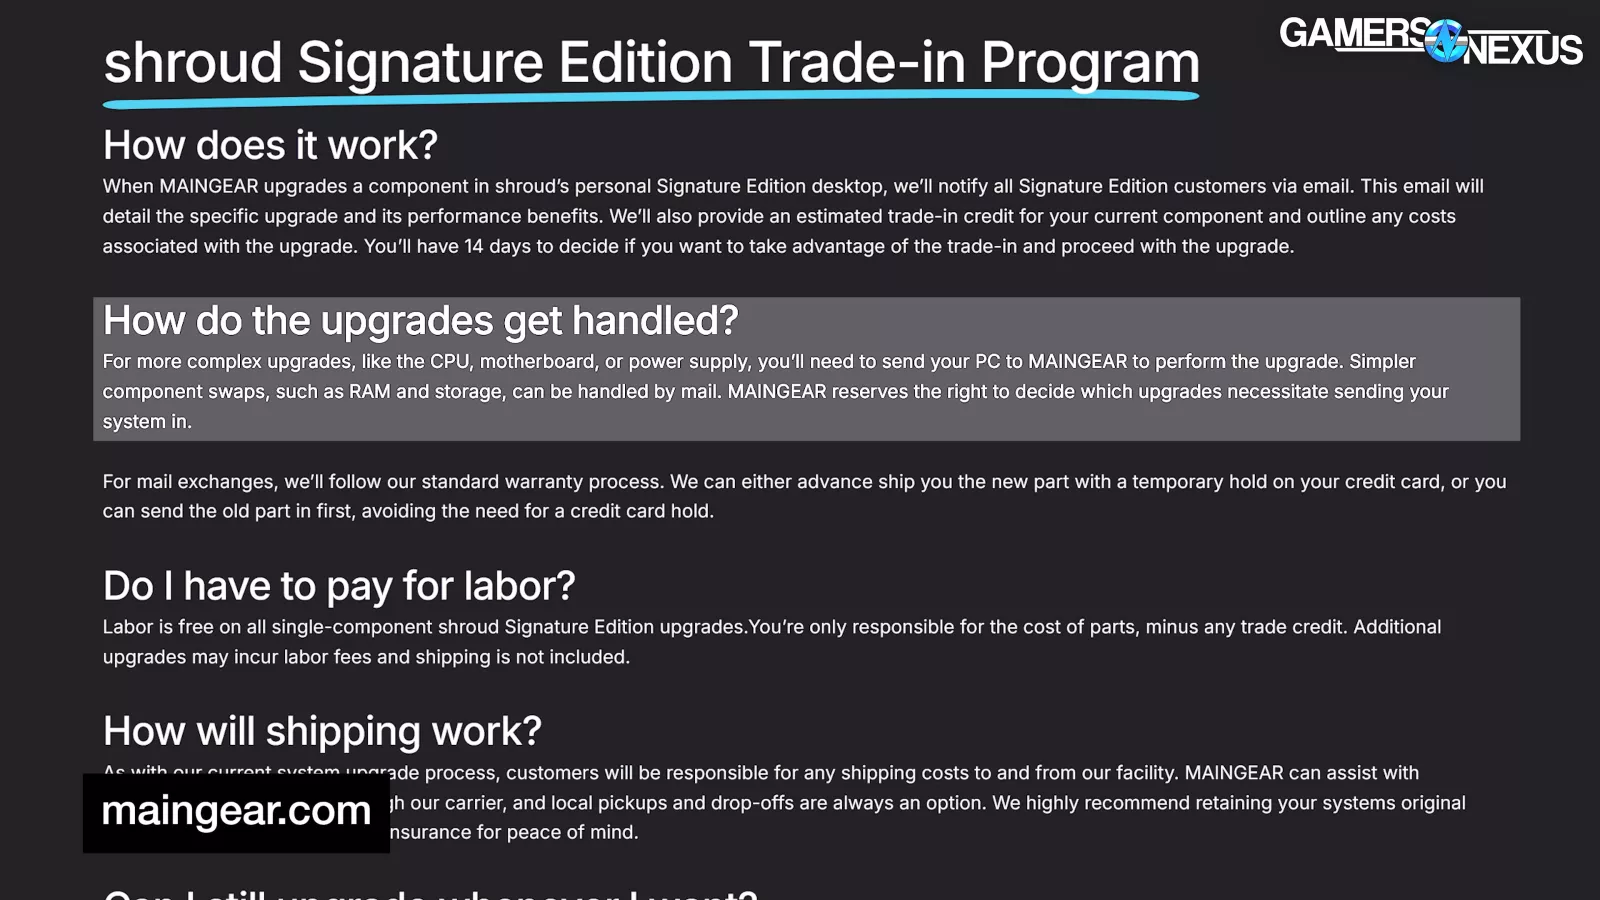
CPU, motherboard, and PSU upgrades require sending the PC to Maingear, while RAM and storage will be handled by mail. Labor is free for the shroud-specific upgrades, but customers have to buy shipping labels and parts from Maingear. They want you to keep the original box and foam to ship in, too. Maingear does not provide shipping boxes.
Conclusion
The Maingear shroud Signature Edition pre-built PC is an interesting mix of highs and lows. From a value standpoint, the $1,000-$1,700 markup over DIY is hard to swallow, but is far from the worst we’ve seen for this caliber of build. Again, Alienware and Origin set the bar at awful levels for that.
There are some serious negatives to this system, but also serious positives. We haven’t run into a pre-built like this in a while:
The operating system setup is excellent, with extra steps taken to enable local accounts without the users needing to know how to modify the OOBE parameters is nice because most users won’t know that.
Tuning in BIOS is well appreciated, but the stability issues are problematic and unacceptable. Thermals are mostly OK, with the exception of the FE’s VRAM temperature. This could be partially combatted by Maingear with better configuration of the case and fan speeds, as we showed in our HS420 review, and with better utilization of the chassis fans that basically serve as decorations at their current speeds.

From an aesthetic standpoint, we also think the customizations to the HAVN HS 420 are overall fine if you’re a fan of shroud without going overboard.

On the bad side, the prominently-featured internal screen has to be babied into working consistently.
Worse is the unstable RAM OC. It’s a unique selling point, so we’d like to see the company nail this next time. Price is also pretty high, but less offensively than Alienware’s.